If you’re looking to create custom t-shirts at home, knowing what you need is the first step to success.
To print t-shirts at home, you will need a reliable printer, transfer paper, and a heat source like a heat press or an iron. These tools allow you to bring your designs to life and customize shirts for any occasion.
To achieve the best results, consider using an inkjet printer, as it produces high-quality graphics. Pair this with the right heat transfer papers suitable for your chosen fabric color.
Table of contents
- Understanding T-Shirt Printing at Home
- Choosing the Right Materials
- Design Creation and Preparation
- Printing Methods Overview
- Setting Up Your Printer and Work Area
- The Actual Printing Process
- After Printing: Finishing and Curing
- Maintenance and Troubleshooting
- Frequently Asked Questions
- How can I print on t-shirts at home using a standard iron?
- What type of printing machine is recommended for beginners to start t-shirt printing?
- What fundamental materials are required for homemade t-shirt printing?
- Can I use a Cricut machine for t-shirt printing, and what additional supplies will I need?
- What steps should I follow to establish a T-shirt printing business from home?
- Do home t-shirt printing methods require the use of a specific type of printer?
For light fabrics, make sure to mirror your images before printing to ensure proper alignment on the shirt.
Before you dive in, keep in mind that each printing method has its own requirements, so choose a technique that matches your artistic vision and budget.
With the right supplies and a little patience, you can create unique t-shirts right from the comfort of your home.
Understanding T-Shirt Printing at Home
Printing t-shirts at home can be a fun and creative process. You can make custom t-shirts for personal use or to sell.
To get started, you need the right tools. Here’s a list of essential items:
- Computer: Use this to design or select your artwork.
- Design Software: Programs like Canva or Adobe Illustrator help create your designs.
- Printer: An inkjet or laser printer suitable for fabric printing is essential.
- Heat Transfer Paper: This is needed to transfer your designs onto the fabric. Choose light or dark paper based on your t-shirt color.
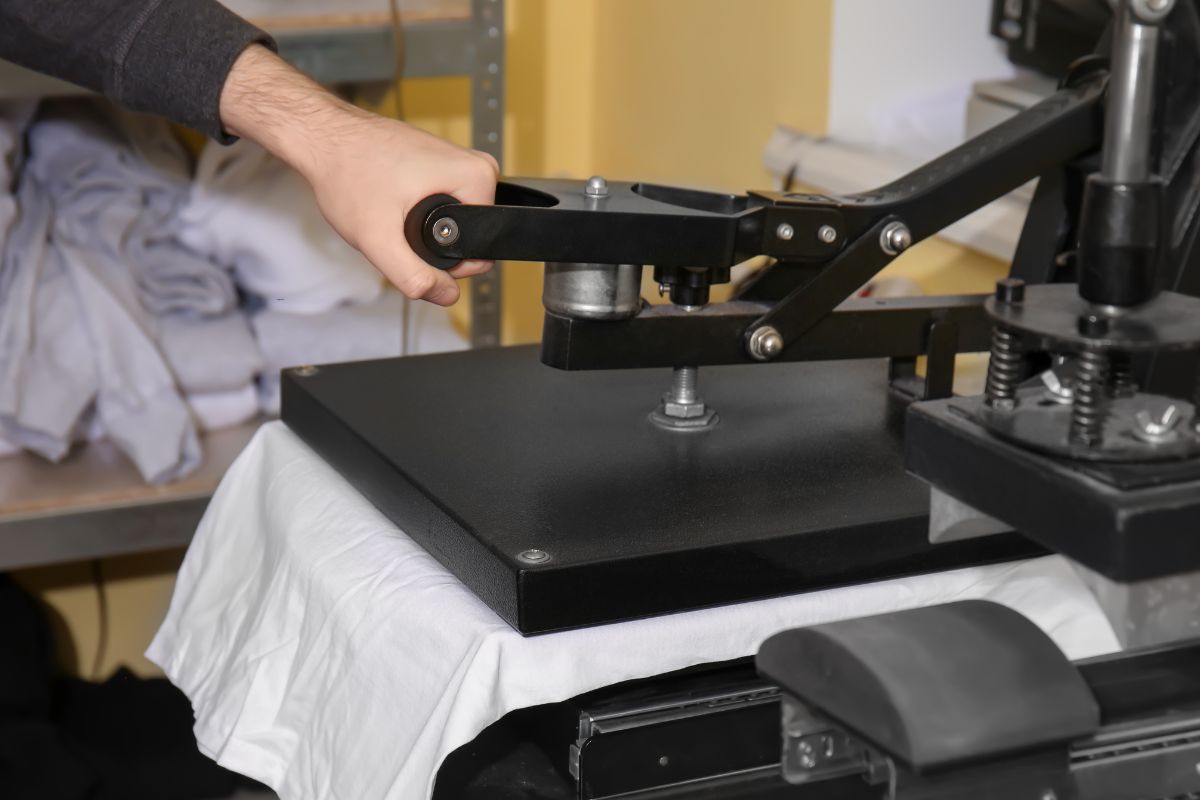
- Heat Press Machine or Iron: A heat press is more effective, but an iron can work for smaller projects.
- Vinyl Cutter: If you plan to use heat transfer vinyl, a cutter will help shape your designs.
There are various printing methods you can choose from:
- Heat Transfer Printing: Transfer designs using heat to bond them to the fabric.
- Sublimation Printing: This works best on polyester fabrics, allowing vibrant and permanent designs.
- Direct-to-Garment (DTG): Ideal for detailed images, it prints directly onto the shirt.
Research different techniques to see what suits your needs best. Each method has unique benefits and equipment requirements.
Choosing the Right Materials
Selecting the right materials is crucial for printing t-shirts at home. Your choices affect the quality and durability of your designs. Here’s what to consider for your t-shirts, transfer paper, and inks.
Selecting the Best T-Shirts for Printing
When focusing on t-shirts, cotton is often the best option. Cotton t-shirts are soft, breathable, and hold ink well.
Look for light-colored shirts for easier printing, especially if you’re using dark inks. Likewise, dark-colored fabrics may require special inks or transfer papers, so consider that when making your choice.
You might also want to select pre-washed shirts. They are less likely to shrink after printing. Check the fabric weight too; lighter fabrics work better for heat transfer processes. Aim for a weight of around 5-6 ounces for good results.
Types of Transfer Paper
Choosing the right transfer paper is essential. There are two main types: light transfer paper and dark transfer paper.
Light Transfer Paper: Use this for light-colored fabrics. It allows for vibrant designs and is easy to apply. You can print directly on it using an inkjet printer.
Dark Transfer Paper: Best for dark-colored shirts. This type has a white backing that becomes clear when applied. It can cover the fabric well, but requires precise application.
Make sure to check compatibility with your inkjet printer. The wrong paper might lead to poor results or smudged designs.
Selecting Appropriate Inks
The ink you choose affects the quality of your printed t-shirts.
Plastisol ink is a popular choice for its durability and vibrant colors. It sits on top of the fabric, creating a bright finish that lasts.
If you opt for transfer paper, ensure your printer supports the ink required for that paper. Most light transfer papers work well with dye-based inks, while dark transfer papers may require pigment-based inks.
Remember to do a test print. This helps you gauge how well the ink adheres to your chosen t-shirt and paper combination. Proper testing increases the chances of a successful final product.
Design Creation and Preparation

Creating and preparing your design is a vital step for printing custom t-shirts at home. You need to choose the right design software and prepare your design correctly for a successful transfer.
Using Design Software
To create your design, select an image editing program like Adobe Illustrator or Photoshop. Both options allow you to create high-resolution images and vector images. Vector images are ideal because they can be resized without losing quality.
Start by sketching your ideas or choosing existing graphics. When using design software, use layers, colors, and shapes to bring your vision to life.
It’s essential to set your canvas size to match your transfer paper dimensions.
Finalize your design before saving it as a compatible file type, such as PNG or SVG. These files ensure smooth printing and can be easily imported to your vinyl cutter if needed.
Preparing Your Design for Transfer
Once your design is ready, print it in mirror image mode. This step is crucial for designs that contain text or specific orientations.
Next, make sure to use high-quality transfer paper that matches your fabric type.
Place your printed design face-down on the t-shirt to ensure proper alignment.
Use a flat and sturdy surface for this task. Before transferring, iron the t-shirt to remove any wrinkles, creating a smooth area for your design.
Before you start, read the instructions for your transfer paper to understand the required heat and time for the best results.
Printing Methods Overview
| Printing Method | Description | Pros | Cons | Best For |
|---|---|---|---|---|
| Heat Transfer Vinyl (HTV) | Cut vinyl sheets with a design and apply heat to transfer onto fabric. | Durable, vibrant colors, good for small batches. | Time-consuming for large orders, limited color layering. | Personalized or custom designs. |
| Sublimation Printing | Uses heat to transfer dye into polyester fabric. | Long-lasting, no cracking or peeling, high-detail prints. | Only works on light-colored polyester fabrics. | Full-color designs on polyester shirts. |
| Screen Printing | Ink is pushed through a stencil (screen) onto fabric. | High-quality, durable, cost-effective for bulk. | Requires multiple screens for different colors, messy setup. | Bulk orders with simple designs. |
| Direct-to-Garment (DTG) | Inkjet printer prints designs directly onto fabric. | Detailed, full-color prints, no setup for different colors. | Expensive equipment, best for cotton shirts. | Small batches and intricate designs. |
| Iron-On Transfers | Designs printed on transfer paper and ironed onto fabric. | Easy, affordable, no special equipment needed. | Less durable, can crack or fade over time. | DIY projects and small-scale prints. |
| Stencil Painting (Handmade) | Use cut-out stencils and fabric paint to create designs. | Low-cost, creative, no special equipment needed. | Time-consuming, not suitable for complex designs. | One-of-a-kind or artistic prints. |
| Bleach Printing | Spray bleach over a stencil to create a faded design. | No ink needed, unique distressed look. | Works only on dark cotton shirts, permanent results. | Custom, vintage-style designs. |
When printing t-shirts at home, you have several methods to choose from. Each one has its own process, advantages, and equipment needed. Understanding these methods will help you decide the best fit for your projects.
Direct-to-Garment (DTG)
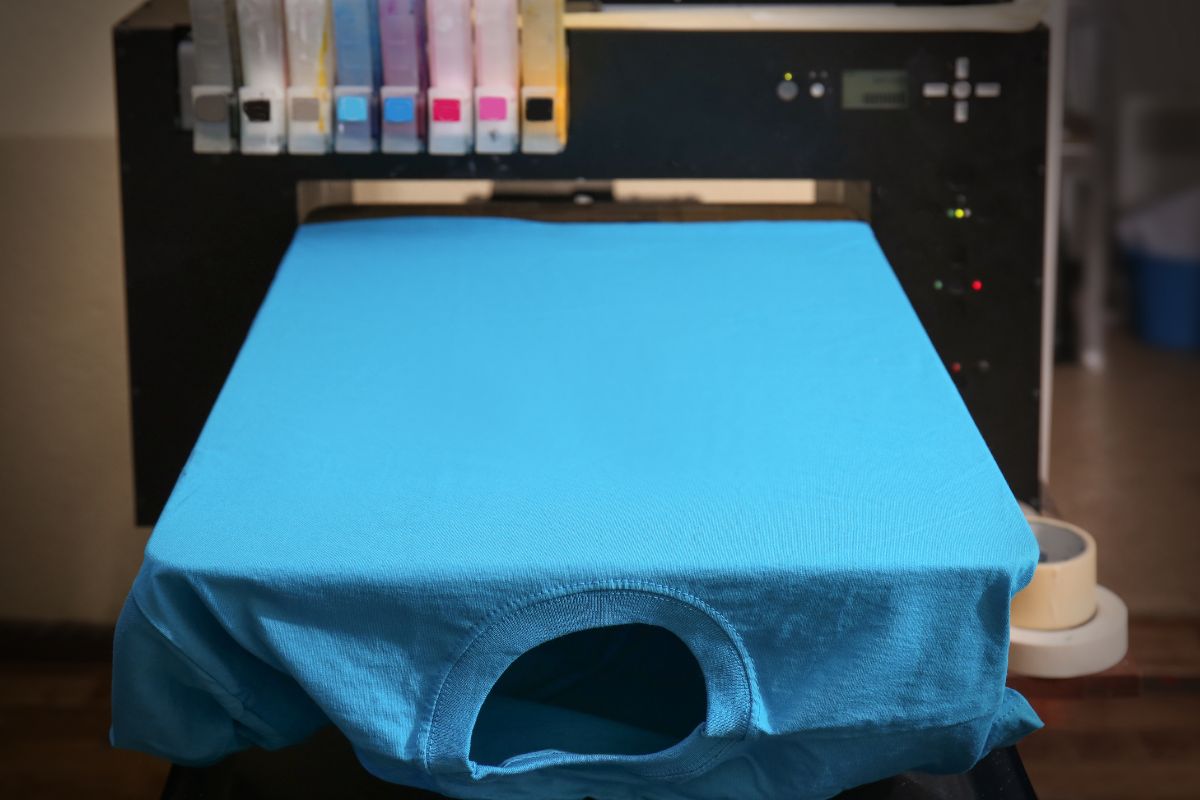
Direct-to-garment (DTG) printing is a modern method that uses inkjet technology to print directly onto fabric. It allows for high-resolution designs with many colors.
You’ll need a DTG printer, special ink, and pretreatment solutions to improve print quality. The process involves preparing the garment, applying pretreatment, and then printing.
Pros:
- Excellent print quality
- Ideal for complex designs
Cons:
- Higher initial cost
- Slower than other methods for large batches
Screen Printing
Screen printing is a traditional technique that involves creating a stencil, or screen, for each color in the design. Ink is pushed through these screens onto the fabric.
This method is great for bulk printing as it is fast once set up. You’ll need screens, a squeegee, and ink. Each color requires a separate screen, which increases setup time for multi-color designs.
Pros:
- Cost-effective for large runs
- Durable prints
Cons:
- Time-consuming setup for small orders
- Limited detail compared to DTG
Heat Transfer Printing
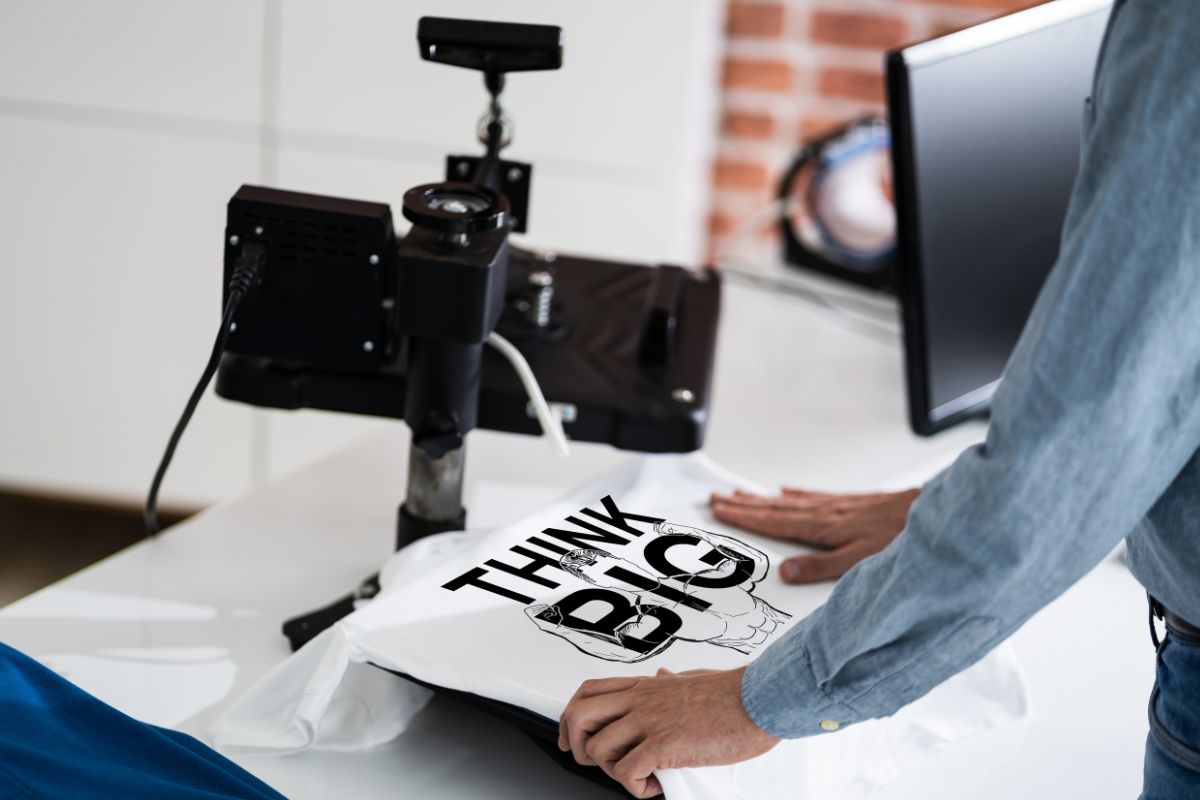
Heat transfer printing uses heat and pressure to apply a design onto fabric. You can use heat transfer vinyl (HTV) or transfer paper to achieve this.
You’ll need a heat press or an iron for application. The process is fairly straightforward: cut your design, place it onto the fabric, and apply heat.
Pros:
- Easy for small runs and custom designs
- Good for bright, vibrant colors
Cons:
- Can peel or fade over time
- Limited durability compared to screen printing
Sublimation Printing
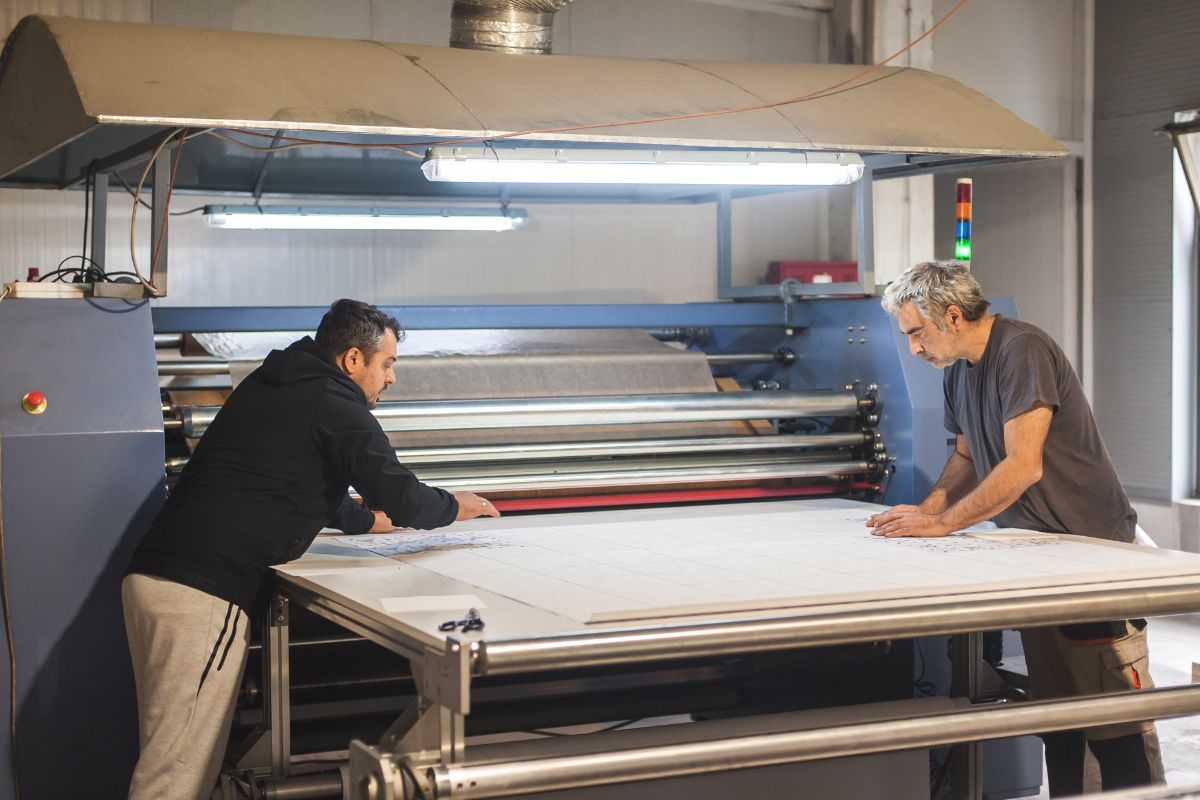
Sublimation printing uses a process that turns solid dye into gas without passing through a liquid state. It bonds the dye directly to the fabric, making it suitable for synthetic materials like polyester.
You’ll need a sublimation printer and special ink. The method offers brilliant colors and is great for all-over prints.
Pros:
- Long-lasting and vibrant colors
- Great for intricate designs
Cons:
- Works best on light-colored polyester fabrics
- Not suitable for dark fabrics
Vinyl Printing
Vinyl printing involves cutting designs from colored vinyl sheets and heat pressing them onto the fabric. This method is simple and perfect for small designs and lettering.
You’ll need a vinyl cutter, heat press, and vinyl sheets. The process includes cutting the design, weeding excess vinyl, and applying it to the shirt.
Pros:
- Excellent for logos and text
- Great durability
Cons:
- Limited to simpler designs
- Can be more expensive for large designs due to material costs
Setting Up Your Printer and Work Area

Creating custom t-shirts at home starts with a well-configured printer and an organized workspace. Proper setup will ensure high-quality prints and a smooth printing process.
Configuring the Printer Settings
Your home printer is essential for t-shirt printing. First, make sure it’s compatible with heat transfer paper.
Use print quality settings to achieve the best results. Follow these steps:
- Choose the Right Paper: Select paper designed for your printer type, whether it’s inkjet or laser.
- Set the Print Quality: Go to your printer settings and choose “Best” or “High Quality.” This step enhances color and detail.
- Mirror the Image: If using transfer paper, flip your design horizontally to ensure it appears correctly on the shirt.
- Test Print: Always print a test design on regular paper first. This helps catch any alignment or color issues.
Adjusting these settings will set you up for success when you transfer designs to t-shirts.
Preparing the Workspace for Printing
Your workspace plays a big role in the t-shirt printing process. A neat and organized area can improve your efficiency. Here’s how to set it up:
- Flat Surface: Use a sturdy, flat table for printing. This surface should be heat-resistant if you’ll be using a heat press.
- Gather Materials: Keep your heat transfer paper, vinyl cutter, and design software within easy reach. Have scissors and tools for trimming ready as well.
- Good Lighting: Ensure your workspace has adequate lighting. Good visibility helps in accurately placing and aligning your designs on the shirts.
- Cleanliness: Remove any dust or debris from your workspace. Clean surfaces help in achieving the best print quality.
With everything in place, you’re ready to start printing.
The Actual Printing Process
| Printing Method | Steps | Time Required | Durability | Best Fabric Type |
|---|---|---|---|---|
| Heat Transfer Vinyl (HTV) | 1. Cut the design using a vinyl cutter. 2. Weed out excess vinyl. 3. Place vinyl on the T-shirt. 4. Use a heat press or iron to transfer. | 10–20 mins per shirt | High | Cotton, Polyester, Cotton-Poly blends |
| Sublimation Printing | 1. Print design using sublimation ink and printer. 2. Place print on the T-shirt. 3. Press with a heat press at 375–400°F for 30–60 sec. | 10–15 mins per shirt | Very High | Polyester, Polyester-coated fabrics |
| Screen Printing | 1. Create a stencil (screen). 2. Place the screen on the T-shirt. 3. Spread ink over the stencil. 4. Dry the ink using heat. | 30–60 mins setup, 5–10 mins per shirt | Very High | Cotton, Cotton-Poly blends, Polyester |
| Direct-to-Garment (DTG) | 1. Load the T-shirt into the DTG printer. 2. Print the design directly onto the fabric. 3. Heat press to cure the ink. | 5–10 mins per shirt | High | 100% Cotton |
| Iron-On Transfers | 1. Print the design on transfer paper. 2. Place it on the T-shirt. 3. Apply heat using an iron or press. | 10–15 mins per shirt | Medium (May crack or peel) | Cotton, Polyester blends |
| Stencil Painting | 1. Cut out a stencil design. 2. Place the stencil on the T-shirt. 3. Apply fabric paint using a brush or sponge. 4. Let it dry completely. | 20–30 mins per shirt | Medium | Cotton, Canvas |
| Bleach Printing | 1. Place a stencil on a dark-colored T-shirt. 2. Spray or brush bleach over the stencil. 3. Let it react for a few minutes. 4. Wash and dry the shirt. | 15–20 mins per shirt | Medium | Dark Cotton |
The printing process involves transferring designs onto t-shirts and ensuring the prints are properly cured and dried. Each step is crucial for achieving a quality result that lasts.
Transferring Designs onto T-Shirts
To begin, prepare your design using transfer printing techniques like heat transfer paper or vinyl graphics.
For heat transfer paper, print your design using an inkjet printer and ensure you mirror the image before printing.
Once printed, trim any excess paper around your design. Then, place the transfer paper with the image face down on your t-shirt.
Use a heat press or an iron set to the cotton setting. Apply consistent pressure for around 30 to 60 seconds. Make sure the heat is evenly distributed.
If using vinyl graphics, cut your design with a vinyl cutter and remove any unnecessary parts.
Position the vinyl onto the shirt and apply heat to secure the design. Allow the shirt to cool before peeling off the carrier sheet.
Curing and Drying Ink Properly
After transferring your design, curing the ink is essential to make it long-lasting. Curing helps the ink set and bind with the fabric.
For plastisol inks, use a heat press or a flash dryer. Cure at the proper temperature recommended by the ink manufacturer, typically around 320°F for 2-3 minutes.
For other inks, such as water-based or discharge inks, follow the specific curing instructions.
Ensure the t-shirt is placed flat to prevent distortions and uneven drying.
After curing, let the shirts cool down completely before handling. Store printed shirts in a dry area to maintain their quality.
Proper curing and drying can prevent fading and help your designs stay vibrant.
After Printing: Finishing and Curing

After you print your designs, you’ll want to focus on finishing touches and curing the ink. These steps are crucial for achieving good print quality and ensuring the durability of your shirts.
Finishing Techniques
Once your design is printed, consider using wax paper to protect the print during the heat transfer process. Placing wax paper over the print can prevent smudges and ensure a crisp finish.
For heat transfer vinyl, ensure there are no bubbles or wrinkles. You can use a craft knife to trim any excess material around your design for a cleaner look.
It’s also important to adjust your heat press to the proper cotton setting. This will help the transfer adhere well without damaging the fabric.
Test on a scrap piece to ensure the right temperature and pressure for different fabric types.
Curing for Durability
Curing is essential for making the print last. After printing, hover your heat press above the print at around 330 degrees. This allows the ink to breathe and evaporate moisture, enhancing the print’s durability.
For water-based inks, it’s vital to ensure the ink layer is not pressed too hard, as this can smudge the design.
If using plastisol inks, perform a simple stretch test. If you see cracks, re-cure the shirt by placing it back under the heat press.
Always follow recommended curing times based on the type of ink you use.
Proper curing will help prevent fading and ensure your shirt looks great for a long time.
Maintenance and Troubleshooting

Proper maintenance and efficient troubleshooting are crucial to keep your t-shirt printing setup running smoothly. Regular care for your equipment ensures quality prints and helps you address any issues quickly.
Maintaining Your Equipment
To maintain your heat press machine, regularly check the heating plate and ensure it is clean and free from residue. After each use, wipe it down with a damp cloth.
For your vinyl cutter, keep the blades sharp and replace them when they start to dull. Clean the cutting strip to prevent dust accumulation.
Inspect your garment printing tools like the clothing iron for any wear. Ensure the surface is smooth and without scratches.
It’s beneficial to perform a test print on scrap material to verify that everything is functioning correctly before making final prints. This will help identify any issues early on.
Troubleshooting Common Issues
If you’re having problems with your prints, start by checking the settings on your heat press. Incorrect temperature or pressure can lead to peeling or fading.
Always refer to the material specifications for the ideal settings.
If designs are not cutting properly, check your vinyl cutter’s blade depth and the cutting speed. Adjusting these settings can improve the accuracy of your cuts.
If problems persist, try replacing the vinyl or materials used, as low-quality supplies can affect results.
For iron-on designs, ensure you use enough pressure when applying heat. If your prints still fail, consider cleaning the print head on your printer, as blocked nozzles can cause uneven ink flow.
Frequently Asked Questions
You may have several questions about printing t-shirts at home. This section addresses common concerns regarding the printing process, equipment, and materials needed.
How can I print on t-shirts at home using a standard iron?
To print on t-shirts using a standard iron, first print your design on heat transfer paper. Place the design face-down on the shirt.
Apply the iron on high heat for about 30 seconds, making sure to cover the entire design area for the best adhesion.
What type of printing machine is recommended for beginners to start t-shirt printing?
For beginners, a heat press machine is highly recommended. It provides consistent heat and pressure, making it easier to achieve quality prints compared to a standard iron.
What fundamental materials are required for homemade t-shirt printing?
You will need a computer for design, design software to create or edit your graphics, heat transfer paper, and a printer to print the designs. A heat press or an iron is also essential for transferring designs onto the shirts.
Can I use a Cricut machine for t-shirt printing, and what additional supplies will I need?
Yes, you can use a Cricut machine for t-shirt printing. In addition to the Cricut, you will need heat transfer vinyl (HTV), a cutting mat, and a heat press or iron to apply the designs after cutting.
What steps should I follow to establish a T-shirt printing business from home?
Start by creating designs that appeal to your target market. Purchase the necessary equipment and materials.
Set up an online store or a social media page to showcase your products. Finally, promote your business through various marketing strategies.
Do home t-shirt printing methods require the use of a specific type of printer?
While you can use most inkjet or laser printers for heat transfer methods, a sublimation printer is needed for sublimation printing.
Choose the printer that fits the type of printing method you want to use.


