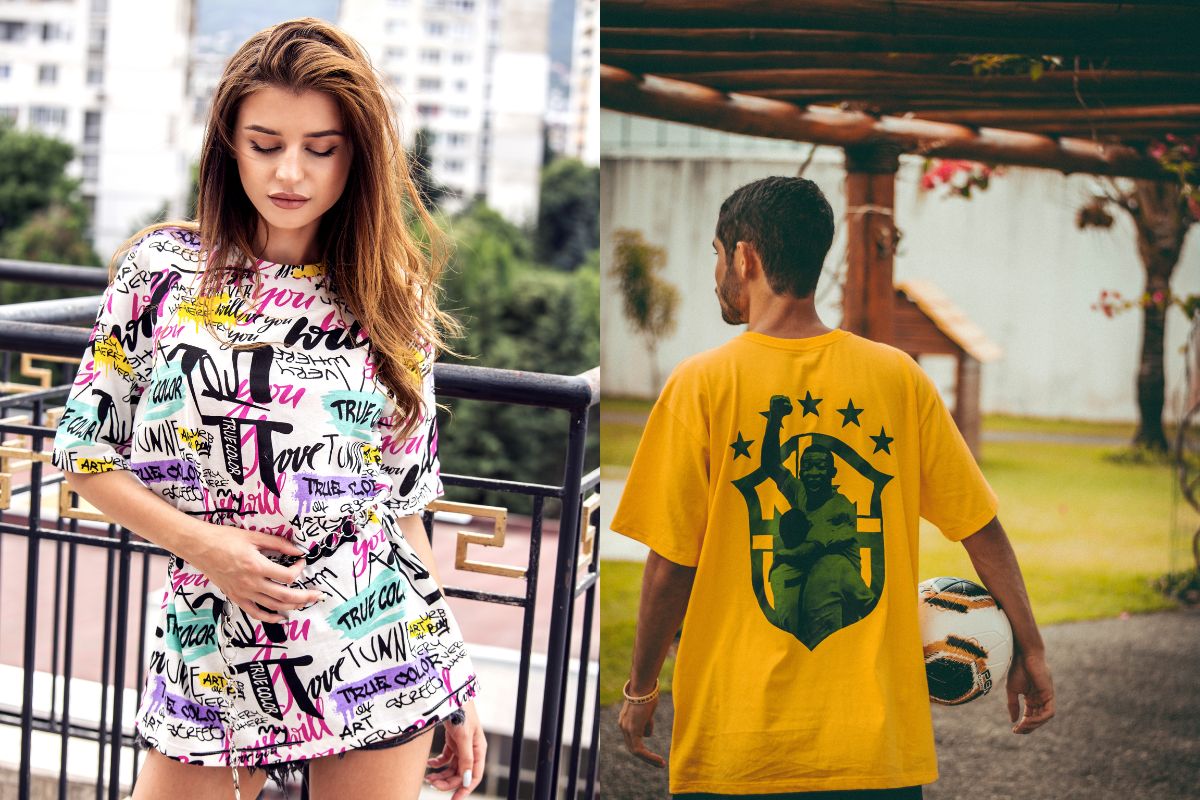
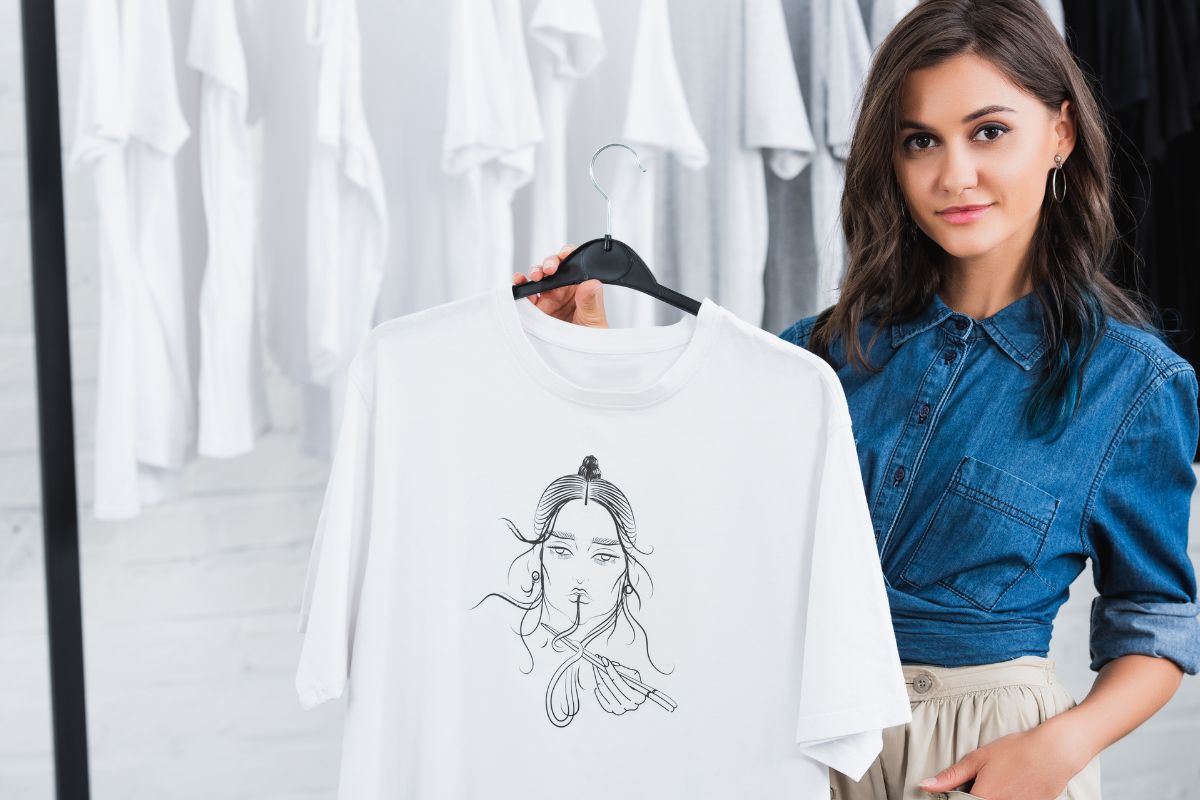
Creating a visually appealing t-shirt involves more than just a great design; it also requires strategic placement. This is where a t-shirt design placement guide becomes invaluable. Understanding the nuances of where to place your design on a t-shirt can make the difference between an item that stands out and one that fails to capture attention. T-shirt placement is crucial because it affects how the design is perceived and interacts with the shape and size of the t-shirt as well as the body of the person wearing it.
When considering design placement, there are several standard options which include the center chest, left chest, full front, upper back, lower back, and sleeves. Each of these placements offers a different visual impact and is suitable for various purposes. For instance, a centered front placement is ideal for bold statements and large graphics, while the left chest is traditionally reserved for logos or smaller designs. It’s key to match the design’s size and positioning with the purpose of the shirt, ensuring it conveys the intended message effectively.
In creating t-shirts, whether for personal projects or a clothing line, you must be mindful of how different design placements can affect the overall aesthetic. Consideration of the target audience and the context in which the shirt will be worn plays an essential role in these decisions. An understanding of t-shirt design placement not only enhances the look of the shirt but optimizes visibility and appeal, making your design one that people want to wear and share.
Understanding T-Shirt Design Placement
In t-shirt design, where you place your graphic is just as crucial as the design itself. A well-positioned design can grab attention and convey your message effectively.
Basic Principles of Placement
When deciding on design placement, you should consider the standard “print zone” which often starts 2-3 inches below the collar for a typical front-center placement. For a professional and aesthetically pleasing result:
- Front-Center Placement: Usually found 2-4 inches below the neckline. This is optimal for a design that is roughly 6-8 inches wide.
- Back-Center Placement: Commonly begins 2-3 inches down from the collar, with the maximum print area depending on the garment type.
Placement Terminology
Understanding the specific terms used in design placement is key:
- Anchor Point: This is the reference point from which measurements are taken for design placement. For most garments, this is typically the neckline or shoulder seam.
- Print Location: This refers to the area on theapparel where the design will be placed, such as the chest, back, or sleeve.
- Print Placement: The exact measured spot within the print location where the design will appear on your garment.
Key T-Shirt Areas for Placement
T-shirt designs are often anchored around these key areas:
- Front: Designs can be centered or aligned to the left (from the wearer’s perspective) chest area.
- Back: Often includes full-back graphics or smaller designs placed near the collar.
- Sleeves: Smaller graphics or text are usually placed here.
Each area serves a different purpose and can affect how your design is perceived. Opt for a print location and placement that align with your vision and the message you want your apparel to convey.
Standard Print Areas and Dimensions

In t-shirt design, knowing the standard print areas and their corresponding dimensions is crucial for achieving a professional look. Your design should fit comfortably within the specified boundaries to ensure optimal visibility and aesthetic appeal.
Front Placement Options
For the front of the shirt, you generally have two main print placement options. The center-chest area typically accommodates a print size of 8 to 10 inches in width. For a full-front design, the print dimensions increase to a standard size of 10 to 12 inches wide by 10 to 14 inches high. If your design is for the upper front, near the collar, that area is smaller with recommended dimensions around 3-4 inches wide.
- Center-Chest: 8-10 inches wide
- Full-Front:
- Minimum: 10 inches wide x 10 inches high
- Maximum: 12 inches wide x 14 inches high
Back Placement Options
When printing on the back of the shirt, you can opt to place your design across the full upper portion of the shirt, typically matching the full-front print dimensions. However, another popular option is top-back, just below the collar, where the print area usually does not exceed 3 inches high and 3 inches wide for a logo or small graphic.
- Full-Back:
- Maximum: 10 to 12 inches wide x 10 to 14 inches high
- Top-Back (below collar): 3 inches x 3 inches
Sleeve Placement Options
Sleeve prints are a subtle yet stylish way to enhance your t-shirt design. Standard print sizes for sleeves vary, but you generally have a maximum print area of 2 inches high by 4 inches wide.
- Left/Right Sleeve: 2 inches high x 4 inches wide
Each placement option comes with its own standard print area ensuring your design is proportional and aesthetically pleasing when applied to the garment. It’s important to consult with your printer for precise maximum print sizes as they can vary slightly depending on the equipment used.
Specific Design Placement Guidelines

When creating t-shirts with custom designs, it’s essential to understand the specifics of where to place your design for optimal impact and aesthetic appeal. Here, you’ll learn about the standard placements for various t-shirt areas, facilitating a professional appearance for your custom apparel.
Center Chest and Full Front Designs
For center chest designs, position your artwork so that it’s centered between the left and the right seams, typically 3 to 3.5 inches below the neckline to avoid the design being hidden when your t-shirt slightly drapes. Full front designs often span most of the shirt’s width. These designs should maintain a top margin just below the neckline and center evenly across the width of the shirt.
- Center Chest: 3 – 3.5 inches below neckline, centered horizontally.
- Full Front: Maintain top margin, spread widely and evenly.
Left Chest Design Guidelines
Left chest designs are smaller and more subtle, commonly used for logos or emblems. The standard measurement for placement is 3.5 to 4 inches from the left shoulder seam and centered between the left seam and the midpoint of the body. This ensures the design is visible and coherent.
- Left Chest: 3.5 – 4 inches from the shoulder seam, center between left seam and shirt’s midpoint.
Upper Back and Full Back Design Placement
Designs placed on the upper back are dictated by the cut of the t-shirt. They are often positioned just below the neckline or approximately 1 to 2 inches below the shirt’s collar. Full back designs require centering both horizontally and vertically across the shirt’s back. Ensure the design starts a few inches from the collar to remain unobscured by outerwear.
- Upper Back: 1 – 2 inches below the collar or shirt’s neckline.
- Full Back: Center horizontally and vertically, few inches below the collar.
Sleeve Design Considerations
With sleeve designs, ensure that your sleeve logo placement is balanced and visible, typically starting 0.5 to 1 inch below the shoulder seam. This placement is ideal for small logos or text. For larger sleeve designs, ensure they wrap well around the sleeve without reaching the underarm where the design might fold and decrease visibility.
- Sleeve logo: 0.5 – 1 inch below the shoulder seam.
- Sleeve designs: Avoid underarm area, maintain visibility around the sleeve.
Designing for Different T-Shirt Types

When you’re preparing to design for various types of apparel, understanding the nuances in garment type and placement can greatly affect the visual impact and wearability of your design.
Standard T-Shirts
With standard t-shirts, the most typical design placement is the center chest area, spanning about 6 to 8 inches in width and height. You should aim to position your design roughly 2 to 4 inches below the t-shirt collar for a balanced look. When considering the print size, remember that an oversized design can extend 12 to 15 inches wide and 14 to 16 inches tall, placed two to three inches below the collar along the centerline.
Label Placements:
- Outside Label: Underneath the collar on the back, with a maximum area of 3″ × 3″.
Common Print Locations:
- Front, Chest: Centered 2″-4″ below the collar.
- Back: Depending on your design, it can be centered across the shoulders or lower towards the waist.
Design Dimensions Guide:
- Standard Front: Approximately 6″-8″ for width and height.
- Oversize Front: 12″-15″ wide and 14″-16″ tall for a larger impact.
Hoodies and Alternative Apparel
When designing forhoodies and other alternative apparel liketank tops or long sleeve shirts, take into account that the presence of pockets, zippers, or seams can dictate design placement. For hoodies, a common location is either above the pocket or on the upper chest to remain visible. Be cautious with zipper areas; split designs must be carefully aligned to maintain continuity.
Design Tips for Hoodies:
- Front: Place your design above the pocket to avoid warping over seams.
- Back: Utilize the space between the shoulder blades for optimal visibility.
Design Placement Considerations for Alternative Apparel:
- Seams and Zippers: Avoid them to prevent design distortion.
- Pockets and Hoods: Accommodate these features by placing designs strategically so they remain unobstructed and visible.
Techniques for Precision and Symmetry

Achieving precision and symmetry in t-shirt design placement is essential for a professional look. Leveraging the right tools and understanding the placement techniques are key to ensuring your design is perfectly centered and aligned.
Using a T-Shirt Ruler Guide
T-Shirt Ruler Guides are indispensable for aligning designs with precision on your t-shirts. They are typically transparent, which allows you to see the shirt and design underneath. Here’s how to use them:
- Identify the Anchor Point: For most shirts, the anchor point will be the collar or the armpit seam. The yoke—the area across the shoulders—can also serve as a reference.
- Place the T-Shirt Ruler Guide: Position the ruler on the shirt, aligning it with the chosen anchor point. This will be your reference for where to place the design.
- Center and Align Your Design: Check that your design is both horizontally and vertically centered. Use the ruler’s gridlines to ensure it’s not tilted or skewed.
Remember, the key is to line up the ruler with the anchor point consistently on every shirt for uniform placement.
Other Alignment Tools and Methods
Apart from the t-shirt ruler guide, there are other methods and tools that can assist with the alignment of your t-shirt designs:
- Laser Guides: These project straight lines onto the shirt, which can help in aligning graphics precisely without physical rulers.
- Templates: You can create or purchase plastic or cardstock templates that have pre-marked areas for common design placements.
- Folding Techniques: Align the design by folding the shirt and the transfer in half to find the center. The armpit seam and yoke can be used to ensure the fold is even.
Whether you choose to use a t-shirt ruler guide or another method, always double-check the placement before applying the design to avoid any misalignment.
Methods of Placing Designs

When you’re creating a custom T-shirt, understanding the methods of design placement ensures a professional and appealing result. Each technique has its own considerations for design placement on the fabric.
Screen Printing Considerations
With screen printing, you’ll want a flat surface for the best quality print. Keep an eye on the seams, collars, and edges of the shirt as these can interfere with the screen and cause imperfections in your design. Typically, the design is placed 2 to 4 inches below the collar for a center chest print.
Heat Transfer Vinyl (HTV) Applications
For HTV applications, whether using a Cricut, Silhouette, or other cutting machines, precision in placement ensures a crisp finish. Always pre-press your shirt to eliminate wrinkles and moisture. An EasyPress or similar iron-on tool can apply the vinyl design. HTV works well when placed in areas without stretch or constant creasing to prevent cracking.
Direct-to-Garment (DTG) Techniques
DTG involves printing directly onto the fabric and allows for intricate, multi-colored designs. You can place the print almost anywhere on the garment, but avoid creases and uneven areas for a smooth application. Make sure the fabric is pre-treated if required, to ensure the ink sets correctly and to extend the lifespan of the print.
Sublimation and Embroidery
Sublimation shirts require a polyester-rich fabric for the best color vibrancy and durability. Sublimation designs can be edge-to-edge, offering you creative freedom with placement. For embroidery, pinpoint the location accurately, such as the left chest, which is a popular choice. The thickness of the fabric and its ability to hold a stitch without puckering is crucial for the finished look.
Preparing Your Artwork for Printing

Before you upload your artwork for T-shirt printing, ensure that it meets the specific requirements for file types and quality, is sized correctly, and is properly positioned. This preparation will streamline the printing process and enhance the quality of your final product.
Understanding File Types and Quality
File Types: For printing, you’ll typically use JPG, PNG, or SVG files. PNG files are often preferred for their transparency capabilities, which is handy for designs without a background. SVG files are vector-based and are required if you’re planning to use a Cricut machine for creating a decal. The clarity of SVG files remains intact irrespective of how much you scale your design.
Quality: Aim for a high resolution—a minimum of 300 DPI (dots per inch)—to avoid pixelation and blurriness in your printed T-shirts. This is crucial for detailed designs to maintain their clarity when transferred onto the fabric.
Sizing Your Design Correctly
When preparing your artwork, the dimensions of your design must reflect how you want it to appear on the T-shirt. The standard maximum printable area is usually 12 inches by 16 inches. For smaller placements, such as a pocket print, the design should not exceed 4 inches by 4 inches.
- Full Front or Back: Relate the size to the garment’s actual print area.
- Left Chest: Designs are typically 3 to 4 inches wide.
- Sleeves or Tag Prints: Adjust accordingly, usually 2 inches wide.
Using a carrier sheet, especially when employing a decal or transfer, will keep your design intact and ensure precision during heat application.
Positioning Your Artwork with Software
Upload your design into the appropriate software to adjust and finalize the placement. If you’re using a Cricut, their design software lets you drag and drop your SVG file and position it exactly where you need it on the template that corresponds to your shirt size and style.
- Front or Back: A common placement is approximately 3 inches down from the collar to ensure visibility when worn.
- Alignments: Use guides for horizontal or vertical centering, which is crucial for asymmetrical designs.
- Preview: Most software provides a preview mode so you can visualize the placement on a model or a blank T-shirt outline.
Remember to save your artwork file in the highest quality possible and in the correct format required by the printer. This attention to detail in your artwork preparation will contribute to a professional-looking T-shirt design.
Branding and Logo Placement

Effective logo placement on t-shirts is crucial for brand recognition and identity. Your decisions here can reflect the brand’s core values while ensuring visibility and aesthetic appeal.
Establishing Brand Identity with Placement
Your brand’s identity is conveyed not just through logo design but also its placement on a t-shirt. A well-positioned logo can make a lasting impression, so it should be thoughtfully located to enhance brand recognition. Here are the most common placements:
- Front Center: Suitable for a bold statement; often used for event t-shirts.
- Left Chest: Classic and professional; ideal for corporate branding.
- Sleeve: Subtle and trendy; perfect for adding a secondary brand mark.
- Back (under the collar): Provides high visibility; used frequently for brand logo or details.
Logo Placement Guidelines
For the most effective branding on a t-shirt, use the following standards for logo placement:
- Left Chest: Logos typically range from 3″ to 4″ wide, and the top of the logo should start about 3″ down from the collar.
- Full Front or Back: A full-size print should be 10″ to 12″ wide and 10″ to 14″ tall. For an oversized look, go up to 15″ wide and 16″ tall.
Remember these dimensions when working on your design:
| Placement | Width | Height |
| Left Chest | 3″-4″ | Commensurate with width |
| Center Chest | 6″-10″ | 6″-8″ |
| Full Front/Back | 10″-12″ | 10″-14″ |
| Oversize Front | Up to 15″ | Up to 16″ |
Maintain a consistent brand image by ensuring your logo’s placement is uniform across different t-shirts. This consistency reinforces brand recognition and maintains a professional appearance.
Advanced Tips and Techniques

Mastering advanced tips and techniques in t-shirt design placement can set your apparel apart, enabling you to effectively execute oversized, all-over prints, navigate complex designs with confidence, and troubleshoot common placement issues.
Oversize and All-Over Prints
For oversize prints, it’s essential to consider the dimensions of your intended design area. Standard placement for a typical front print is centered and starts several inches down from the neckline. However, with an oversize front, your design should deliberately extend beyond typical boundaries. These top print placement locations help in maximizing the available canvas:
- Chest area: A good rule of thumb for oversized chest prints is to start above the mid-chest.
- Bottom hem: Running a design close to the bottom hem creates a dynamic look but ensure it’s at least one inch away to account for sewing variations.
Navigating Complex Designs
When handling complex designs, break down the elements and consider their individual placement on the front of the shirt. Here’s a structured approach:
- Measure your space: The print area on the front varies but generally, keep designs within a 12″ x 13″ space for unisex.
- Anchor points: For designs that wrap around the body or are asymmetrical, identify anchor points that will keep the design centered and balanced.
Pro-tip: Use a grid or template to ensure that every element of your complex design fits within the boundaries and is visually appealing from all angles.
Troubleshooting Common Placement Issues
Encountering challenges with design placement is typical, but easily manageable with the right techniques:
- Off-center prints: Always use a ruler or a T-shirt alignment tool to mark the center point on your practice run.
- Design stretching: Test the material; if it stretches, your design might warp. Adjust your print accordingly or choose a less stretchy fabric.
Remember: Heat transfer vinyl (HTV) and sublimation printing have different placement needs. Test your method on a sample fabric to fine-tune the placement before finalizing your product.
Frequently Asked Questions
When it comes to t-shirt design placement, precise measurements can make the difference between a professional look and a misaligned print. Here are some of the most common questions answered to ensure your design is perfectly positioned every time.
What are standard dimensions for front t-shirt designs?
For a standard adult t-shirt, front designs usually have a width between 11 to 14 inches to fill the chest area without wrapping under the arms. An 11-inch width works well for sizes Small to Medium, whereas a 14-inch width is suitable for Large and above.
At what distance from the neckline should a logo be placed on the front of a shirt?
Front logos typically look best when placed about 1.5 to 3 inches from the bottom of the shirt’s neckline. If the shirt has a crew neck collar, about 2 to 3 inches from the bottom of the collar is advisable for a balanced look.
What guidelines can be followed for placing a design on the back of a t-shirt?
When placing a design on the back of a shirt, align the top of the design approximately 5 inches from the collar for a full back print. This positioning ensures that the design is centered between the top and bottom edges of most shirts.
How do you determine the proper size for a left chest logo?
A typical left chest logo on a t-shirt should measure around 3.5 to 4 inches in width. Place the logo so its center is 7 to 9 inches down from the left shoulder seam and 4 to 6 inches from the center of the shirt, depending on the shirt size.
What is the general rule for vertical placement of graphics on women’s t-shirts?
Graphics on women’s t-shirts often look best when vertically placed higher than on men’s shirts, around 4 to 6 inches down from the neckline, to account for a women’s style fit, shape, and neckline.
What tips should one keep in mind when positioning a full back design?
For full back designs, ensure that the design starts just below the shoulder blades to avoid being obscured by the neckline or hood of a jacket. For most shirts, this will mean starting the design around 2 to 3 inches down from the collar.


