Making sublimation shirts is a fun and creative process that allows you to design your own unique clothing.
To get started, you will need a sublimation printer, compatible ink, and polyester shirts, as sublimation works best on fabrics that contain at least 65% polyester.
This technique uses heat to transfer dye onto the fabric, resulting in bright, vibrant designs that won’t fade or crack.
Comprehensive Table of Contents for Sublimation Printing Guide
- Understanding Sublimation Printing
- Preparing Your Design
- Selecting the Right Materials
- Essential Sublimation Equipment
- The Sublimation Process
- Post-Press Finishing
- Creating Specialized Sublimation Items
- Caring for Sublimated Garments
- Resources and Guidance
- Starting Your Own Sublimation Business
- Frequently Asked Questions
- What is the process for creating sublimation shirts at home?
- What type of printer is required for sublimating shirts?
- How is a heat press utilized to sublimate designs onto shirts?
- Is it possible to sublimate designs on dark-colored shirts?
- What is the role of Cricut in making sublimation shirts?
- What materials are best suited for sublimation shirt printing?
Before printing, you must prepare your design carefully. This includes mirroring the image for accurate placement and using the right sublimation paper.
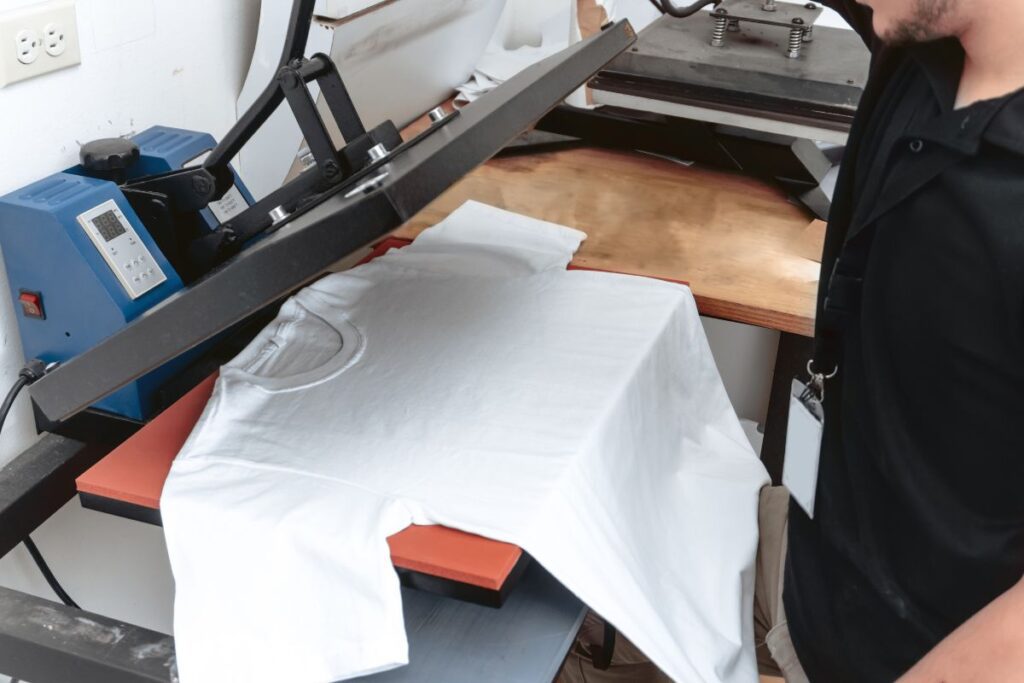
Once everything is set, you preheat your heat press and position your shirt correctly to ensure that the print adheres well.
Following these steps will help you create professional-looking sublimation shirts with ease.
The best part about sublimation printing is its versatility. You can customize T-shirts, mugs, and other items, giving you endless options for personal expression.
Dive into this guide to unlock the full potential of sublimation and learn how to make shirts that showcase your creativity.
Understanding Sublimation Printing
Sublimation printing is a popular method for creating custom t-shirts with vibrant colors and detailed designs. It involves a specific process that allows the dye to become part of the fabric, resulting in long-lasting prints.
This section will cover the basics, the differences from screen printing, and the advantages of using sublimation.
Basics of Sublimation
Sublimation printing uses heat to transfer dye onto materials like polyester. The process starts with a sublimation design printed on special paper using a sublimation printer.
Once printed, the design is placed on the fabric and exposed to heat and pressure.
This heat causes the dye to turn into a gas, allowing it to penetrate the polyester fibers. When cooled, the dye solidifies, creating a permanent and vibrant print.
For best results, choose fabrics with at least 65% polyester content. Some popular items for sublimation include t-shirts, coasters, and tumblers.
Sublimation vs. Screen Printing
Sublimation and screen printing are both popular for creating custom designs, but they differ significantly.
Sublimation allows for full-color designs and intricate details. The prints do not fade or crack since the dye is embedded in the fabric itself. This results in a soft feel.
Screen printing, on the other hand, applies ink on top of the fabric. It can be cost-effective for large runs but may struggle with fine details and color gradients.
Here are key differences:
| Feature | Sublimation | Screen Printing |
|---|---|---|
| Print Type | Dye penetrates fabric | Ink sits on fabric |
| Color Vibrancy | Excellent | Good, limited |
| Fabric Compatibility | Mostly polyester | Various fabrics |
| Design Complexity | High | Moderate |
Advantages of Sublimation Printing
Sublimation printing provides several benefits that make it a popular choice for custom t-shirts.
- Vibrant Colors: The dye creates bright, eye-catching colors that stand out.
- Detail: You can produce intricate designs without losing quality.
- Durability: Prints won’t crack, peel, or fade, giving your t-shirts a long life.
- Soft Feel: The design blends into the fabric, ensuring the shirt remains comfortable to wear.
Overall, sublimation printing is an excellent choice for custom projects. Its unique process ensures that you can create high-quality, personalized items with ease.
Preparing Your Design
| Step | Description |
|---|---|
| 1. Choose the Right Shirt | Use 100% polyester or a high-polyester blend for best results |
| 2. Select Your Design | Create or download a high-resolution sublimation design (300 DPI recommended) |
| 3. Print the Design | Use a sublimation printer with sublimation ink on sublimation paper |
| 4. Prepare the Shirt | Pre-press the shirt for 5–10 seconds to remove moisture & wrinkles |
| 5. Position the Design | Place the printed design face down on the shirt and secure it with heat-resistant tape |
| 6. Heat Press Settings | Set the heat press to 380–400°F (193–204°C) for 45–60 seconds |
| 7. Apply Pressure | Use medium to firm pressure while pressing |
| 8. Peel & Cool | Carefully remove the sublimation paper while warm and let the shirt cool |
| 9. Final Touch | Stretch the fabric slightly to enhance color vibrancy and remove press lines |
| 10. Wash & Care | Wash in cold water, avoid fabric softeners, and dry on low heat |
Creating a great sublimation shirt starts with a strong design. This involves choosing the right software, crafting your design carefully, and optimizing images to ensure they print well.
Choosing the Right Design Software
Selecting the right design software is crucial for creating sublimation images. Popular options include Adobe Photoshop, CorelDRAW, and free tools like GIMP. These programs allow you to create and edit designs with ease.
You can also use AI software to generate unique designs quickly. Look for software that supports layers, which makes editing simpler.
It’s important to pick a program that you’re comfortable with, as this will speed up your work.
Creating Your Sublimation Design
When making your sublimation design, keep the following in mind:
- Size: Ensure your design fits the size of your shirt. Most shirts require a design size around 12″x16″.
- Color Mode: Use RGB color mode for the best results, as sublimation printers use this setting.
- Details: Include large images, patterns, or graphics to take full advantage of the sublimation process.
Experimenting with different layouts will help you find what works best. Use templates to save time and maintain consistency across different shirts.
Optimizing Images for Sublimation
Optimizing images is key to successful sublimation printing. Start with high-resolution images, ideally 300 DPI or higher. This ensures your designs look sharp and clear.
Consider the following steps:
- Trim excess space: Remove any unnecessary backgrounds from your designs.
- Convert file formats: Save images in PNG or TIFF formats to preserve quality.
- Use templates: Many design software programs offer templates that can help streamline this process.
Be mindful of colors as some may look different when printed. Always do a test print to see how your colors turn out before making larger runs.
Selecting the Right Materials
When making sublimation shirts, the choice of materials is crucial for achieving the best results. Key factors include selecting the right fabrics and understanding the importance of polyester content.
Choosing Sublimation-Friendly Fabrics
For successful sublimation, it’s essential to choose fabrics that accept dye well. The best choice is 100% polyester. Polyester can hold the dye effectively, allowing vivid and long-lasting colors.
You can also use blends, but aim for at least 65% polyester. Cotton shirts do not work well since the sublimation dye requires polyester to bond.
Suggested Fabrics:
- Polyester shirts: Ideal for bright designs.
- Polyester blends: Use with caution; check the blend ratio.
- White fabric: This helps colors to pop since sublimation works best on light backgrounds.
Understanding Polyester Content
The amount of polyester in your fabric plays a significant role in the outcome. Higher polyester content results in sharper prints and better durability.
For example, a 100% polyester shirt will show vibrant colors and details.
If using a cotton shirt or anything with low polyester, you risk fading and dull designs. White polyester material is preferred as it enhances color vibrancy. Always check the label to confirm fabric composition before printing.
Essential Sublimation Equipment
| Equipment | Purpose |
|---|---|
| Sublimation Printer | Prints high-quality designs using sublimation ink |
| Sublimation Ink | Special ink that turns into gas when heated and bonds with polyester fabric |
| Sublimation Paper | Transfers the printed design onto the fabric during heat pressing |
| Heat Press Machine | Applies heat and pressure to transfer the design onto the shirt |
| Polyester Shirts | Works best with 100% polyester or high-polyester blends for vibrant colors |
| Design Software | Programs like Adobe Photoshop, CorelDRAW, or Canva for creating designs |
| Heat-Resistant Tape | Secures the sublimation paper to prevent shifting during heat pressing |
| Teflon Sheet or Parchment Paper | Protects the shirt and heat press from ink bleeding |
| Lint Roller | Removes dust and lint to ensure a clean, flawless print |
| Protective Gloves | Prevents burns when handling the hot heat press |
To create high-quality sublimation shirts, you need the right equipment. Three essential elements are a sublimation printer, quality inks and papers, and a heat press machine. Each plays a critical role in the process.
Sublimation Printers
Choosing the right sublimation printer is crucial for your projects. The Epson EcoTank models are popular due to their large ink tanks and cost-effective operation. These printers can handle high-resolution images and are compatible with sublimation ink.
Make sure to check that your printer is specifically designed for sublimation. Using a regular inkjet printer with sublimation ink may cause clogs. Look for features like mirror print settings, which are needed for transferring images properly.
Quality Inks and Papers
The quality of your inks and papers greatly affects the final product. Sublimation ink, like hiipoo ink, is specially formulated to turn into gas when heated. This ink penetrates the fabric, ensuring vibrant colors that last.
When it comes to sublimation paper, A-Sub paper is widely recommended. It absorbs ink well and releases it evenly when heated, which is important for crisp designs. Always use paper that matches your printer to achieve the best results.
Heat Press Machines
A reliable heat press machine is essential for transferring your designs onto shirts. Options like the Cricut EasyPress and Cricut AutoPress are user-friendly and ideal for beginners.
These machines provide consistent heat and pressure, which is vital for a successful transfer. Make sure to set the correct temperature and time based on your material. Proper heat application ensures that the ink sets into the fabric, resulting in a durable finish.
The Sublimation Process

The sublimation process involves creating high-quality designs that transfer onto fabrics using heat and ink. Each step is important to ensure vibrant results and long-lasting colors.
Printing Your Sublimation Transfers
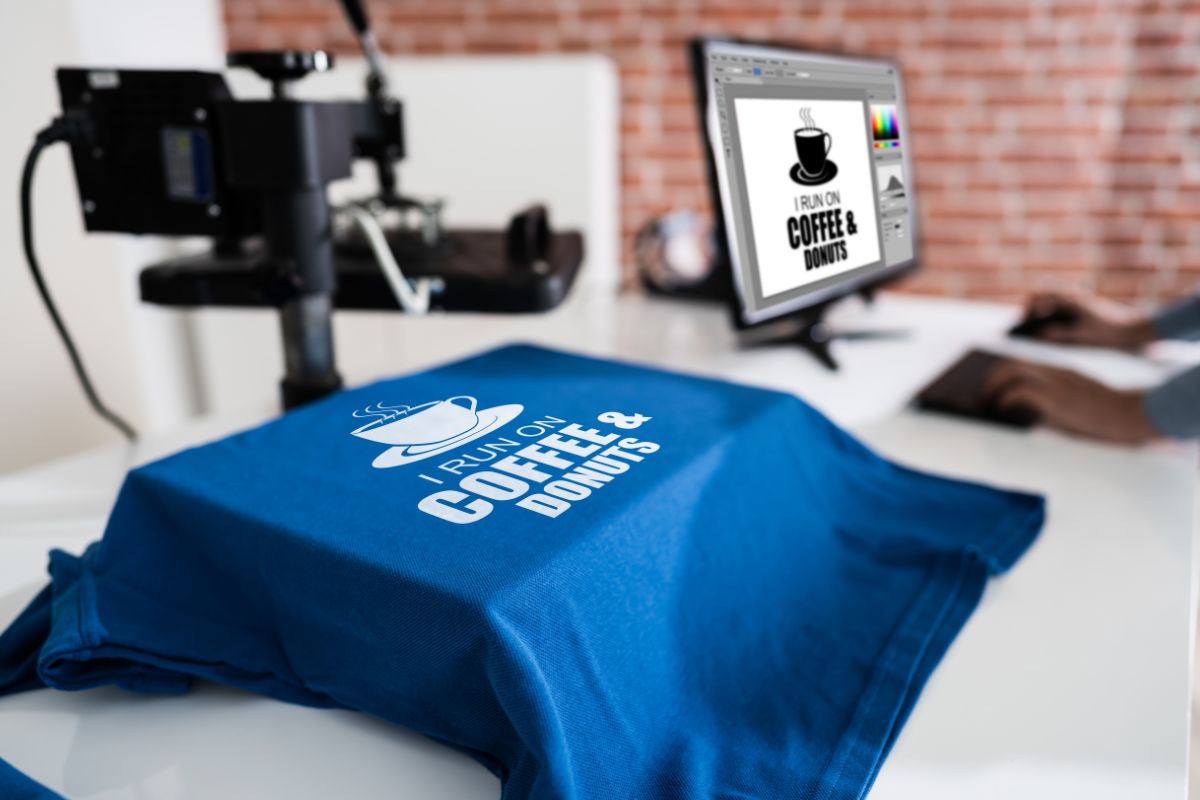
Start by choosing your design and creating it on your computer. Use design software that supports sublimation, like Adobe Photoshop or CorelDRAW.
Next, set up your sublimation printer. Make sure to use sublimation ink and high-quality sublimation paper.
Print your design in reverse, as it will transfer mirror-image onto the shirt. Check your printer settings to ensure the highest quality output.
After printing, allow the transfers to dry for a few minutes. This helps prevent smudging.
Use a lint roller on your shirt to remove any dust or fibers that might interfere with the transfer.
Preparing for the Heat Press
Before you begin the pressing phase, you need to gather your materials. You will need a heat press, butcher paper, and heat-resistant tape.
Prepare your heat press by setting it to the appropriate temperature, typically around 400°F (204°C), and the time, usually about 45-60 seconds.
While the press is heating, position your shirt on a pressing mat. This provides a stable surface that absorbs excess heat.
Place your printed sublimation transfer face down on the shirt. Use heat-resistant tape to secure it and prevent any movement during the pressing process.
Finally, cover the transfer with a piece of butcher paper to protect both the shirt and the press from ink.
The Pressing Phase
Once everything is prepared, it’s time to press your shirt. Close the heat press gently, making sure it applies even pressure across the design.
Keep an eye on the timer. When time is up, carefully open the press and lift the shirt. Be cautious, as both the shirt and the transfer will be hot.
Remove the butcher paper and the sublimation transfer while it’s still warm. This helps to avoid any sticking or smearing of the ink.
After pressing, allow the shirt to cool down completely. This helps set the design, ensuring vibrant colors that last through washes.
Your sublimation shirt is now ready to wear!
Post-Press Finishing
| Step | Description |
|---|---|
| 1. Remove Transfer Paper | Carefully peel off the sublimation paper while warm to avoid ghosting |
| 2. Check for Imperfections | Inspect the print for any fading, ghosting, or misalignment |
| 3. Stretch the Fabric | Lightly stretch the shirt to enhance color vibrancy and reduce press lines |
| 4. Cool Down Properly | Let the shirt cool naturally to set the design properly |
| 5. Remove Lint or Residue | Use a lint roller to remove any debris left from the process |
| 6. Wash Test (Optional) | Wash in cold water (inside out) to check color retention and durability |
| 7. Final Pressing (If Needed) | Use a Teflon sheet and press for 5 seconds to remove press lines |
| 8. Store Properly | Fold neatly or hang in a cool, dry place to prevent creases |
After completing the pressing process, it’s essential to handle the sublimation shirts correctly. Proper cooling and quality checking are vital to ensure that your designs look great and last long.
Cooling and Peeling
Once you lift the heat press, allow the sublimation shirt to cool down slightly. This helps the ink to set properly. You can let it rest for a few minutes before peeling the transfer paper.
To peel, start at one corner and slowly pull the paper away from the shirt. If you notice any sticking or resistance, pause and allow more cooling time. This prevents damage to your design.
Here are some important tips for this process:
- Avoid rushing: Give the material enough time to cool.
- Use a clean area: Ensure the shirt is on a clean surface to avoid debris sticking to it.
Quality Checking
After peeling, inspect your sublimation t-shirt closely. This step is crucial to ensure your design is perfect.
Look for any fading, misalignment, or discoloration.
Check the edges of the design as they should be clear and sharp. If areas appear dull or uneven, this might indicate an issue during the pressing.
Ensure the ink has transferred correctly.
Make a list of common issues:
- Fading: May indicate insufficient temperature.
- Smudging: Often caused by movement during pressing.
Addressing these issues right away can save you from future problems and ensure the quality of your all-over sublimation shirts.
Creating Specialized Sublimation Items

Sublimation is not just for shirts; you can create a variety of unique items. With the right supplies and techniques, you can make personalized products that stand out.
Sublimation Projects Beyond Shirts
You can expand your sublimation projects to include items like coasters and tumblers.
Sublimation coasters are popular and simple to make. Start with a blank polyester-coated coaster. Print your design on transfer paper, trim it, and apply it using a heat press.
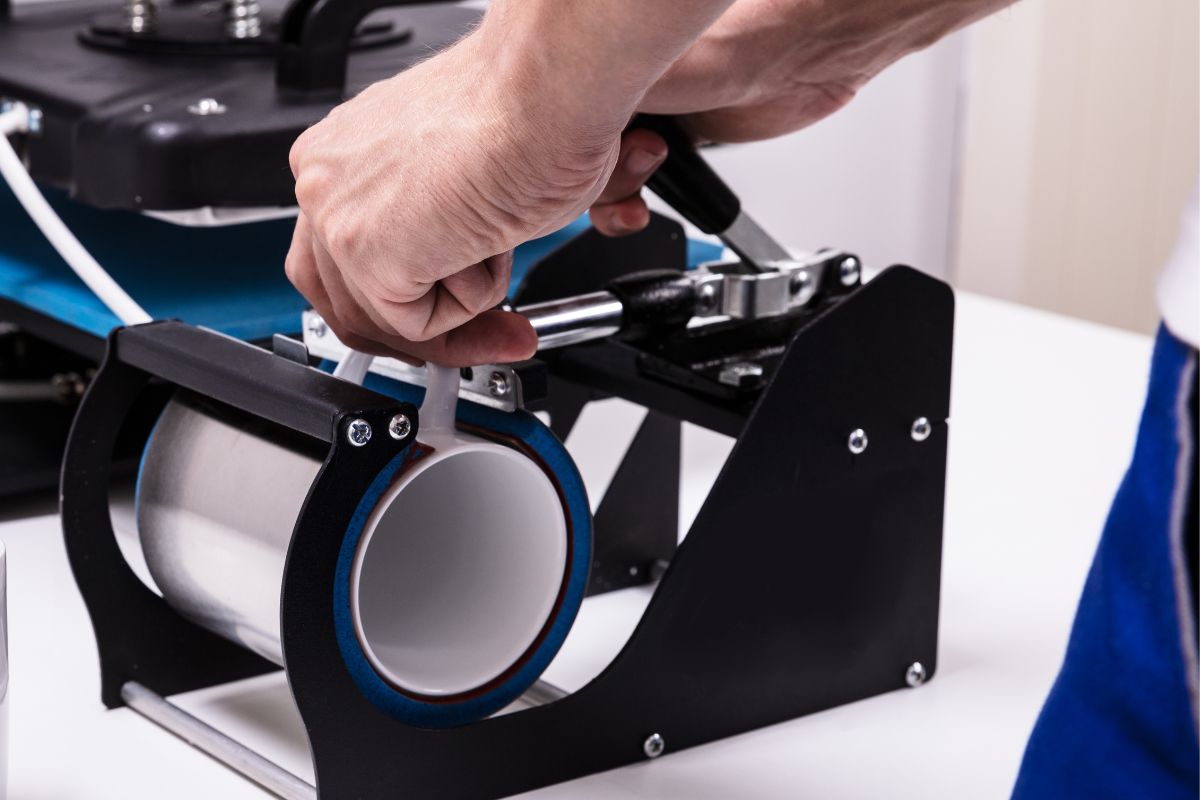
Sublimation tumblers are also a great choice. Choose tumblers made for sublimation and follow the same printing and transfer process.
Make sure to wrap the tumbler securely to avoid smudging.
You can use Cricut infusible ink for these projects. It works well with different materials.
Additionally, ensure you have quality sublimation craft supplies to get the best results. This includes transfer paper and a reliable heat press.
Caring for Sublimated Garments
| Care Aspect | Best Practices |
|---|---|
| Washing | Use cold water and wash the garment inside out |
| Detergent | Use mild, bleach-free detergent to prevent fading |
| Fabric Softener | Avoid fabric softeners as they can affect print longevity |
| Drying | Air dry for best results or use a low-heat tumble dry |
| Ironing | Avoid direct ironing on the print; use low heat with a cloth over it |
| Bleaching | Do not use bleach, as it can ruin sublimation prints |
| Stain Removal | Gently blot stains with cold water; avoid scrubbing the print |
| Avoid Harsh Chemicals | Do not use harsh stain removers or strong detergents |
| Storage | Store in a cool, dry place, folded neatly to prevent creases |
| Sun Exposure | Avoid prolonged direct sunlight to prevent color fading |
Taking care of your sublimated garments is important to keep them looking good and lasting longer. Proper washing and handling will help maintain the colors and details of your designs.
Washing and Handling Tips
When washing sublimated shirts, always use cold water. This prevents the colors from fading and keeps the fabric intact.
Choose a mild detergent and use a moderate amount. Too much detergent can leave a residue, dulling the vibrant prints.
For hand washing, fill a sink or basin with cold water and swirl your garment gently. Avoid twisting or wringing the fabric. Rinse thoroughly to remove all soap.
If you opt for machine washing, turn your shirts inside out. This protects the designs from friction. Also, separate them from items with zippers or buttons to avoid snags.
For drying, air-drying is best. If using a dryer, set it to low heat. High heat can cause shrinkage and damage to the print.
Always use padded hangers to maintain the shape of the shirt.
Resources and Guidance

Finding the right resources can enhance your sublimation journey. Accessing tutorials and connecting with a community can provide valuable insights and tips.
Where to Find Sublimation Tutorials
There are many online resources where you can learn about sublimation. Websites like YouTube offer video tutorials that walk you through the process step by step.
For written guides, explore blogs such as Jennifer Maker. These often provide detailed tutorials and free designs to help you get started.
Additionally, consider using platforms like Google Docs to keep your designs organized. You can create and edit your sublimation designs easily using tools like Cricut Design Space.
These resources will help you build your skills and confidence in sublimation printing.
Connecting with the Sublimation Community
Joining communities can greatly enhance your sublimation experience. Look for Facebook groups or online forums that focus on sublimation techniques.
These spaces offer a chance to ask questions and share your work.
Engaging with experienced sublimators can provide insider tips. They often share their favorite products, like specific inks and printers, which can make a difference in your results.
Follow social media pages dedicated to sublimation, where you can find inspiration.
Connecting with others can motivate you and boost your creativity as you learn from their experiences.
Starting Your Own Sublimation Business
Launching a sublimation business involves careful planning and effective marketing strategies. By focusing on the right niche and reaching your target customers, you can create a successful venture.
Planning Your Sublimation Startup
To start, you need essential equipment like a high-quality sublimation printer and heat press. Research and choose printers that fit your budget and production needs.
Next, brainstorm a unique name that reflects your brand. Consider combining meaningful words or values.
You’ll also want to decide on your target audience. Think about who will use your products, like sports teams, schools, or businesses.
Register your business and create a professional email account. This helps in communicating with customers and suppliers.
Protect your online presence by securing a strong password for your accounts.
Marketing Your Sublimation Products
| Marketing Strategy | Description |
|---|---|
| Etsy & Online Marketplaces | Sell custom sublimation products on Etsy, Amazon Handmade, and eBay |
| Own E-commerce Store | Create a Shopify, WooCommerce, or BigCommerce store for direct sales |
| Social Media Marketing | Promote products on Instagram, Facebook, Pinterest, and TikTok with engaging content |
| Influencer Collaborations | Partner with influencers to showcase and review your products |
| Custom Orders & Personalization | Offer customized designs for birthdays, weddings, and businesses |
| SEO & Blogging | Write blog posts about sublimation tips, trends, and product uses to attract organic traffic |
| Email Marketing | Build an email list and send exclusive discounts and new product updates |
| YouTube & Video Content | Create tutorial videos and showcase sublimation printing behind the scenes |
| Local Markets & Events | Sell at craft fairs, farmers’ markets, and pop-up shops to build brand awareness |
| Wholesale & B2B Sales | Partner with local businesses for bulk orders, such as corporate gifts and uniforms |
| Print-on-Demand Services | Offer designs on platforms like Printify, Printful, or Redbubble for passive income |
| Retargeting Ads | Use Facebook Pixel & Google Ads to retarget visitors who viewed your products |
| Loyalty & Referral Programs | Encourage repeat customers with reward points and referral bonuses |
Once your business is set, you need to attract customers.
Start by creating a website or online store. Use platforms like Etsy or Shopify for selling your custom shirts.
Social media is powerful for marketing. Set up accounts on Instagram, Facebook, or Pinterest.
Share eye-catching photos of your products. Engage with potential customers through posts and stories.
Consider offering promotions or discounts when launching your shirts. This encourages people to try your products.
Identify your competitors and analyze their strategies to gain insights for your own business.
Frequently Asked Questions
This section addresses common questions about making sublimation shirts. You will find specific answers about the process, equipment required, and best materials to use.
What is the process for creating sublimation shirts at home?
To make sublimation shirts at home, start by preparing your design using a computer. Print the design on sublimation paper using a suitable printer.
After printing, place the design face down on the shirt. Use a heat press to transfer the design onto the fabric at the right temperature and time.
Finally, peel off the paper to reveal your finished product.
What type of printer is required for sublimating shirts?
You need a printer that uses sublimation ink for printing designs. Popular choices are Epson EcoTank or Sawgrass printers.
These printers can handle sublimation processes effectively, producing vibrant colors that bond well with polyester fabrics.
How is a heat press utilized to sublimate designs onto shirts?
A heat press applies heat and pressure to transfer the ink from the sublimation paper to the shirt.
Set the heat press to the recommended temperature, usually around 400°F (204°C), and apply it for 45 to 60 seconds. This allows the ink to turn into gas and penetrate the fabric.
Is it possible to sublimate designs on dark-colored shirts?
Sublimation works best on light-colored shirts, especially those made of polyester. Dark fabrics do not allow the ink to transfer properly, resulting in muted colors.
If you want to use dark shirts, consider applying a white base layer before sublimating.
What is the role of Cricut in making sublimation shirts?
Cricut machines are used for cutting designs from materials like heat transfer vinyl.
While they are not directly used for sublimation, you can cut out shapes or letters from vinyl and then apply them to shirts. This adds extra designs alongside sublimation prints.
What materials are best suited for sublimation shirt printing?
The best materials for sublimating shirts are those with a high polyester content, preferably over 50%.
Fabrics like polyester blends or specially coated materials work well.
Cotton fabrics do not hold sublimation prints effectively, resulting in poor quality transfers.


