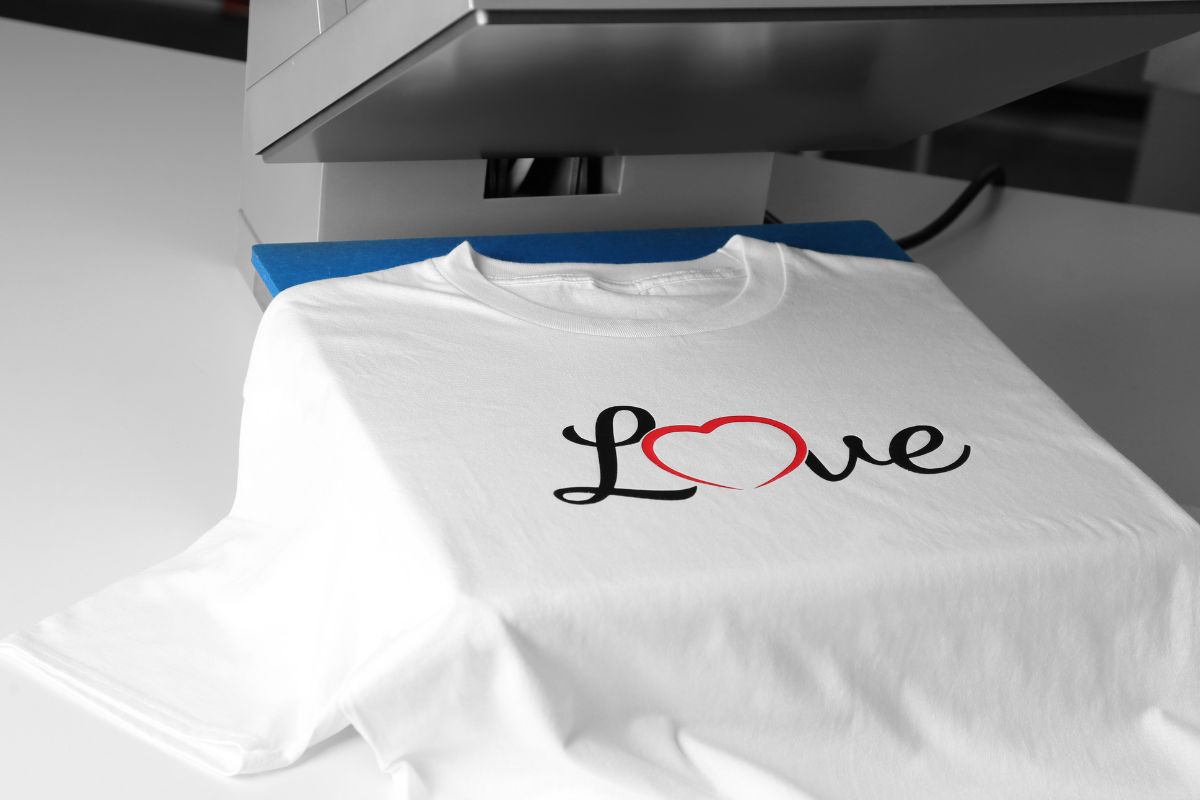
Making shirts at home is a fun and creative way to express your style. You can personalize your clothing with unique designs that reflect your personality.
You can easily create custom t-shirts using simple materials and techniques that yield great results.
Table of contents
- Understanding Different Shirt Fabrics
- Essential Tools and Materials
- Design Creation and Preparation
- Custom Printing Techniques
- Setting Up for T-Shirt Printing at Home
- Finishing and Post-Printing Process
- Launching an Online T-Shirt Business
- Tips for Success and Common Mistakes
- Frequently Asked Questions
- What equipment is required to start making t-shirts at home?
- What are the basic steps for printing t-shirts for beginners?
- How can I use a Cricut machine to create custom shirts at home?
- What is the best method for iron-on t-shirt printing at home?
- How can someone make their own graphic t-shirts with unique designs?
- What is the process for making a shirt from scratch without a base shirt?
To start your shirt-making journey, gather a few key supplies such as t-shirts, transfer paper, and an iron or heat press.
You can design your shirt using software or even draw your ideas by hand. Once you have your design ready, you can apply it to the shirt using heat, ensuring it lasts through washes and wear.
Whether you want to make shirts for an event, a gift, or your personal collection, the process is straightforward. With a little creativity and the right steps, you’ll have custom t-shirts that stand out and showcase your design skills.
Understanding Different Shirt Fabrics
Choosing the right fabric for your shirt is essential. Different types of fabrics offer varying comfort, durability, and style. Here are two main categories of shirt fabrics to consider.
Cotton T-Shirt Fabrics
Cotton is a popular choice for t-shirts and shirts. You can find options like 100% cotton or blends.
100% Cotton T-Shirt: This fabric is soft and breathable. It is comfortable to wear, especially in warmer weather. A classic t-shirt made from 100% cotton will feel gentle against your skin.
Cotton Blends: These fabrics combine cotton with other materials, like polyester. This blend increases durability and reduces wrinkling. Cotton-polyester blends are also less likely to shrink after washing.
The weight of cotton fabrics varies. Light options work well for casual shirts, while heavier cotton is great for more structured styles.
Synthetic and Blends
Synthetic fabrics offer unique benefits for making shirts. They are often more affordable and can be easier to care for.
Polyester: This material is wrinkle-resistant and dries quickly. It’s great for activewear or shirts that need frequent washing.
Cotton-Polyester Blends: Combining cotton with polyester gives you the best of both worlds. You get the breathability of cotton and the resilience of synthetic fibers.
Rayon: This fabric is smooth and drapes well, creating a flattering look. It’s often used in more stylish or dressy shirts.
When choosing a synthetic fabric, consider how much care you want to put into your shirt. Most synthetics require less maintenance than pure cotton.
Essential Tools and Materials
| Step | Description |
|---|---|
| 1. Choose Fabric | Select a fabric based on comfort and purpose (cotton, polyester, or blends). Wash and iron it before use. |
| 2. Select a Shirt Pattern | Use a pre-made pattern or trace an existing shirt for a custom fit. Cut the pattern on paper first. |
| 3. Gather Supplies | Prepare fabric scissors, measuring tape, pins, a sewing machine (or needle and thread), and fabric chalk. |
| 4. Cut the Fabric | Place the pattern on the fabric and cut carefully, ensuring seam allowances are included. |
| 5. Sew the Shoulders | Stitch the shoulder seams together with a straight stitch, aligning the fabric correctly. |
| 6. Attach the Sleeves | Pin and sew the sleeves to the armholes, adjusting them evenly to fit smoothly. |
| 7. Stitch the Sides | Fold and sew the shirt’s side seams from the sleeves down to the hem. |
| 8. Add a Neckline | Attach a ribbed or bias strip for a finished neckline and sew neatly. |
| 9. Hem the Sleeves & Bottom | Fold and sew the edges to create a clean, professional finish. |
| 10. Final Touches | Press the shirt with an iron, check for loose threads, and make any adjustments as needed. |
To make shirts at home, you need the right tools and materials. Each item serves a purpose in creating high-quality designs. Choosing the best supplies can make the process smoother and more enjoyable.
Selection of the Right Printer
Consider your printing method when selecting a printer.
An inkjet printer can work well for printing designs on transfer paper. Look for one that offers high resolution to ensure vibrant colors and sharp details.
If you choose printable heat transfer vinyl, a normal inkjet printer will suffice. For best results, use ink that is compatible with the transfer sheets.
For larger designs, ensure your printer can handle the size you want. Cricut Explore Air is a versatile option that works with various materials, including vinyl.
Heat Press Versus Iron
Using a heat press is often preferred for applying designs. It provides even heat and pressure, which makes it easier to achieve professional results. Heat presses can handle various materials and usually work faster than an iron.
If you opt for an iron, make sure to use a firm hand. Start from the center of your design and work outward. Make sure to follow the specific transfer paper instructions regarding temperature and time.
A heat press simplifies the process, reducing the chance of errors. For frequent shirt making, investing in a heat press can save time and produce better outcomes.
Understanding Cutting Machines
Cutting machines are crucial for creating designs from materials like vinyl. A vinyl cutter or Cricut allows you to cut intricate shapes and patterns. This is ideal for adding personalized graphics to your shirts.
Select a model that is user-friendly and matches your skill level. The Cricut Explore Air is a popular choice that offers various features, including wireless cutting.
These machines come with design software to help you create custom designs easily. Choose the appropriate blade for the material you are cutting for the best results.
Weeding and Weeding Tools
After cutting, you’ll need to remove excess material from your design, a process called weeding.
Weeding tools are designed to make this task simple. Look for tools that have a fine tip to help you get into small areas.
A basic weeding toolkit typically includes a hook or pick tool. This will help you lift away vinyl that is not part of your design.
Take your time to ensure all excess material is removed. This step is essential for achieving clean, professional-looking designs on your shirts. Proper weeding can enhance the final appearance of your artwork.
Design Creation and Preparation

Creating a unique t-shirt design requires a clear understanding of graphic design principles and the right software tools.
Graphic Design Basics
To start designing, you need to grasp some graphic design basics. Think about your theme, color palette, and typography. Your design should be visually appealing and easy to read.
Consider these elements:
- Balance: Distribute visual weight evenly.
- Contrast: Use contrasting colors to make elements stand out.
- Alignment: Ensure everything is properly aligned for a clean look.
Sketch your ideas on paper first. This step helps clarify your vision before you move to digital tools.
Using Adobe Illustrator and Photoshop
Adobe Illustrator and Photoshop are powerful design software you can use to create your t-shirt design. Illustrator is ideal for vector graphics, while Photoshop excels at detailed images and photo editing.
Illustrator Tips:
- Use the Pen Tool for precise shapes.
- Create custom typography with the Type Tool.
Photoshop Tips:
- Use layers to manage different elements.
- Apply filters for unique effects.
Choose the software that best fits your design needs. Both tools can help you bring your vision to life.
Converting Designs to Vector Images
Vector images are crucial for high-quality printing. They are scalable without losing quality, making them perfect for t-shirt designs. To convert your designs, you can use Illustrator or other vector conversion tools.
Here’s how to do it in Illustrator:
- Open your design file.
- Select your artwork.
- Use the Image Trace feature to convert it to a vector format.
- Click on Expand to make the trace editable.
This process ensures your design is crisp and professional when printed.
Creating and Editing SVG Files
SVG files are a popular format for t-shirt designs because they are lightweight and versatile. You can easily create and edit SVG files in both Illustrator and some online tools.
To create an SVG:
- Design your artwork in Illustrator.
- Go to File, then Save As.
- Choose SVG from the format options.
Editing SVG files is straightforward. You can tweak them in Illustrator or open them in text editors for minor adjustments. Remember to keep your design simple to maintain quality during scaling.
Custom Printing Techniques
| Printing Technique | Description | Best For | Pros | Cons |
|---|---|---|---|---|
| Screen Printing | Ink is pushed through a stencil (screen) onto the fabric. | Bulk orders, bold designs | Durable, vibrant colors, cost-effective for large batches | Expensive for small runs, limited colors per design |
| Heat Transfer (Vinyl & DTF) | Design is printed on transfer paper and heat-pressed onto the shirt. | Small orders, personalized designs | Easy for one-offs, works on various fabrics | Less durable than screen printing, may peel over time |
| Sublimation Printing | Heat converts dye into gas, bonding with polyester fabric. | Polyester shirts, full-color prints | Vibrant, long-lasting, no texture on fabric | Only works on light-colored polyester fabrics |
| Direct-to-Garment (DTG) | Inkjet printer prints directly onto fabric. | Small orders, detailed designs | High-detail prints, unlimited colors | Expensive per piece, works best on cotton |
| Embroidery | Thread is stitched into the fabric to create designs. | Logos, premium branding | Durable, professional look | Limited color blending, can be costly |
| Block Printing | Hand-carved blocks are inked and pressed onto fabric. | Handmade designs, unique styles | Artistic, traditional feel | Time-consuming, not ideal for bulk production |
| Hand Painting | Fabric paint is applied manually with brushes. | Custom artwork, one-of-a-kind designs | Unique, artistic, unlimited creativity | Labor-intensive, not suitable for mass production |
Custom shirt printing can be done in various ways, each with its own benefits and requirements. Below are some popular techniques that can help you create unique designs at home.
Direct-to-Garment Printing
Direct-to-Garment (DTG) printing is a method that allows you to print your designs directly onto fabric using a specialized DTG printer. This technique is great for detailed images and vibrant colors.
Key points:
- Requires a DTG printer, which can be a bigger investment.
- You can use digital designs created on a computer.
- Ideal for small batches or one-off custom shirts.
To prepare, you need to choose the right fabric. Cotton works best with DTG, as it absorbs the ink well. Ensure your printer is set to the proper DPI (dots per inch) for the best quality.
Heat Transfer Printing
Heat transfer printing involves using heat transfer paper to apply designs on shirts. There are two main types: inkjet and vinyl transfers. This method is flexible and allows for detailed images.
Process:
- Print your design onto heat transfer paper.
- Cut out the design if needed.
- Use a heat press or an iron to apply it to the shirt.
Make sure to follow the instructions for temperature and time carefully. This method works well on various fabrics but can fade over time with washing. It’s perfect for those who want to create custom shirts without a large setup.
Screen Printing Essentials
Screen printing is a classic method favored for its durability and vibrant colors. It involves creating a stencil (or screen) for each color in your design.
Steps to follow:
- Prepare your design and create a screen for each color.
- Use a squeegee to push ink through the screen onto the shirt.
- Cure the ink with heat for longevity.
This method is best for larger runs of shirts, as it takes time to set up. Screen printing works well with various fabrics and is commonly used for custom shirt businesses. It’s a great choice if you’re looking to create a bulk order efficiently.
Embroidery on Shirts
Embroidery adds a professional touch to custom shirts. It involves stitching your design directly onto the fabric, which creates a textured and durable finish.
Considerations:
- Requires a sewing machine or embroidery machine.
- Limitations include the complexity of the design and fabric type.
- Works best for simple logos or small designs.
Embroidery often suits business shirts or uniforms, where a polished look is essential. It’s more expensive than printing methods but offers superior durability. Make sure to use proper threads to match your fabric and enhance the appearance of your design.
Setting Up for T-Shirt Printing at Home
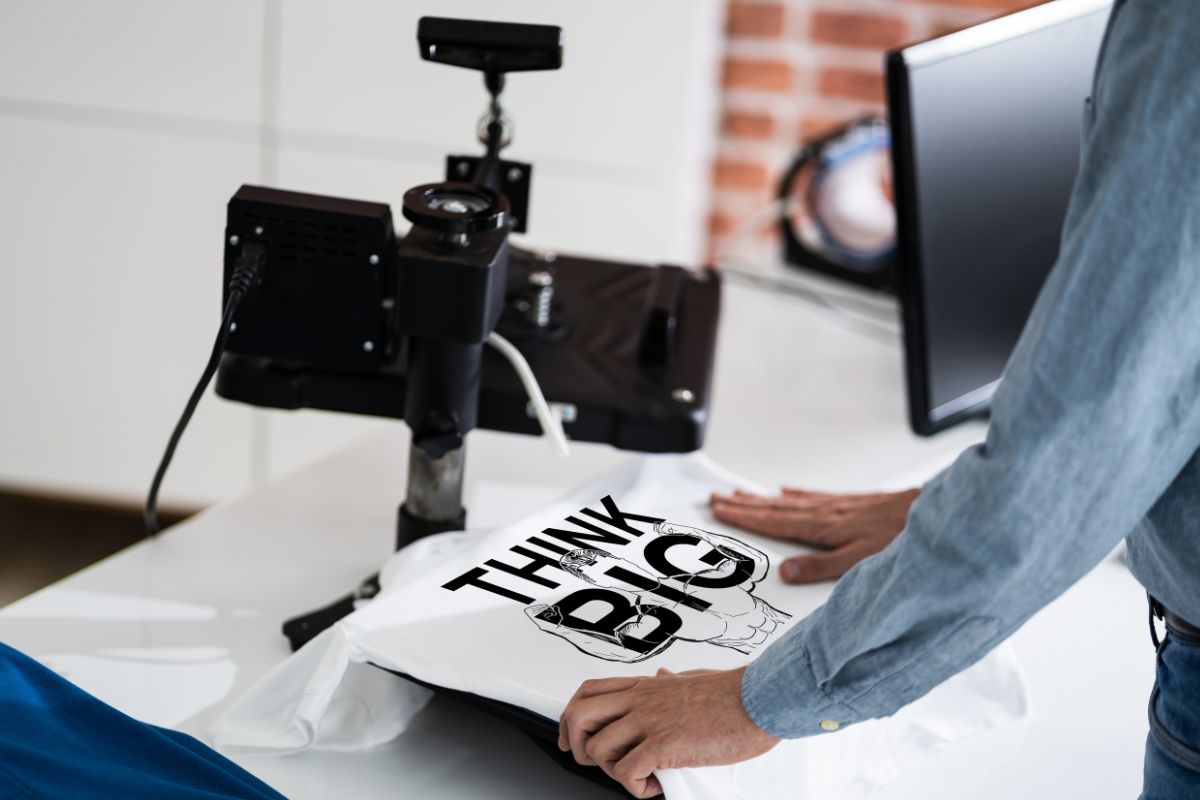
Before you start printing shirts at home, it’s important to create a suitable space and understand some safety measures. A well-organized printing station helps streamline your work, while knowing about safety and quality control ensures a better final product.
Creating a Printing Station
To set up an effective printing station, choose a flat, clean surface. This can be a table or a dedicated workspace that is away from distractions. Make sure it is well-lit to clearly see your designs.
Gather all necessary materials, including:
- T-shirts: 100% cotton shirts work best for most printing methods.
- Printing tools: This can include heat transfer paper, a heat press, or a vinyl cutter, depending on your chosen method.
- Design software: Use simple programs to create your designs.
Keep everything you need within reach to save time. Organize your materials in bins or drawers, labeling them for easy access. This setup not only improves efficiency but also enhances print quality.
Safety and Quality Control
When printing at home, safety should be a priority. Ensure your workspace is free of clutter and hazards. Use heat-resistant gloves when handling hot equipment to prevent burns. If you’re using sharp tools for cutting, handle them with care.
Quality control is also crucial. After printing, check your shirts for any design flaws. Look for even color distribution and tight adherence of the design to the fabric. If you notice any issues, adjust your technique or materials. Keeping track of what methods work best for you will improve your custom t-shirt creations over time.
Finishing and Post-Printing Process
| Step | Description | Purpose | Best Practices |
|---|---|---|---|
| 1. Heat Curing | Applying heat to set the ink or transfer. | Ensures durability and wash resistance. | Use a heat press at the recommended temperature and duration. |
| 2. Quality Inspection | Checking for misprints, color issues, or alignment errors. | Maintains product consistency. | Inspect under good lighting and compare with design specifications. |
| 3. Trimming & Cleaning | Removing excess threads, vinyl edges, or ink residues. | Enhances the professional look. | Use a fabric cutter or scissors for clean edges. |
| 4. Fabric Softening & Wash Test | Washing or treating the fabric to remove stiffness and excess ink. | Ensures comfort and prevents color bleeding. | Wash a test shirt and check for any fading or peeling. |
| 5. Folding & Packaging | Properly folding and packaging the shirt for delivery or sale. | Improves presentation and prevents damage. | Use eco-friendly packaging and label size, material, and care instructions. |
| 6. Labeling & Tagging | Adding custom tags or branding labels. | Enhances brand identity. | Attach woven labels or printed tags inside the shirt. |
| 7. Final Pressing | Ironing or steaming the shirt before shipping. | Removes wrinkles and gives a polished finish. | Use a steam press for a smooth, professional look. |
After printing your custom shirts, the finishing process ensures that your designs last and look great. This section covers how to properly cure the ink, check the quality, and prepare your shirts for packaging and storage.
Curing and Setting the Ink
Curing is a vital step to ensure your designs don’t fade or wash off.
After printing, allow the ink to dry completely.
Use a heat press or an iron set to a medium setting. Carefully apply heat for about 30 seconds to 2 minutes, depending on the ink type.
To give your prints extra durability:
- Use parchment paper between the iron and the shirt.
- Avoid direct contact with the design during the heat process.
Let the shirt cool down before handling. Proper curing locks in the ink, preventing it from smudging during wear or washes.
Quality Checking
Once the ink has set, it’s important to check your shirts for quality. Look for any imperfections, such as misprints or uneven colors. Here are some points to review:
- Print Clarity: Ensure your design is clear and not blurry.
- Alignment: Check if the design is placed correctly on the shirt.
- Color Consistency: Verify that colors match your design specifications.
Feel the fabric for any rough spots or raised areas. If you find any issues, consider reprinting or fixing before moving to the next step.
Packaging and Storing Custom T-Shirts
After quality checks, it’s time to package your shirts.
Use clean materials like biodegradable bags or boxes. Label each item clearly, indicating size and design. This is especially important if you plan to sell them.
For storage:
- Keep shirts in a cool, dry place to prevent moisture and heat damage.
- Avoid stacking too many shirts together to maintain their shape.
Storing your shirts carefully will help retain their quality and make them ready for your customers or personal use when needed.
Launching an Online T-Shirt Business

Starting an online t-shirt business requires building a strong online presence, choosing the right printing method, and developing effective marketing strategies. Each of these steps is essential for reaching your target customers and making sales.
Developing an Online Presence
To launch your online t-shirt business, begin by selecting a platform for your website. Consider options like Shopify or Etsy, which are user-friendly for beginners.
Next, create an appealing brand. This includes a memorable name, a logo, and a consistent color scheme that reflects your style. High-quality product images are crucial. Take clear photos of your shirts from various angles and include lifestyle shots to show how they can be worn.
Finally, make sure your website is easy to navigate.
Organize your shirts into categories, provide detailed product descriptions, and ensure your checkout process is seamless.
Using Print on Demand Services
Print on demand (POD) services allow you to sell custom shirts without carrying inventory. This model lets you focus on design and marketing instead of production.
Start by researching POD providers like Printful or Teespring. Look for factors like pricing, shipping times, and the quality of materials offered. Once you choose a partner, upload your designs to their platform.
Integrate the POD service with your online store. This setup will automate order processing, meaning when a customer buys a shirt, the POD provider will print and ship it directly to them.
Marketing Your T-Shirt Business
Marketing is key to reaching potential buyers.
Start with social media platforms like Instagram and Facebook. Use eye-catching images of your shirts and share stories about your brand to engage followers.
Consider running targeted ads. Platforms like Facebook allow you to target specific interests and demographics, increasing your chances of sales.
Email marketing is also effective.
Build a mailing list by offering a discount for first-time purchases. Send regular updates about new designs and special promotions.
Combine these strategies to create a strong marketing plan. By connecting with your audience and showcasing your unique designs, you will build brand loyalty and encourage repeat customers.
Tips for Success and Common Mistakes
| Category | Tips for Success | Common Mistakes |
|---|---|---|
| Design | Use high-resolution images and vector files for sharp prints. | Using low-quality images, leading to blurry prints. |
| Fabric Choice | Choose the right fabric for your printing method (cotton for DTG, polyester for sublimation). | Using incompatible fabrics that don’t hold ink or transfer well. |
| Printing Technique | Test prints before full production to check color accuracy. | Skipping test prints and ending up with misaligned or faded designs. |
| Ink & Colors | Use high-quality inks for long-lasting prints. | Not curing the ink properly, causing cracking or peeling. |
| Heat Pressing | Apply even pressure and the correct temperature for transfers. | Using too much or too little heat, resulting in poor adhesion. |
| Curing & Drying | Allow proper drying time before packaging. | Rushing the drying process, leading to smudging or ink bleeding. |
| Quality Control | Inspect every shirt for alignment, smudges, or fabric defects. | Ignoring quality checks, leading to customer complaints. |
| Washing & Care | Provide proper care instructions (cold wash, air dry). | Not educating customers, causing premature fading. |
| Packaging & Branding | Use professional packaging and add branded tags for a premium feel. | Sending shirts in cheap or unbranded packaging, reducing perceived value. |
Making shirts at home can be rewarding, but certain tips can make the process easier. Avoiding common mistakes will help you achieve better results and enjoy your DIY experience.
Best Practices for T-Shirt Making
Choose the Right Materials: Use high-quality fabric and transfer paper. Cotton works well for most designs. Also, ensure that the ink or paint is suitable for the fabric type.
Prep Your Workspace: Keep your area clean and organized. Lay out all your tools and materials before starting. This saves time and reduces mistakes.
Follow Instructions Carefully: Whether using a heat press or screen printing, stick to the recommended settings for temperature and time. This ensures the design adheres properly.
Test Your Design: Before applying your design to the final shirt, do a test run on scrap fabric. This helps you practice and catch issues early.
Keep It Simple: For your first few shirts, choose simple designs. Complicated images can be difficult to transfer and may lead to frustration.
Troubleshooting Common Issues
Design Not Sticking: If your design lifts after pressing, check the temperature and time settings. You may need to increase both to achieve a stronger bond.
Ghosting Effect: If the ink shows faint outlines where it shouldn’t, it may be due to moving the fabric while applying heat. Keep the fabric steady during the process.
Fading Designs: Wash the shirt inside out and use cold water. Avoid bleach and harsh detergents to maintain the print’s vibrancy.
Bubbling on Transfer: If bubbles form when applying transfers, you might be applying too much heat too quickly. Use gentle, even pressure and take your time.
Frequently Asked Questions
Making shirts at home can be straightforward with the right equipment and techniques. Below are some common questions you may have about the process.
What equipment is required to start making t-shirts at home?
To start making t-shirts at home, you need a few essential tools. A heat source like an iron or heat press is important for applying designs. You will also need transfer paper, t-shirt fabric, and scissors. Optionally, a Cricut machine can be helpful for cutting designs.
What are the basic steps for printing t-shirts for beginners?
Begin by creating or choosing your design. Print it on transfer paper and cut it out carefully. Next, place the design on the t-shirt where you want it. Use an iron or heat press to apply heat and pressure, following the time guidelines for your specific design size.
How can I use a Cricut machine to create custom shirts at home?
Using a Cricut machine is simple. Upload or create your design in the Cricut software. Load iron-on vinyl into the machine and let it cut the design. Once cut, weed away excess material, and place the design on your shirt. Use your heat press or iron to apply it.
What is the best method for iron-on t-shirt printing at home?
The best method is to use iron-on transfer paper. Start by ensuring your shirt is clean and wrinkle-free. Place the transfer paper with the design facing down on the shirt. Use a hot iron, applying even pressure, and follow the time recommendations for best results.
How can someone make their own graphic t-shirts with unique designs?
To make graphic t-shirts with unique designs, start with an idea or concept. You can create your design using graphic software or hand-draw it. Once ready, transfer it onto the shirt using the methods mentioned above, such as heat transfer or digital printing.
What is the process for making a shirt from scratch without a base shirt?
Making a shirt from scratch involves cutting fabric to the desired shape.
Start by creating a pattern and cutting out the pieces of fabric.
Sew the pieces together, ensuring to leave openings for the neck and sleeves.
Finally, finish the edges to prevent fraying.

