Making magnets at home is a fun and simple project that anyone can try.
You can create your own magnets using everyday materials like a needle, wire, and even some craft supplies. This activity not only sparks creativity but also helps you understand the basic principles of magnetism.
There are various methods to make magnets, from magnetizing a needle with a simple rub to crafting electric magnets using copper wire.
Comprehensive Guide: Table of Contents for DIY Magnet Creation
- Understanding Magnetism
- Materials and Tools Needed
- Creating Basic DIY Magnets
- Decorative Fridge Magnets
- Customizing Your Magnets
- Advanced Magnet Projects
- Practical Applications and Ideas
- Specialty Magnets
- Finishing and Preservation
- Frequently Asked Questions
- What materials are needed to create homemade magnets?
- What are the steps to make strong magnets at home?
- How can I make decorative fridge magnets using photographs?
- What is the process for making my own magnets to sell?
- Can magnets be made at home without using pre-existing magnets, and if so, how?
- What are the instructions for making simple DIY magnets?
These methods are easy to follow and can be done with common items found around your house. Additionally, you can turn regular objects into magnets and personalize them for your needs.
Whether you are looking for an educational experiment or a crafty weekend project, making magnets at home offers both enjoyment and useful results. Get ready to explore the exciting world of magnets and discover how you can bring a bit of science into your home!
Understanding Magnetism
Magnetism is a fundamental force that affects how certain materials interact with magnetic fields. You will learn about the core concepts of magnetism, including the difference between permanent and temporary magnets.
The Basics of Magnetism
Magnetism arises from the movement of electric charges. All materials are made up of atoms, and within these atoms, tiny particles called electrons can create magnetic fields.
When the electrons in an object spin in the same direction, the object becomes magnetic.
Magnets have two poles: north and south. Opposite poles attract, while like poles repel. This behavior is important in understanding how magnets interact with each other and with magnetic materials.
You can find magnets in everyday objects, like refrigerator magnets and speakers. The strength of a magnet depends on its material and how its electrons are arranged. In general, stronger magnets come from materials like iron, cobalt, and nickel.
Permanent vs. Temporary Magnets
Permanent magnets hold their magnetic properties over time. You often find them in devices like compasses and magnetic closures. They remain magnetized due to their atomic structure, which locks their electron movement in a way that keeps producing a magnetic field.
Temporary magnets, on the other hand, only act like magnets when near a magnetic field. For example, when you place a paperclip next to a strong magnet, it will become temporarily magnetized. Once removed, it loses its magnetism.
The main difference lies in their ability to maintain magnetism. Knowing this helps you understand how to make and use magnets at home effectively.
Materials and Tools Needed
| Method | Materials Needed | Steps | Notes |
|---|---|---|---|
| Rubberized Magnet Sheet | Magnet sheet, scissors | 1. Cut the sheet into desired shapes. 2. Stick or draw designs on it. | Ideal for fridge magnets. |
| Magnetizing a Needle | Needle, strong magnet, cork, water bowl | 1. Rub the needle with a strong magnet 20-30 times in one direction. 2. Insert it into a cork. 3. Float in water to create a compass. | Works as a temporary magnet. |
| Electromagnet | Copper wire, iron nail, battery | 1. Wrap the wire around the nail. 2. Connect the ends to a battery. 3. The nail becomes a magnet while current flows. | Only works when powered. |
| Iron Filings & Lodestone | Lodestone (natural magnet), iron filings | 1. Touch the lodestone to iron filings. 2. The filings will stick due to magnetism. | Best for science experiments. |
| Homemade Ferromagnetic Slurry | Iron oxide powder, glue, water | 1. Mix iron oxide with glue and water. 2. Apply to surfaces and test with a magnet. | Creates weak magnetic coatings. |
To make magnets at home, you need a few specific supplies and tools. These materials will help you create different types of magnets easily and safely.
Essential Supplies
- Copper Wire: This is key for creating electromagnets. You can use enameled wire for better insulation.
- D-Cell Battery: This provides the power needed to create an electromagnet when used with copper wire.
- Iron Nail: A plain iron nail can be magnetized by wrapping it with copper wire and connecting it to a battery.
- Masking Tape: This helps hold everything together securely while you work.
- Wire Strippers: Use these to remove insulation from the ends of the copper wire so you can make proper connections.
Having these materials prepared will make your magnet-making process smoother and more effective.
Safety Considerations
When working with materials like batteries and wire, safety is crucial. Always follow these guidelines:
- Wear Safety Goggles: Protect your eyes when cutting wire or working with batteries.
- Keep Batteries Away from Water: Liquid could cause a short circuit or even damage the battery.
- Handle Wire Carefully: Stripped wire ends can be sharp. Use wire strippers properly to avoid injury.
- Supervise Children: If kids are involved, ensure they have adult supervision.
By considering safety and using the right materials, you create a better experience while making magnets at home.
Creating Basic DIY Magnets
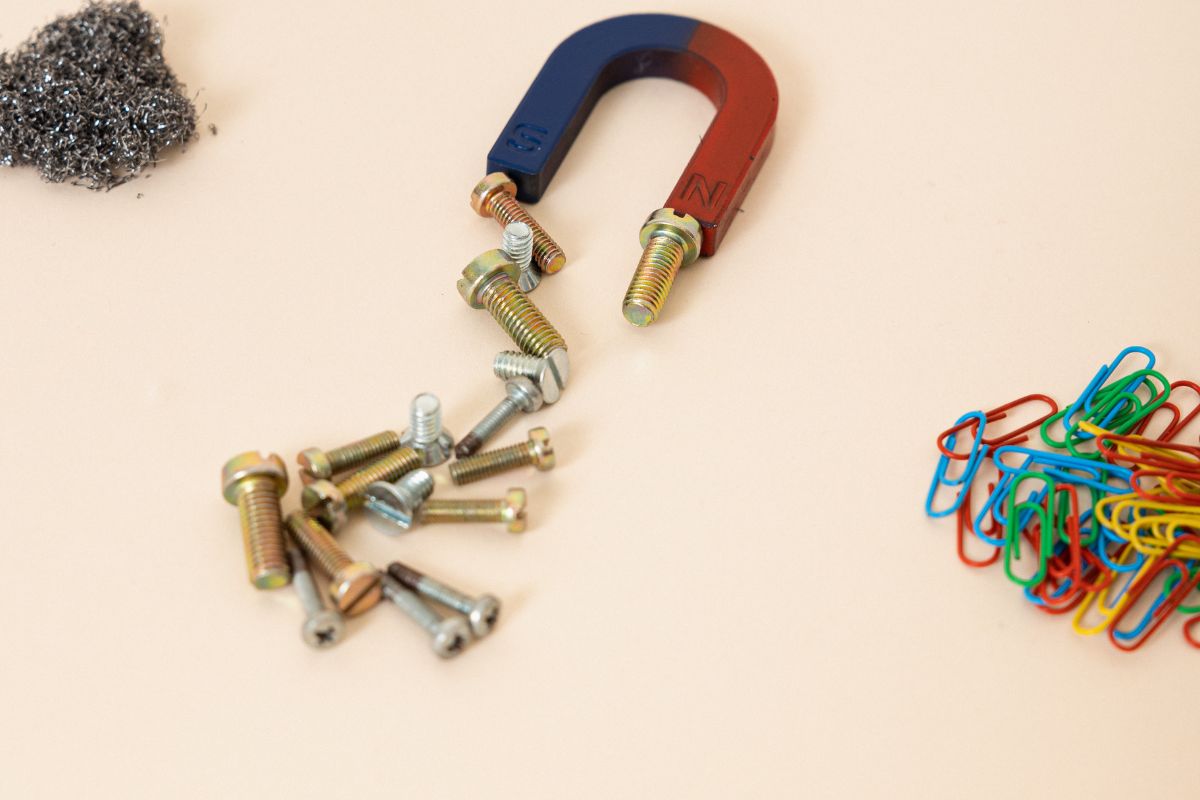
Making magnets at home is a fun and easy project. You can create simple magnets using everyday items like paperclips or make a stronger version using electricity. Here are two ways to get started.
Simple Paperclip Magnet
To make a paperclip magnet, you’ll need a few materials:
- A paperclip
- A refrigerator magnet
- A small piece of metal for testing (such as an earring back or tiny nail)
Start by taking the paperclip and rubbing it with the refrigerator magnet. Rub in one direction only to align the metal’s magnetic domains. This will magnetize the paperclip.
Once you finish, test your paperclip by bringing it close to the small piece of metal. If it picks it up, you’ve successfully made a simple magnet. This method works well for temporary magnets and is a great introduction to magnetism.
Homemade Electromagnet
To create a homemade electromagnet, gather these materials:
- Thin coated copper wire (about 3 feet long)
- A nail (iron works best)
- A battery (AA or 9-volt)
Begin by wrapping the copper wire tightly around the nail. Leave some wire on each end for connections. The more coils you make, the stronger your electromagnet will be.
Connect one end of the wire to the battery’s positive side and the other end to the negative side. The flow of electric current through the wire creates a magnetic field around the nail, turning it into an electromagnet. You can now test it by bringing it close to small metal objects.
Decorative Fridge Magnets
You can easily create decorative fridge magnets that add a personal touch to your kitchen. These DIY projects can be fun and rewarding. You can use simple materials, showcasing your creativity while enhancing your home decor.
DIY Fridge Magnet Ideas
Here are some fun ideas for DIY fridge magnets.
Pom Pom Magnets: Make colorful pom poms using yarn. Attach them to small round magnets for a bright and cheerful addition to your fridge.
Glitter Magnets: Use craft glue and glitter to cover small magnetic discs. This shiny look can brighten up your kitchen space.
Clothespin Magnets: Decorate wooden clothespins with paint or washi tape. Attach a magnet on the back. They can hold notes or pictures in style.
Ice Cream Magnets: Create cute ice cream cone shapes from felt or paper. Glue a magnet behind each, bringing a fun summer vibe to your fridge.
Fruit Magnets: Cut out fruit shapes from colored paper or felt. These fruity magnets can give your kitchen a fresh look.
Crafting with Kids
Making magnets with kids can be a delightful activity. Choose easy projects that they can complete with minimal assistance.
Start with simple pom pom or fruit magnets. Kids can pick their favorite colors and shapes. Provide safety scissors for cutting.
Glitter magnets are also exciting, as kids love sparkles. Just make sure to supervise the glue and glitter application to keep things tidy.
You can also use recyclable materials, like old bottle caps. Kids can paint and decorate them, creating unique fridge magnets.
This hands-on activity builds creativity, and kids will enjoy showing off their work on the fridge.
Customizing Your Magnets
| # | Customization Idea | Materials Needed | Steps | Best Use |
|---|---|---|---|---|
| 1 | Photo Magnets | Printed photos, magnet sheets, glue | Stick photos onto a magnet sheet and cut them out. | Fridge decor, gifts |
| 2 | Resin-Coated Magnets | Epoxy resin, magnet discs, images/stickers | Pour resin over decorated magnet discs and let them dry. | Durable, glossy finish |
| 3 | Hand-Painted Magnets | Acrylic paints, wooden/plastic shapes, small magnets | Paint designs on the surface and attach a magnet. | Personalized gifts |
| 4 | Bottle Cap Magnets | Bottle caps, printed images, glue, small magnets | Glue images inside caps and attach a magnet to the back. | Vintage-style decor |
| 5 | DIY Scrabble Tile Magnets | Scrabble tiles, small magnets, glue | Attach magnets to the back of Scrabble tiles. | Spelling fun on fridges |
| 6 | Chalkboard Magnets | Small wood pieces, chalkboard paint, magnets | Paint wood pieces with chalkboard paint and attach magnets. | Changeable messages |
| 7 | Glow-in-the-Dark Magnets | Glow paint, wooden/plastic shapes, small magnets | Paint magnets with glow paint and let them dry. | Fun for kids’ rooms |
| 8 | Fabric-Covered Magnets | Fabric scraps, Mod Podge, magnet discs | Wrap fabric over magnet discs and seal with Mod Podge. | Soft, colorful touch |
| 9 | Glitter Magnets | Glitter, glue, small magnets | Cover magnets with glue and sprinkle glitter. | Sparkly decor |
| 10 | Mini Calendar Magnets | Small printed calendars, magnet sheets, glue | Stick a mini calendar to a magnet sheet. | Handy for planning |
You can add a personal touch to your magnets by using simple materials. Two popular methods are using washi tape and Mod Podge, or creating colorful glitter magnets. These techniques are easy to follow and allow you to express your creativity.
Using Washi Tape and Mod Podge
To customize your magnets with washi tape, gather your supplies: washi tape, blank magnets, and Mod Podge. Start by cutting the washi tape into strips.
Next, apply the strips to the surface of your magnets. You can layer different patterns or colors for a fun look. Once satisfied, apply a thin layer of Mod Podge over the tape to seal it.
This will give your magnets a nice finish and protect the tape from peeling. Allow it to dry completely before using your magnets.
Creating Color Blocked Glitter Magnets
For color blocked glitter magnets, gather your materials: blank magnets, scrapbook paper, glitter, and glue. First, cut the scrapbook paper into shapes that fit your magnets.
Choose two or three colors to create a block pattern. Next, glue the paper to the magnets, leaving sections exposed for glitter.
Sprinkle the glitter onto the exposed areas while the glue is wet. This adds a sparkly touch to your design. Once dry, seal everything with a clear spray sealant to keep the glitter in place.
This method makes your magnets stand out while allowing you to use your favorite colors.
Advanced Magnet Projects
If you’re ready to take your magnet-making skills to the next level, there are creative projects you can try. These advanced methods involve using unique materials and techniques to craft beautifully personalized magnets for home decor and organization.
Resin and Pressed Flower Magnets
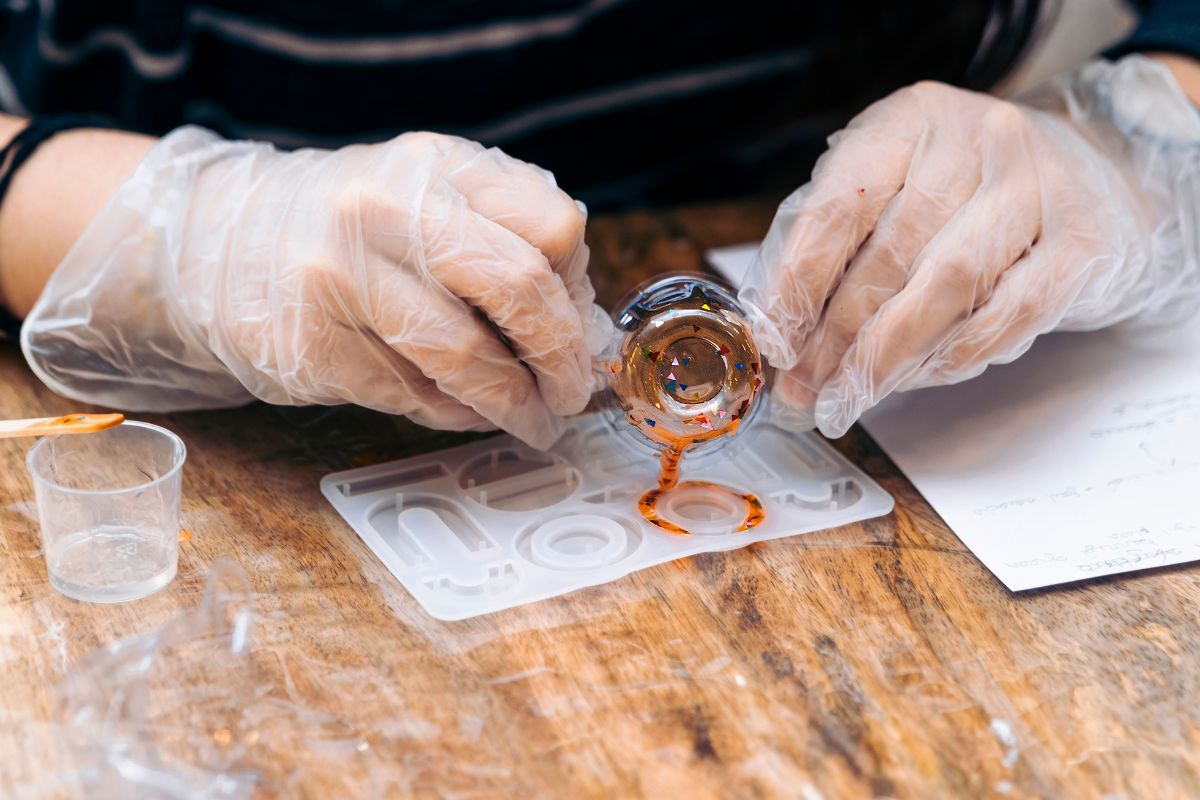
Creating resin and pressed flower magnets is a beautiful way to combine nature with art. You’ll need:
- Epoxy resin (two-part)
- Pressed flowers
- Magnetic backing
- Silicone molds (optional)
Begin by pressing flowers between paper towels or using a flower press. Once dry, mix the epoxy resin according to the package instructions.
Pour a small layer of resin into your mold. Place the pressed flowers on top, then cover with more resin.
Let it cure as directed. After curing, attach a magnetic backing using strong adhesive. This project not only makes lovely magnets but also serves as a personal touch for gifts.
Crafting Magnetic Wood Memo Boards
A magnetic wood memo board is both functional and stylish. To create one, gather:
- Wood board
- Magnetic paint
- Sandpaper
- Paint or stain (optional)
Start by sanding the wood board to create a smooth surface. Apply a coat of magnetic paint, following the instructions for drying time.
You can add additional coats for a stronger magnet hold.
Once dry, you may paint or stain the board to match your decor. Attach small magnets to photos or notes for a convenient display. This project enhances your space and keeps your essentials organized.
Practical Applications and Ideas
| # | Application/Idea | Description | Best Use |
|---|---|---|---|
| 1 | Fridge Organizers | Attach small containers with magnets to store spices or office supplies. | Kitchen & office organization |
| 2 | Magnetic Knife Holder | Use a strong magnetic strip to hold knives safely. | Space-saving kitchen tool |
| 3 | Magnetic Whiteboard | Stick magnets on a board to hold notes, reminders, or artwork. | Home & office productivity |
| 4 | Magnetized Screwdrivers | Magnetize a screwdriver tip to hold screws in place. | DIY & repair work |
| 5 | Magnetic Stud Finder | Use a strong magnet to detect nails or screws in walls. | Home improvement & carpentry |
| 6 | DIY Magnetic Phone Holder | Attach a magnet inside a phone case and use a metal plate mount. | Hands-free car mount |
| 7 | Magnetic Jewelry Clasps | Use small magnets as easy-to-use jewelry clasps. | Fashion & convenience |
| 8 | Cabinet Door Latches | Install small magnets to keep cabinet doors securely closed. | Home security & safety |
| 9 | DIY Magnetic Bookmark | Fold a small magnet inside a decorative paper clip or strip. | Fun & functional reading tool |
| 10 | Magnetic Car Signs | Print advertising signs on magnet sheets to place on vehicles. | Business promotion & branding |
Magnets are versatile tools that can help organize your space and add a creative touch to your home decor. Here are a couple of practical ways to use magnets effectively.
Organizing with Magnets
Using magnets can simplify your organizing process.
You can store small metal items like bobby pins and tweezers on the inside of your medicine cabinet door.
Here’s how to do it:
- Magnetic Strips: Attach magnetic strips to the door for easy access.
- Magnetic Containers: Use small containers with magnets to hold items, keeping them visible and accessible.
In your hobby area, create a magnetic board to hold scissors, needles, and other crafting supplies.
This not only keeps your items organized but also displays them nicely.
Magnet Planters and Decorations
Magnets can enhance your home decor in unique ways.
Using magnet planters, you can create a stylish display for plants. Here’s how you can make them:
- Baby Jar Lids: Use baby food jar lids with magnets glued on the back to hold small plants or herbs.
- Design Ideas: Add decorative tape or paint to match your home style.
You can also craft colorful pom-pom magnets with your kids.
Simply gather some yarn, use a pom-pom maker, and attach magnets.
These will not only be fun to make but will also brighten up your refrigerator or magnetic board.
Specialty Magnets
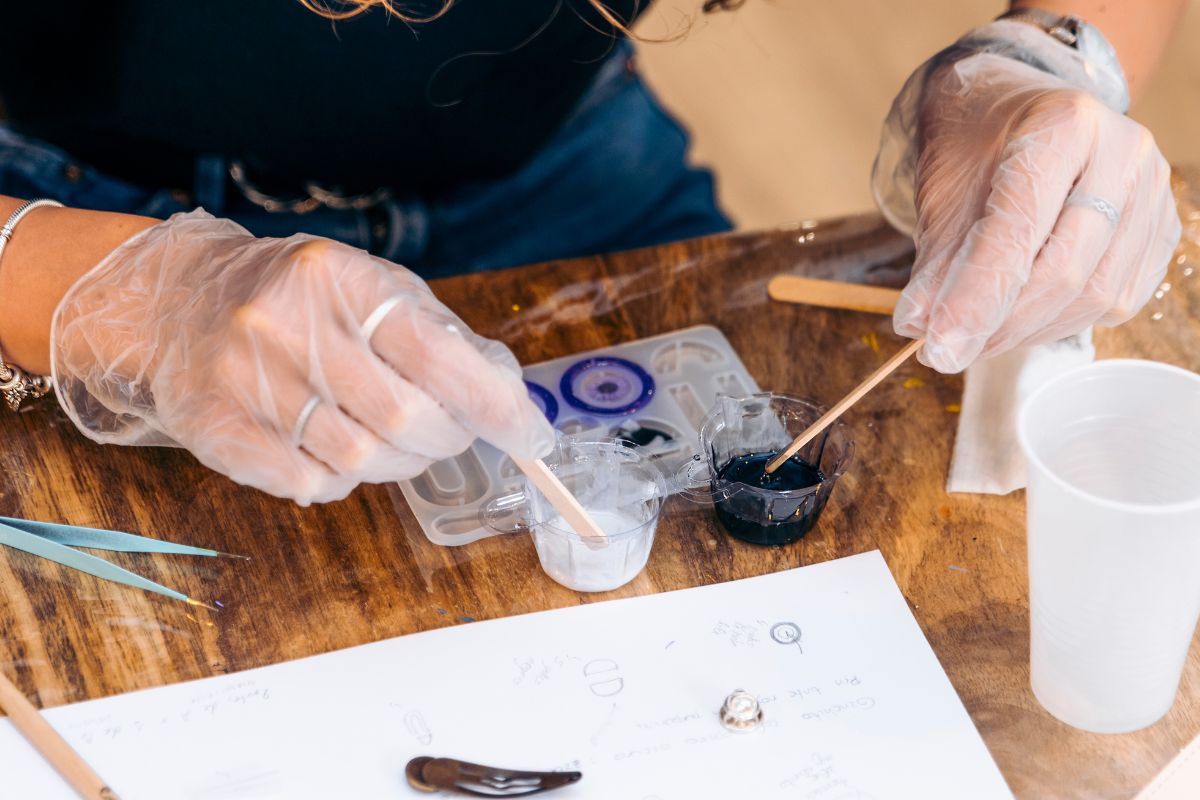
You can create specialty magnets that showcase creativity and personal touches. Two popular ideas include making quote magnets and designing unique shapes.
Creating Quote Magnets for Gifts
Quote magnets make thoughtful gifts, perfect for occasions like birthdays or Mother’s Day. You can use simple materials such as wooden pieces, acrylic sheets, or even cardboard.
- Select a meaningful quote that resonates with the recipient.
- Write or print the quote using a printer or hand lettering for a personal touch.
- Attach a small magnet to the back using strong adhesive.
You can enhance the design with paint or decorative paper.
These magnets can carry inspiring messages or personal notes, making them a cherished gift for a loved one.
Designing Unique Magnet Shapes
Unique shapes can add flair to your magnet collection. Here, you can use natural items like painted rocks or shaped materials.
- Start with a base that is easy to shape, like air-dry clay or wood.
- Form the material into interesting shapes such as crescent moons or stars.
- Allow it to dry and then paint or decorate it.
Attach magnets to the back once your design is finished.
This approach gives you endless possibilities for personalization. Whether for your fridge or as gifts, these unique magnets stand out with character.
Finishing and Preservation
| # | Technique | Materials Needed | Steps | Benefits |
|---|---|---|---|---|
| 1 | Clear Coating | Clear nail polish or spray varnish | Apply a thin layer and let it dry. | Protects against scratches & rust |
| 2 | Laminating Paper Magnets | Laminating sheets or self-adhesive covers | Cover paper-based magnets before cutting. | Increases durability & water resistance |
| 3 | Epoxy Resin Coating | Epoxy resin, mixing cups, gloves | Pour resin over magnets and cure for 24 hours. | Creates a glossy, strong finish |
| 4 | Sealing Fabric Magnets | Mod Podge, fabric, brush | Apply a coat of Mod Podge over fabric-covered magnets. | Prevents fraying & dirt buildup |
| 5 | Magnet Strength Maintenance | Stronger magnets, storage box | Store magnets away from heat and physical damage. | Maintains magnetic power longer |
| 6 | Waterproofing Magnets | Waterproof sealant or resin | Coat magnets in a waterproof layer. | Prevents rust & moisture damage |
| 7 | Rust Prevention for Metal Magnets | Rust-proof spray, oil coating | Apply a light layer of oil or anti-rust spray. | Prevents oxidation over time |
| 8 | Embedding Magnets in Wood or Plastic | Wood glue, resin, or plastic casing | Encase magnets inside a small carved or molded surface. | Protects from breakage |
| 9 | Sanding Edges for Smooth Finish | Fine sandpaper | Lightly sand rough edges of wood or resin magnets. | Gives a professional, finished look |
| 10 | Proper Storage | Soft cloth, storage box | Keep magnets apart to avoid damage or demagnetization. | Extends life & prevents chipping |
Once you create your magnets, it’s important to focus on sealing and preserving them for the best results.
Proper finishing will enhance the appearance and durability of your magnets, while also preventing common issues like air bubbles.
Sealing and Protecting Your Magnets
After your magnets are complete, sealing them will help protect against damage. Use a clear sealant, such as Mod Podge, to add a layer of protection.
- Apply Mod Podge with a brush to the surface you want to seal.
- Let it dry completely before handling.
- If desired, add a second coat for extra durability.
This process not only protects from moisture but also gives a finished look.
Make sure to keep the magnets away from direct sunlight to prevent any fading of colors or designs.
Preventing and Eliminating Air Bubbles
Air bubbles can be a common issue when you apply your designs. To prevent this, ensure your adhesive and materials are applied smoothly.
- Start in the center of your design and work your way outwards to push air towards the edges.
- If bubbles do appear, use a pin to poke the bubble and gently smooth the surface with a tool.
This technique helps to minimize the appearance of bubbles and keeps your magnets looking professional.
Take your time to achieve the best results, as this attention to detail can make a significant difference in appearance.
Frequently Asked Questions
When making magnets at home, you may have a lot of questions. This section answers common queries about materials, methods, and fun project ideas to create your own magnets.
What materials are needed to create homemade magnets?
To create homemade magnets, you will need a few basic materials.
Common items include iron or steel objects, such as nails or paper clips, a strong permanent magnet, and optional tools like sandpaper for preparing surfaces.
You may also want adhesive or magnetic sheets for different projects.
What are the steps to make strong magnets at home?
To make strong magnets at home, start by choosing a ferromagnetic material.
Rub a strong magnet against it in one direction only. Do this at least 50 times for best results.
This method helps align the magnetic fields within the material, turning it into a magnet.
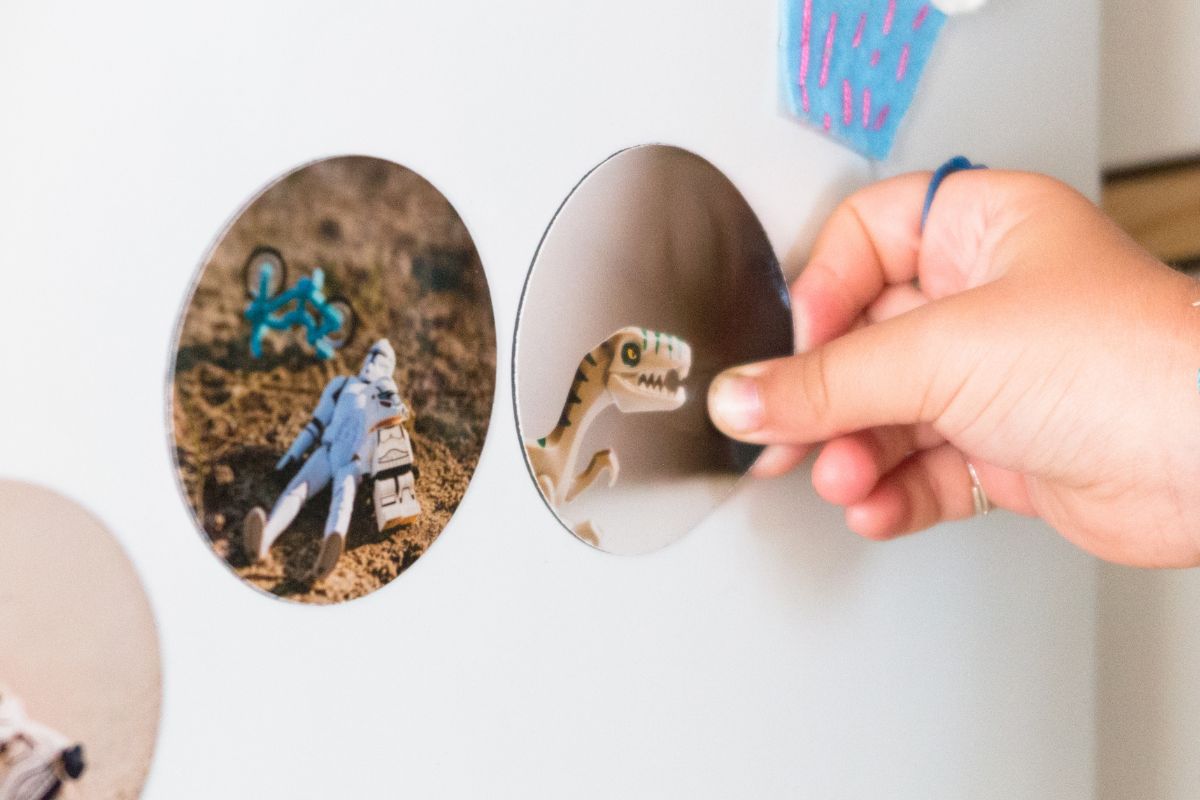
How can I make decorative fridge magnets using photographs?
For decorative fridge magnets, you will need small photo prints and adhesive magnetic sheets.
Cut the magnetic sheet to size. Attach your photo to the sheet, ensuring it’s centered. Once dry, trim any excess.
These make great personalized fridge magnets.
What is the process for making my own magnets to sell?
To create magnets for selling, develop a unique design.
Use high-quality materials for durability. Consider using printable magnetic sheets and adding creative elements like art or photos.
Package them attractively to appeal to customers.
Can magnets be made at home without using pre-existing magnets, and if so, how?
Yes, you can make magnets without pre-existing magnets.
One way is to create an electromagnet. You will need a battery, insulated copper wire, and a ferromagnetic core.
Wrap the wire around the core and connect the ends to the battery. This creates a magnetic field.
What are the instructions for making simple DIY magnets?
To make simple DIY magnets, gather materials like glass marbles, decorative paper, and adhesive. Cut the paper into circles to fit the marbles. Glue the paper on the flat side and press to remove air bubbles. Once dry, attach a small magnet to the back.

