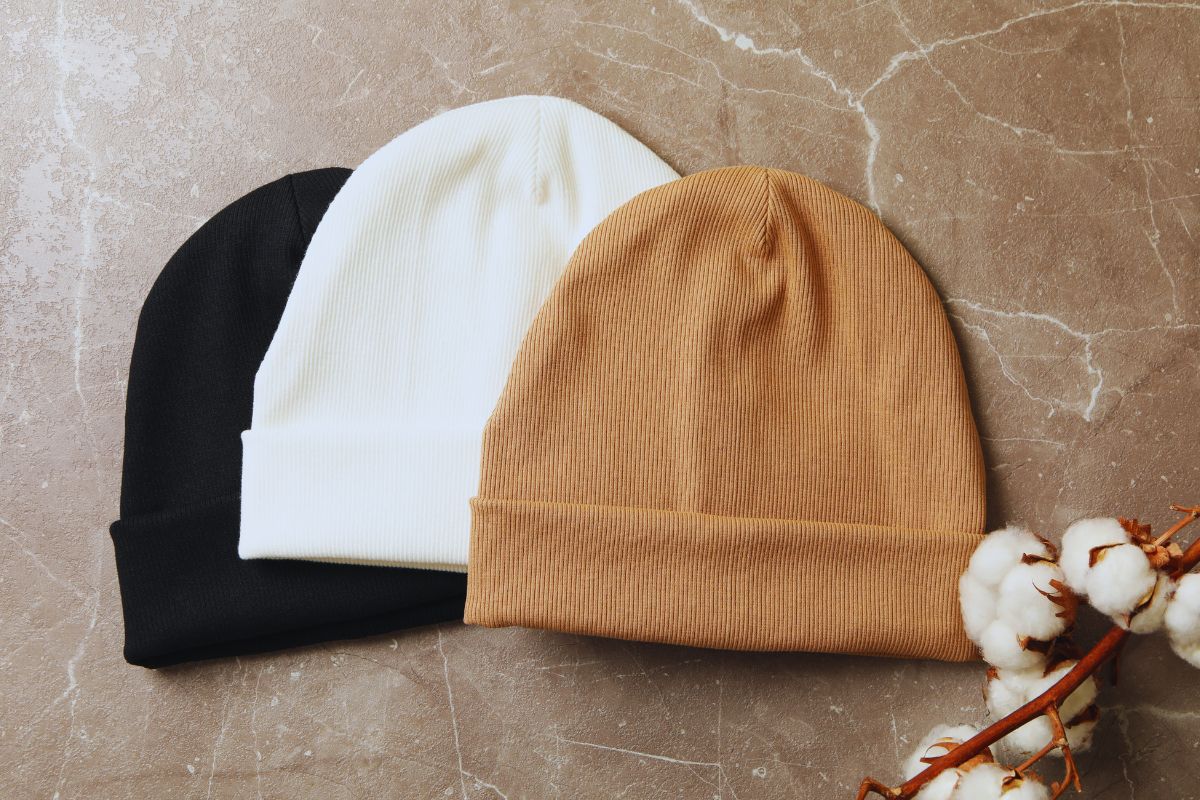
Making a beanie is a fun and rewarding project that anyone can tackle, whether you’re new to crafting or have some experience. A beanie is not just a stylish way to keep your head warm; it’s also a great way to express your creativity. You can make a cozy and fashionable beanie with simple materials and easy steps.
Table of contents
- Understanding Beanie Materials
- Understanding Beanie Materials
- Tools and Equipment
- Preparing Your Beanie Pattern
- Constructing the Beanie
- Finishing Touches
- Variations and Styles
- Sewing Tutorial and Tips
- Frequently Asked Questions
- What are the steps to crochet a beanie for beginners?
- Can you provide a pattern for making a beanie hat?
- What is the process for sewing a beanie hat from fabric?
- Where can I find a free beanie sewing pattern in PDF format?
- How do you knit a beanie using a loom?
- What is the recommended amount of yarn needed for a beanie project?
There are several methods to create a beanie, from sewing to knitting and crocheting. If you have some fabric lying around, you might try a quick sewing project using a simple pattern. Alternatively, if you have some yarn and want a challenge, knitting a beanie can be very satisfying.
No matter which method you choose, you’ll end up with a personalized accessory perfect for chilly days.
Ready to dive into this enjoyable project? In the following sections, you will learn everything you need to know to create your own beanie.
Get your supplies ready, and let’s get started!
Understanding Beanie Materials
Making a beanie is a fun and rewarding project that anyone can tackle, whether you’re new to crafting or have some experience. A beanie is not just a stylish way to keep your head warm; it’s also a great way to express your creativity. You can make a cozy and fashionable beanie with simple materials and easy steps.
There are several methods to create a beanie, from sewing to knitting and crocheting. If you have some fabric lying around, you might try a quick sewing project using a simple pattern. Alternatively, if you have some yarn and want a challenge, knitting a beanie can be very satisfying.
No matter which method you choose, you’ll end up with a personalized accessory perfect for chilly days.
Ready to dive into this enjoyable project? In the following sections, you will learn everything you need to know to create your own beanie.
Get your supplies ready, and let’s get started!
Understanding Beanie Materials
| Step | Description |
|---|---|
| 1. Gather Materials | Choose fabric (knit, fleece, or wool), thread, scissors, a sewing machine (or needle), and a beanie pattern. |
| 2. Choose a Beanie Style | Decide between a slouchy, cuffed, or fitted beanie. Cut your fabric accordingly. |
| 3. Cut the Fabric | Use a pre-made pattern or create one by measuring your head circumference and adding seam allowance. |
| 4. Sew the Side Seam | Fold the fabric in half, aligning the edges, and sew the vertical seam to create a tube shape. |
| 5. Shape the Top | Gather or sew the top of the beanie, either using darts, pleats, or a round closure for a snug fit. |
| 6. Add a Cuff (Optional) | Fold up the bottom of the beanie to create a stylish cuff and secure it with stitching. |
| 7. Finish the Edges | Hem the edges to prevent fraying, or use a serger for a professional finish. |
| 8. Customize | Add a pom-pom, embroidery, or labels to personalize your beanie. |
| 9. Final Touches | Try it on, make adjustments if needed, and enjoy your handmade beanie! |
Choosing the right materials for your beanie is essential for comfort, warmth, and style. Various fabrics and yarns offer different features, so understanding these can help you make the best choice for your project.
Choosing the Right Fabric
The fabric of your beanie affects how it feels and performs. Common options include jersey and fleece.
- Jersey Fabric: Lightweight and stretchy, it’s great for casual wear. It provides some warmth but is breathable.
- Fleece Fabric: Known for its softness and insulation, fleece is a popular choice for colder weather. It is heavier and retains heat well.
Consider the conditions where you’ll wear your beanie. If it’s for chilly days, fleece is likely your best bet. For milder climates, jersey can keep you comfortable without overheating.
Exploring Knit Fabrics
Knit fabrics are essential in beanie design. They offer flexibility and stretch, making them easy to fit any headshape. Here are some types to consider:
- Cotton Knits: Soft and breathable, they work well in warmer weather.
- Wool Blends: Provide warmth and moisture-wicking properties, perfect for outdoor activities.
You can also choose stretchy knit fabrics that hug the head without being tight. This comfort factor is crucial, especially if you plan to wear your beanie for longer periods.
Selecting the Best Yarn
The right yarn can determine the ease of making your beanie. Generally, medium-weight yarn works well.
- Acrylic Yarn: Affordable and easy to care for, it’s a popular choice for beginners.
- Wool Yarn: Offers superior warmth, but it may be pricier. It’s ideal for those who want a cozy fit.
On average, you’ll need about 120-180 yards of yarn for an adult beanie. Keep in mind your pattern’s demands to avoid running short.
Fleece vs. Jersey Comparison
When choosing between fleece and jersey, consider the following features:
| Feature | Fleece | Jersey |
|---|---|---|
| Warmth | Excellent | Good |
| Stretch | Moderate | High |
| Breathability | Low | High |
| Weight | Heavier | Lighter |
Fleece beanies are best for cold weather, while jersey can double as a stylish accessory in warmer temps. Think about your needs before making a choice.
Tools and Equipment
To make a beanie, having the right tools and equipment is essential. Each item plays a significant role in ensuring your beanie is comfortable and well-made. Here are the key aspects you’ll need to consider.
Sewing Machine Essentials
A sewing machine is a crucial tool for making a beanie. Look for a machine that offers a zigzag stitch and straight stitch options. These stitches are essential for neatly securing the fabric edges and providing stretch.
Must-have features:
- Adjustable stitch length: This allows you to customize your stitches based on fabric thickness.
- Walking foot: Helps feed multiple layers of fabric evenly.
- Needle type: Use a ballpoint needle for knit fabrics, as it prevents snags or damage.
Before starting, ensure your machine is in good working order. A well-maintained machine can save you time and improve your results.
The Role of the Serger
A serger can elevate your beanie-making process. It trims the fabric edges while finishing seams in one step. This gives your beanie a professional look and prevents fraying.
Important features to consider:
- Differential feed: Prevents fabric from stretching out or puckering.
- Multiple thread options: A 4-thread serger is ideal for providing strong seams.
Using a serger can also simplify sewing with stretchy fabrics, ensuring that your seams stay secure. If you don’t have a serger, a regular sewing machine can work, but the finishes may not be as polished.
Additional Sewing Accessories
Other accessories can enhance your beanie-making experience. Consider investing in the following items:
- Fabric scissors: Ensure you have sharp fabric scissors for clean cuts.
- Pins or clips: Use these to hold your fabric pieces together while sewing.
- Measuring tape: Accurate measurements are key for a well-fitting beanie.
Don’t forget about fabric options. Choose materials like cotton or fleece for comfort. These accessories help create a smoother sewing process and improve your final product’s appearance.
Preparing Your Beanie Pattern
| Measurement/Aspect | Details |
|---|---|
| Head Circumference | Measure around the widest part of your head. Standard adult size: 21″-24″, kids: 18″-20″. |
| Beanie Height | For a snug fit: 8″-10″. For a slouchy beanie: 11″-12″. |
| Fabric Type | Knit, fleece, wool, or cotton blends for warmth and stretch. |
| Stretch Allowance | Choose fabric with at least 25-50% stretch for a comfortable fit. |
| Seam Allowance | Add ¼” to ½” for seams, depending on fabric thickness. |
| Pattern Shape | Cut a rectangle or dome shape, folded and sewn to fit head measurements. |
| Lining (Optional) | Use fleece or jersey fabric for extra warmth and comfort. |
| Cuff Length (If Added) | Typically 2″-3″, folded over at the bottom for a secure fit. |
| Pom-Pom or Embellishments | Optional additions for a stylish or personalized touch. |
| Cutting Method | Use a rotary cutter or sharp fabric scissors for precision. |
Creating a beanie starts with a solid pattern. You need to measure correctly, understand your pattern instructions, and adjust seam allowances. This will help ensure your beanie fits well and looks great.
Measuring Head Circumference
Measuring your head is the first step for a good fit. Use a flexible tape measure. Wrap it around the widest part of your head, just above your ears. Make sure it’s snug but not tight.
Write down this measurement. It’s usually between 20 to 24 inches for adults. If you’re making a beanie for someone else, ask for their measurement. You may want to add a little extra for comfort or to accommodate hairstyles.
Understanding Pattern Instructions
Read through your pattern instructions carefully. Look for crucial details about stitches, gauge, and size.
A basic beanie pattern typically lists yarn weight, needle size, and how many stitches to cast on. Make sure you understand terms like “knit” and “purl”, as these are the foundation of knitting.
Take note of any options for size adjustments. Some patterns allow for changes in length and width. Mark any special notes to help you keep track of important steps as you knit.
Adjusting Seam Allowance
Seam allowance is key for a neat finish. It’s the extra fabric you leave when sewing. For a beanie, a seam allowance of 1/4 inch is common.
To adjust your pattern, add this seam allowance around the edges. This ensures you have enough fabric to sew the seams without risking any holes or gaps.
When cutting your fabric or knitting, remember this allowance. It helps create a professional look for your beanie. If you want a looser fit, you can adjust the allowance, but keep in mind how this affects the overall size.
Constructing the Beanie
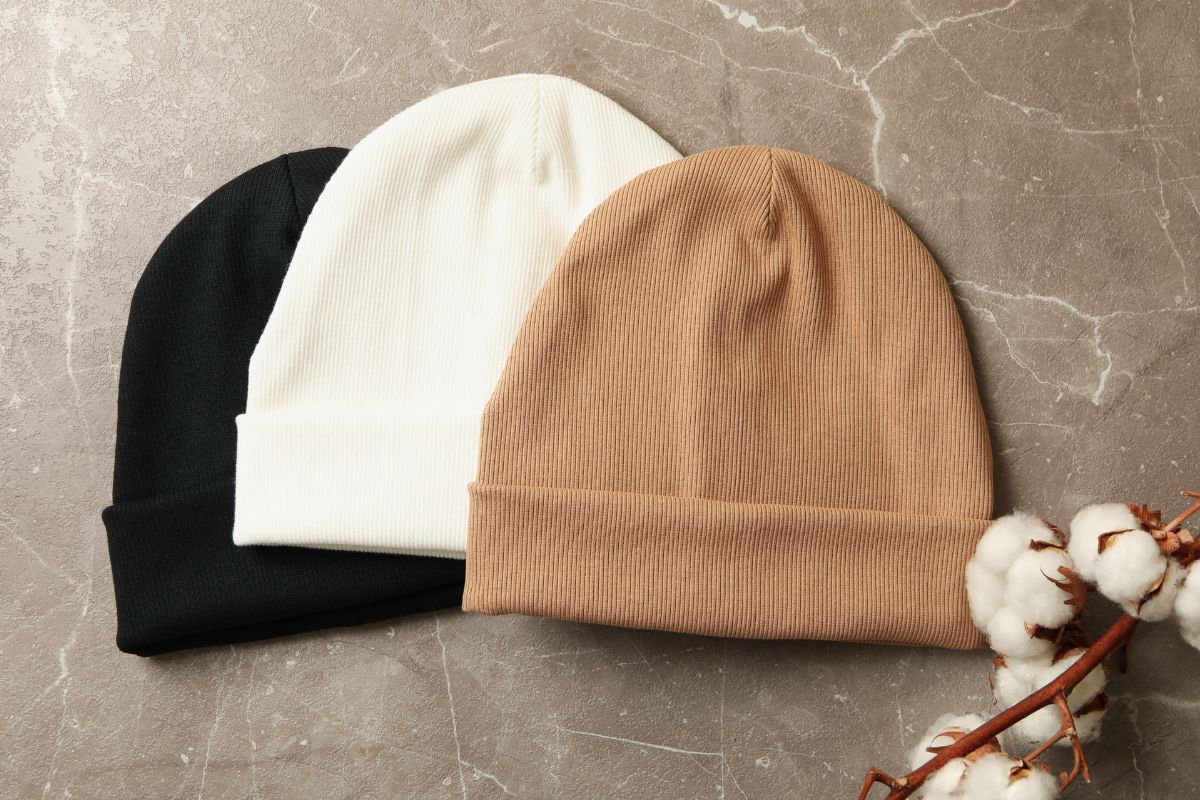
Creating your beanie involves precise cutting, adding darts for fit, sewing the main pieces together, and attaching the cuff. Each step is essential for a finished product that looks good and fits well.
Cutting and Marking the Fabric
Start by selecting a suitable fabric, preferably a stretchy one like jersey or knit. Lay out your fabric on a flat surface. You will need a beanie pattern, which you can either buy or create. Fold the fabric in half, aligning the edges.
Mark the following on the fabric:
- Pattern outline: Trace carefully to avoid mistakes.
- Darts: Indicate where you plan to create them for better fit.
- Seam allowances: Generally, a 1/4 inch is good for sewing.
Once marked, use sharp fabric scissors to cut along the traced lines. Avoid cutting too close to the markings to reduce the risk of losing the shape during sewing.
Creating Darts for a Better Fit
Darts help shape the beanie and improve its fit around the head. After cutting your fabric, you’ll need to create darts at the crown.
To create darts:
- Pinch the fabric: Fold the fabric at the marked dart points.
- Pin in place: Secure them with straight pins.
- Sew the darts: Use a straight or stretch stitch to sew along the dart’s edge. Start at the wide end and taper to a point.
This method shapes the beanie, giving it a tailored look. Make sure to press the darts open gently with an iron for a crisp finish.
Sewing the Main Pieces
Once the darts are completed, it’s time to sew the main body of the beanie. Align the two main fabric pieces, right sides together.
Follow these steps:
- Pin the edges: Use pins to keep the fabric from shifting.
- Stitch the edges: Use a stretch stitch or a serger to allow for elasticity. Stitch around the edges but leave an opening for turning the hat right-side out.
After stitching, carefully turn the beanie inside out through the opening. Make sure the corners are pushed out fully for a neat finish.
Adding the Cuff
To add a stylish cuff, you can choose a contrasting fabric or the same material. The cuff can help keep the beanie snug around your head.
To attach the cuff:
- Cut the cuff fabric: It should be long enough to wrap around the beanie’s edge.
- Fold it: Fold the cuff fabric in half lengthwise with the right side facing in.
- Sew the cuff: Attach it to the bottom edge of the beanie with stretch stitches.
Pin the cuff as you go to maintain an even connection. After you sew it, turn the cuff up to complete your beanie design. This final touch enhances both style and comfort.
Finishing Touches
| Finishing Touch | Description |
|---|---|
| Pom-Poms | Add a playful touch with yarn, faux fur, or oversized pom-poms. |
| Cuffs & Brims | Folded cuffs add style and extra warmth; ribbed brims offer a snug fit. |
| Embroidered Designs | Personalize with monograms, logos, or custom embroidery. |
| Custom Patches | Leather, fabric, or iron-on patches create a unique aesthetic. |
| Decorative Stitching | Contrast stitching or hand-sewn details enhance the design. |
| Lining for Extra Warmth | Add fleece or jersey lining for insulation and comfort. |
| Appliques & Prints | Heat-transfer vinyl or printed fabric pieces for a stylish effect. |
| Knit Patterns & Textures | Use cables, ribbing, or waffle stitches for a premium look. |
| Metallic or Beaded Accents | Small metal studs, beads, or sequins for a trendy touch. |
| Earflaps & Tassels | Great for colder climates; add braided tassels for extra flair. |
Completing your beanie involves adding those final details that enhance its appearance and fit. This section will cover securing the yarn tail, attaching a pom pom, and refining the fit for comfort.
Securing the Yarn Tail
After finishing your knit, you’ll notice a yarn tail left from the last stitch. Secure this tail to prevent any unraveling. First, thread the yarn tail through a yarn needle.
Next, weave the needle in and out of the stitches along the inside edge. Aim to go through at least five or six stitches to ensure a strong hold. Pull gently to avoid stretching the fabric.
Finally, trim any excess yarn, leaving about one inch. This method will keep your beanie intact and tidy.
Attaching a Pom Pom
A pom pom can add a playful touch to your beanie. To create one, use your yarn and wrap it around your fingers or a pom pom maker. Aim for around 50 to 100 times, depending on your desired pom pom size.
Once wrapped, carefully slide the yarn off your fingers and tie a strong knot in the center. Trim the loops on both ends to create the fluffy shape.
To attach it to your beanie, use the same yarn tail you created while making the pom pom. Sew it securely to the top of your beanie, making sure it’s centered. Adjust the fluffiness as needed.
Refining the Fit and Comfort
To ensure your beanie fits well, check the band around your head. If it feels too tight or loose, you can adjust the stitches with needle and thread.
You can also add a soft lining inside the beanie using a cotton or fleece fabric. Cut it to size and sew it in place.
This will enhance comfort and warmth.
Lastly, consider adding extra decorative stitches or patterns on the outside to personalize your beanie further. These little refinements will help make your beanie not only stylish but comfortable to wear.
Variations and Styles
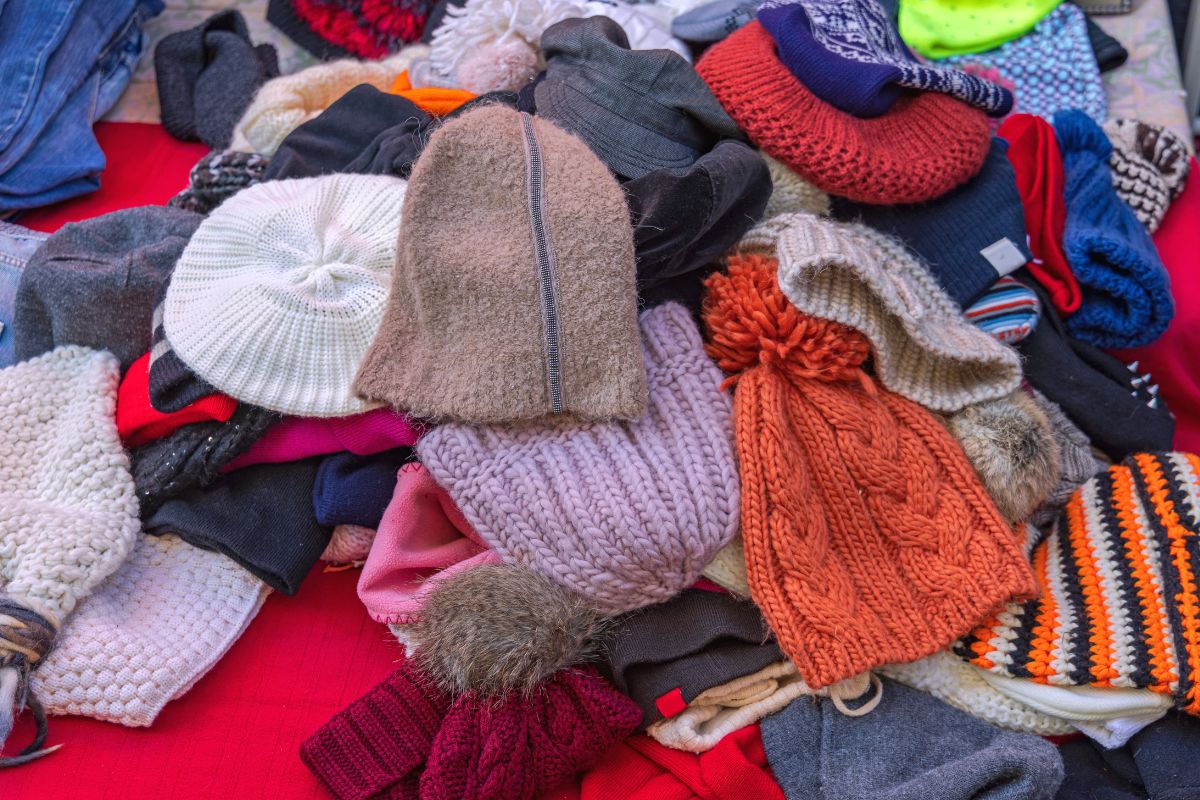
Beanie hats come in many styles and designs, each offering its own look and comfort. You can explore different options to suit your personal taste and functional needs.
Designing a Slouchy Beanie
A slouchy beanie is a great choice for a relaxed and trendy look. To create your own, start with a larger pattern so it has extra fabric to drape.
- Choose a soft fabric: Fleece or jersey knit works well for comfort.
- Cut out the pattern: Measure the length and width to get a loose fit.
- Sew the sides: Use a stretch stitch so the seams stay smooth and flexible.
This style can be worn loose for a chill vibe or slightly tighter for a more fitted appearance. You can fold the brim or leave it as is for different looks.
Creating Matching Scarf and Headband
While making your beanie, consider designing a matching scarf and headband. This creates a cohesive and stylish winter outfit.
- Select the same fabric: Use the same material for all three pieces.
- Scarf dimensions: Aim for about 60 inches long and 8-10 inches wide for a comfortable fit.
- Headband shape: A simple rectangle, about 4-5 inches wide, works well.
You can add embellishments like pom-poms to your beanie or use decorative stitches on the scarf for extra flair. Having a matching set enhances your overall style and keeps you warm.
Fleece Beanie Options
Fleece beanies are perfect for keeping warm during cold weather. They are soft, warm, and easy to make, making them a popular choice.
- Materials: Use high-quality fleece for softness and warmth.
- Pattern style: Choose from standard fitting or slouchy designs.
- Sewing tips: Use a zigzag stitch to maintain flexibility in the seams.
Fleece beanies can be customized with colors and patterns to reflect your style. They can also incorporate features like ear flaps for added warmth and protection against the cold.
Sewing Tutorial and Tips
| Sewing Tip/Tutorial | Description |
|---|---|
| Choosing the Right Fabric | Select materials based on durability, stretch, and comfort for the project. |
| Essential Sewing Tools | Use quality needles, scissors, measuring tape, and sewing machines for precision. |
| Pre-Wash Your Fabric | Prevent shrinkage and color bleeding by washing and ironing fabric before sewing. |
| Proper Stitch Selection | Use straight stitches for seams, zigzag for stretch fabrics, and overlock for finishing edges. |
| Sewing Machine Tension Adjustment | Adjust thread tension based on fabric thickness to prevent puckering or loose stitches. |
| Pinning and Marking Fabric | Use tailor’s chalk, fabric pens, and pins to keep patterns in place before cutting. |
| Seam Finishing Techniques | Use pinking shears, serging, or French seams for durability and clean edges. |
| Pressing for Professional Results | Iron seams and folds between steps to create crisp and polished stitches. |
| Troubleshooting Common Issues | Fix skipped stitches, thread bunching, or uneven seams with proper machine maintenance. |
| Hand-Sewing vs. Machine Sewing | Learn when to use hand-sewing for detail work and machine-sewing for efficiency. |
Making a beanie is simple and fun. Follow these steps to sew your own.
Materials Needed:
- One piece of fabric (stretchy material works best)
- Sewing machine or needle and thread
- Scissors
- Measuring tape
- Pins or clips
Instructions:
Measure Your Head:
Use a measuring tape to find your head circumference. For adults, aim for about 22 inches.Cut the Fabric:
Cut a rectangle of fabric. For a standard beanie, the dimensions should be about 22 inches wide and 12-15 inches long.Sew the Sides:
Fold the fabric in half and pin the edges. Sew the side seam, leaving a 3-4 cm opening at the top.Turn the Beanie:
Use the opening to turn the hat right side out. This helps hide the seam.Finish the Edges:
Tips:
Stitch the opening closed either by hand or with a sewing machine.
- Use Stretch Stitch: If using a machine, choose a stretch stitch to allow for flexibility.
- Add Lining: For a double-sided look, cut another piece of fabric and repeat the steps. Sew both pieces together at the top.
With these simple instructions, you’ll have a cozy beanie ready to wear or gift. Enjoy your sewing!
Frequently Asked Questions
You might have some common questions about making a beanie. Here are answers to help you with crochet, sewing, looms, and patterns.
What are the steps to crochet a beanie for beginners?
To crochet a beanie, start with a slip knot on your hook. Chain a specific number of stitches, then join them to form a circle. Use single or double crochet stitches to build the body, increasing stitches as needed for size. Finish off by weaving in any loose ends.
Can you provide a pattern for making a beanie hat?
A basic beanie pattern includes a foundation chain of about 60-70 stitches. Slip stitch to join. Work in rounds with single or double crochet, increasing the number of stitches every few rows. Continue until the beanie reaches the desired height, then finish off by decreasing for the top.
What is the process for sewing a beanie hat from fabric?
To sew a beanie from fabric, start with a stretchy knit material. Cut out two identical pieces in the shape of a beanie. Sew the pieces together at the sides, leaving the bottom open. Turn the beanie inside out and hem the bottom for a neat finish.
Where can I find a free beanie sewing pattern in PDF format?
You can find free beanie sewing patterns in PDF format on crafting websites or blogs. Many sewing communities share patterns that are easily downloadable. Search for terms like “free beanie sewing pattern PDF” on Google or Pinterest.
How do you knit a beanie using a loom?
To knit a beanie using a loom, begin by wrapping the yarn around the pegs in a figure-eight pattern. Use a loom hook to lift the bottom yarn over the top yarn on each peg. Continue this process, adding stitches as needed until you reach your desired height.
What is the recommended amount of yarn needed for a beanie project?
Typically, you will need about 100-200 grams of yarn for a standard adult beanie. The exact amount can vary based on the pattern and size.
Always check the specific pattern for yarn requirements to avoid running out.

