Creating a custom patch is an exciting way to express your unique style or symbolize a group or event.
To design a patch, start by choosing the right style and material that aligns with your creative vision. Whether you’re looking to craft something with vibrant colors or a more muted palette, the design possibilities are endless.
When designing your patch, it’s important to consider the backing options. The backing not only affects how you attach your patch but also impacts the overall feel and function.
Contents Overview and Patch Design Guide
Think about whether your patch will be sewn on, ironed on, or require a more flexible attachment method, as this will influence your design choices.
A well-crafted patch should capture attention and reflect its purpose. Being clear about your design goals and the message you want your patch to convey can guide you in making the right decisions. With thoughtful design, your custom patches can serve as a fun and meaningful representation of whatever you wish to celebrate.
Understanding Patch Types
When designing a patch, it’s crucial to know the different types available. Each type has unique qualities and uses.
This section discusses various patch options, such as durability, texture, and style, to help you make an informed decision.
Embroidered Patches
Embroidered patches are classic and popular for their distinct, raised texture. Made with colorful threads stitched onto a fabric base, they offer a solid look that can enhance logos, emblems, or badges.
These patches are durable and offer a high-quality appearance that is suitable for uniforms or clubs.
The level of detail depends on the base fabric and stitching. A higher stitch count means more detail, giving the patch a richer appearance.
Pros: Highly durable, visually appealing. Consider: Not ideal for designs requiring intricate details.
Woven Patches
Woven patches use thinner threads than embroidered patches, allowing for greater detail and clarity in designs. These patches are typically flat and have a smooth finish, making them ideal for intricate artwork or text.
They are often used in applications where fine detail is crucial, like name patches or small logos.
Unlike embroidered patches, woven patches do not have a raised texture. They are made on a loom, resulting in clean, sharp images.
Benefits: Fine details, lighter weight. Limitations: Less texture compared to embroidered versions.
PVC Patches
Made from soft rubber, PVC patches offer a 3D design and are highly durable. They can withstand harsh conditions, such as dirt and water, making them perfect for outdoor gear.
These patches are flexible and available in a variety of bold colors or luminous designs.
PVC patches often feature embossed or recessed details, giving them a contemporary look. Ideal for branding, these patches hold up well over time without fraying.
Advantages: Waterproof, vibrant. Drawbacks: May not suit formal applications.
Chenille Patches
Chenille patches provide a textured, fluffy surface, commonly found on varsity jackets or sports apparel. Made using loops of yarn, they offer a plush, tactile feel and are often used for letters or numbers.
They give a nostalgic or vintage appeal and are eye-catching due to their texture.
These patches are great for a bold statement, emphasizing larger shapes and simpler designs.
Points: Soft texture, classic style. Considerations: Less suited for detailed art due to their bulkiness.
Leather Patches
Leather patches add a touch of luxury and sophistication. Available in genuine leather or synthetic options, they are perfect for high-end products like bags, jeans, or jackets.
These patches can be embossed, debossed, or printed, and offer a rich look with timeless appeal.
Their durability and versatility make them a staple in fashion and accessories.
Pros: Elegant, durable. Cons: More expensive than other types.
Printed Patches
Printed patches allow for unlimited color choices, making them ideal for complex designs or photographs. Unlike other types, these patches are created by printing an image directly onto fabric, resulting in a smooth, flat finish.
They are a great option when the design requires vibrant colors or detailed images.
Pros: Detailed, colorful. Limitations: Less texture and depth compared to embroidered or woven options.
Designing High-Quality Patches
Creating a high-quality patch involves selecting durable materials, choosing the right design elements, and determining the appropriate style and shape. Each choice you make reflects in the end product’s quality and appeal.
Choosing the Right Materials
Select materials that offer strength and longevity.
Embroidery thread is crucial; opt for durable and vibrant thread colors, which make the design stand out. Using premium threads ensures your patches look sharp and eye-catching.
Fabric choice is also key. Choose a durable base like twill, which withstands wear and tear. If exposed to outdoor conditions, select fade-resistant and water-resistant materials.
A strong backing adds durability, with iron-on or Velcro as good options depending on how you’ll attach the patch to surfaces.
Design Elements and Aesthetics
Design elements should reflect the intended message or brand. Use bold and vibrant colors to make your patch visually appealing, choosing hues that compliment each other.
Pay attention to detail in artwork for clarity and artistic depth.
Include a Merrowed border for a polished look, offering a seamless edge finish. Shapes can influence aesthetics, so choose wisely.
Consider combining text, images, and symbols that align with your purpose. Strive for a balanced composition without overcrowding the design elements.
Determining Patch Style and Shape
The patch style and shape should match the purpose and audience. Popular styles include embroidered, woven, or PVC patches, each offering a unique look and texture.
For a classic touch, choose an embroidered style, which gives texture and dimension.
Consider the shape based on use. Traditional shapes like circles, squares, and rectangles are versatile. For a modern twist, try custom shapes that complement the design.
Whatever you choose, ensure it serves the functional and aesthetic needs of your patch’s intended use.
Customization Options
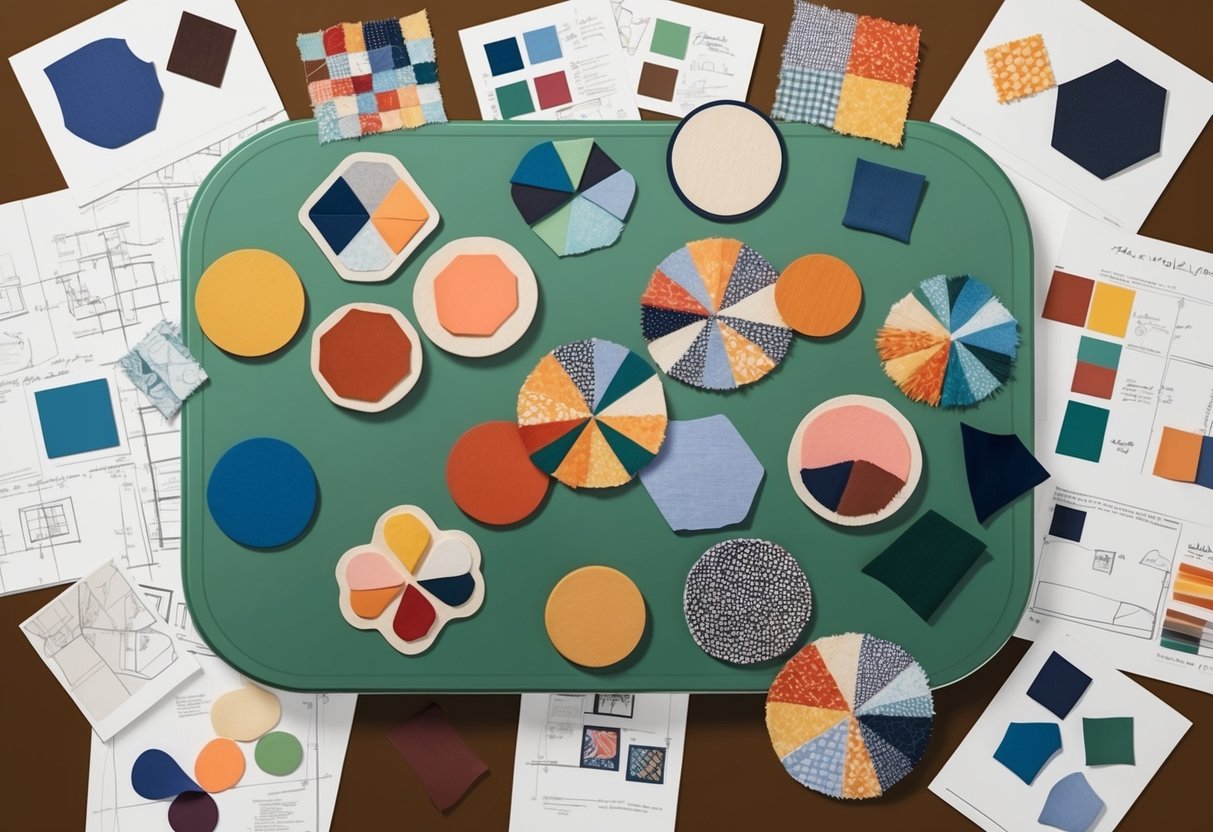
Designing a patch means making choices that reflect your unique style and needs. You can select different thread colors, incorporate your brand’s identity, and choose how you’d like to attach the patch.
Selecting Thread Colors and Quality
The thread color plays a crucial role in the final appearance of your patch. Choose colors that match your design theme and enhance the visuals. High-quality thread ensures durability and a polished look.
Experiment with color combinations to add depth and detail. Some brands offer a wide range of colors, enabling you to find the perfect match for your design.
Thread quality is equally important, impacting the patch’s longevity and texture. Make sure to select threads that are strong and vibrant.
Incorporating Brand Identity
Creating a custom patch for your brand involves integrating unique elements like logos, slogans, or specific color schemes. These elements help build brand awareness and allow your patch to represent your brand effectively.
Utilize design choices that align with your branding strategy. Ensure that the patch communicates the essence of your brand, whether it’s modern, playful, or tech-focused.
Consider simplification of complex logos for better visual impact. Keep your audience in mind as you design your patch to make sure it resonates.
Attachment Methods
Choosing the right attachment method for your personalized patch ensures flexibility and ease of use.
Iron-on backing is popular for its simplicity, allowing quick application. However, consider other options like Velcro or peel-and-stick for specific needs.
Each attachment method offers unique benefits. For temporary use, Velcro is suitable, while iron-on works for more permanent settings.
Consider the material of the item you’ll attach the patch to before making a decision. Evaluate how each method serves your specific purpose, whether it’s for clothing, bags, or other accessories.
Special Considerations for Specific Groups

Different groups have unique needs when designing patches. It’s important to focus on elements that highlight the group’s identity, mission, and values. This involves considering aspects such as symbolism, color schemes, and functionality.
Military Organizational Patches
When designing patches for military units, pay attention to tradition and history. Use symbols that reflect the unit’s heritage and values.
Emblems, animals, or historical symbols are often incorporated. Ensuring that the patch is durable for various environments is crucial, as military personnel can face harsh conditions.
Attention to detail in camouflage compatibility is essential, so the patch does not stand out unnecessarily. Choosing appropriate color schemes that blend well with uniforms can make a difference.
Law Enforcement Agency Patches
Law enforcement patches must convey authority and professionalism. Incorporate symbols like shields or badges to represent protection and service.
Prioritize clarity and readability of text, as it often includes the department name and motto. Color choices should typically include blue, black, or gold, which signify trust and strength.
Durability is key, as officers engage in varied activities, so materials must withstand wear and tear.
Fire Department Patches
For fire departments, focus on courage and community service. Common symbols include axes, ladders, and helmets.
Use warm colors like red and gold, which symbolize fierceness and heroism. A bold design helps in representing the bravery and readiness of firefighters.
Patches should also be crafted from heat-resistant materials. Highlighting department-specific features enhances pride and identity within the community.
Sports Team Patches
Sports team patches should emphasize team spirit and loyalty. Include logos, mascots, or symbols that are instantly recognizable.
Vibrant, contrasting colors can highlight team pride and foster a stronger connection with fans. The inclusion of the team’s name or initials is crucial for easy identification.
Ensure the patch’s design is cohesive with team uniforms, and maintains its appearance through frequent washes and wear.
Ordering Process and Production
Designing a patch involves knowing key parts of the ordering process, like order minimums and how long production and shipping will take. These details help ensure that your design vision comes to life efficiently.
Understanding Order Minimums
When ordering custom patches, it’s important to know if there are order minimums. Some companies require a minimum number of patches per order, which can impact your budget and needs.
However, there are providers that offer no order minimums, allowing you to order exactly what you need, whether it’s just one patch or hundreds. This flexibility can be ideal for individual projects or small batches.
Be sure to check with the supplier beforehand to understand their policies and choose a service that aligns with your order size and goals.
Estimating Turnaround Time and Shipping
Turnaround time is a key factor in the production process. It refers to the time it takes for your patches to be produced and shipped after confirming the design.
Generally, the production timeframe can range from a few days to several weeks, depending on the complexity of the design and your provider’s efficiency.
Some providers might offer expedited services if you need your patches quickly.
Consider shipping options as well; free shipping may be available, but it could take longer than paid options.
The combination of production speed and shipping choice will determine when you receive your patches, so plan accordingly to meet deadlines or project timelines.
Tips for Creating a Personalized Patch

Creating a personalized patch can be an exciting project. Start by deciding the purpose of your patch. Is it for a club, event, or personal use? Knowing the purpose helps shape your design.
Choose the Right Style
Select a style that fits your vision. Patches come in various shapes and sizes. You can go for round, square, or even custom cuts. Think about what best suits your design.
Select Materials
Materials matter in how your patch feels and looks. Embroidered patches offer a classic feel, while woven patches give more detail. Choose materials based on the depth and detail of your design.
Pick Colors Wisely
Color selection is key in making your patch attractive. Use contrasting colors to make your design stand out. If it’s a team patch, go with team colors.
Design Your Patch
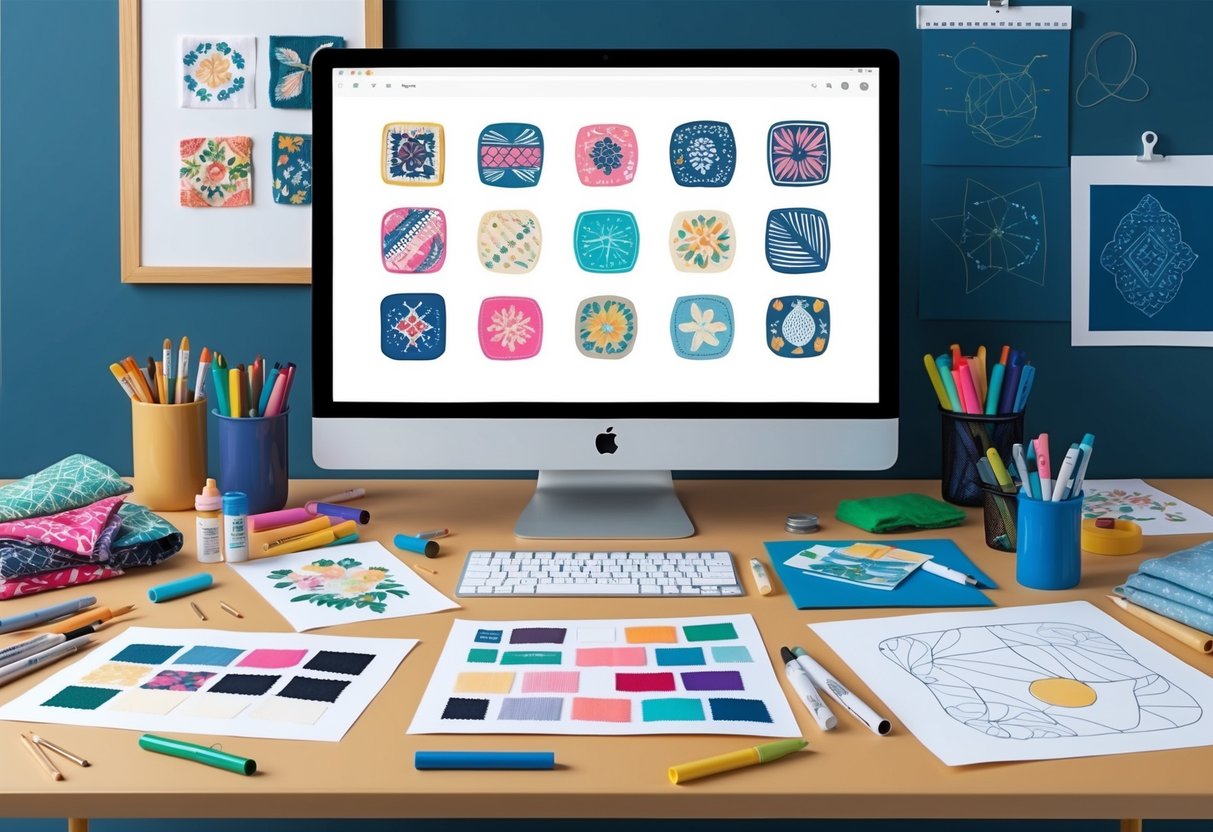
Sketch your ideas on paper or use digital tools. Keep it simple but meaningful. Too many elements can make a patch look cluttered. Consider the size and how details will appear.
Adding Text
If you’re including text, choose a font that’s easy to read. Make sure the text size is large enough to be clear but small enough to fit well in the design.
Final Touches
Before ordering your patches, review your design. Check for details like spacing, color, and text alignment. A final proof helps you see if any changes are needed. This ensures your personalized patch is just how you want it!
Frequently Asked Questions

Creating custom patches involves selecting materials, utilizing design tools, and choosing reliable manufacturers. Understanding these aspects can help you achieve a high-quality result.
What are the steps to creating a custom patch from scratch?
To create a custom patch, start by deciding on the patch style and size. Next, select the type of backing you need. Design your artwork considering colors and details. Finally, submit your design to a manufacturer for production.
Which materials are best suited for designing durable embroidered patches?
For durable embroidered patches, materials like twill and felt are often favored. These provide a sturdy base that holds up well under embroidery. High-quality threads, like polyester or rayon, enhance the patch’s longevity.
How can one create a patch using online design tools?
Online design tools offer templates that you can customize with your artwork. These platforms allow you to upload images, adjust colors, and choose fonts. Once satisfied, you can save your design and send it to a patch producer.
What techniques are used to ensure high-quality custom patch embroidery?
High-quality embroidery techniques involve careful digitizing of the design. This means converting the artwork into a format the embroidery machine can read. Consistent needlework, appropriate thread tension, and expert craftsmanship also contribute to the patch’s quality.
How do you apply iron-on patches to fabric?
To apply iron-on patches, position the patch on your fabric surface. Set your iron to medium heat with no steam. Press the iron on the patch firmly for about 20-30 seconds. Ensure the edges are securely bonded, allowing it to cool for a durable attachment.
What factors should be considered when choosing a custom patch manufacturer?
When selecting a manufacturer, consider their reputation, experience, and customer reviews. Evaluate their portfolio and check the quality of their previous work.
Make sure to discuss your requirements and ensure they can meet your specifications for materials and designs.

