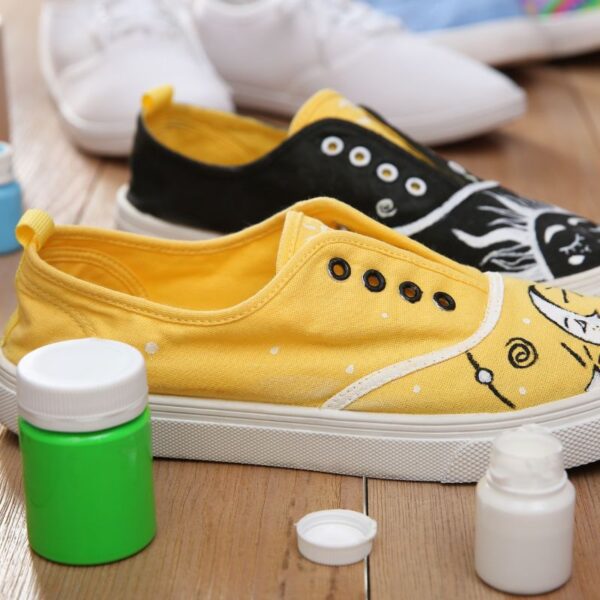
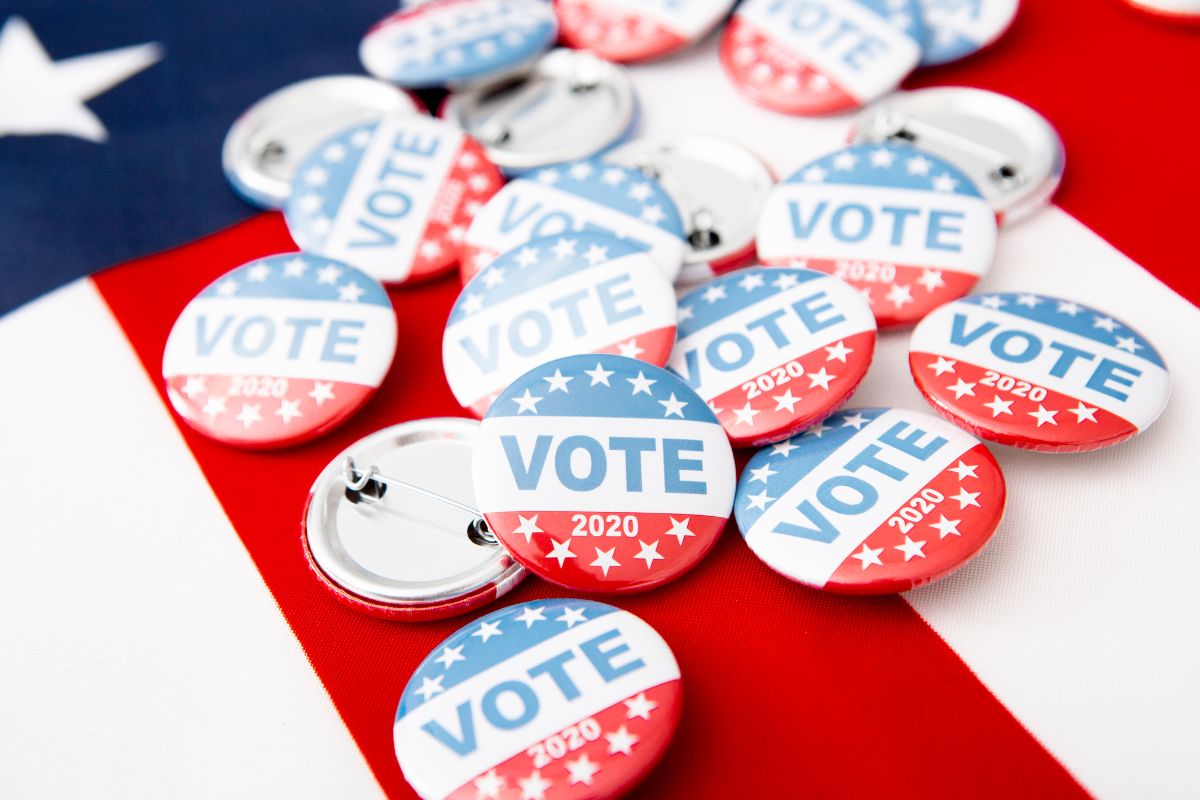
Button pins are small but powerful tools for self-expression, promotion, and branding. These circular badges, often featuring creative designs, slogans, or logos, have become a versatile accessory for people of all ages. But what exactly are button pins?
Table of contents
- Types of Button Pins
- Standard Pinback Buttons
- Magnetic Buttons
- Clip-On Buttons
- Safety Pin Buttons
- Comprehensive Size Guide
- Materials and Components
- Design Elements
- Design Process
- Popular Uses
- Production Methods
- Design Tips
- Maintenance and Care
- Proper Storage Solutions
- Durability Enhancement
- Common Issues and Solutions
- Mechanical Problems
- Long-Term Preservation
- Professional Care
- Emergency Care
- Conclusion
- Frequently Asked Questions (FAQs)
Button pins, also known as custom buttons or pin buttons, are decorative items typically worn on clothing, bags, or hats. Their history dates back to the late 19th century, where they were first used for political campaigns. Fast forward to today, button pins are a popular medium for everything from marketing to personal expression, proving their timeless appeal.
Types of Button Pins
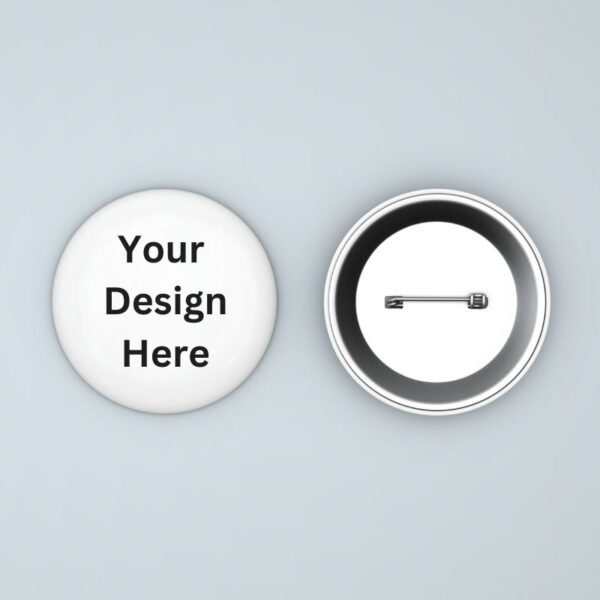
Standard Pinback Buttons
Design and Construction
- Metal shell with wrapped edges
- Protected design under clear Mylar covering
- Durable safety pin mechanism on back
- Weather-resistant coating options
Common Applications
- Marketing and Promotions
- Brand awareness campaigns
- Product launches
- Trade show giveaways
- Corporate events
- Collectible Markets
- Music band merchandise
- Fan conventions
- Limited edition series
- Commemorative events
Advantages
- Cost-effective for bulk orders
- Proven durability
- Easy to attach and remove
- Wide range of size options
Magnetic Buttons

Technical Specifications
- Dual neodymium magnets
- Strength variations available
- Scratch-protective backing
- Reinforced edge construction
Best Uses
- Professional Settings
- Corporate name badges
- Conference identification
- Staff recognition
- Executive meetings
- Special Occasions
- Wedding favors
- Formal events
- High-end promotional items
- Designer clothing protection
Benefits
- No pin holes in clothing
- Stronger hold than traditional pins
- Professional appearance
- Reusable without damage
Clip-On Buttons
Design Features
- Spring-loaded mechanism
- Adjustable grip strength
- Durable metal construction
- Quick release function
Ideal Applications
- Professional Use
- Security badges
- Employee identification
- Temporary access passes
- Event staff badges
- Organizational Use
- School identification
- Visitor passes
- Volunteer identification
- Tournament badges
Key Benefits
- Quick attachment/removal
- No clothing damage
- Secure hold
- Professional appearance
Safety Pin Buttons
Construction Details
- Reinforced pin backing
- Double-clasp security
- Heavy-duty spring mechanism
- Rust-resistant materials
Popular Uses
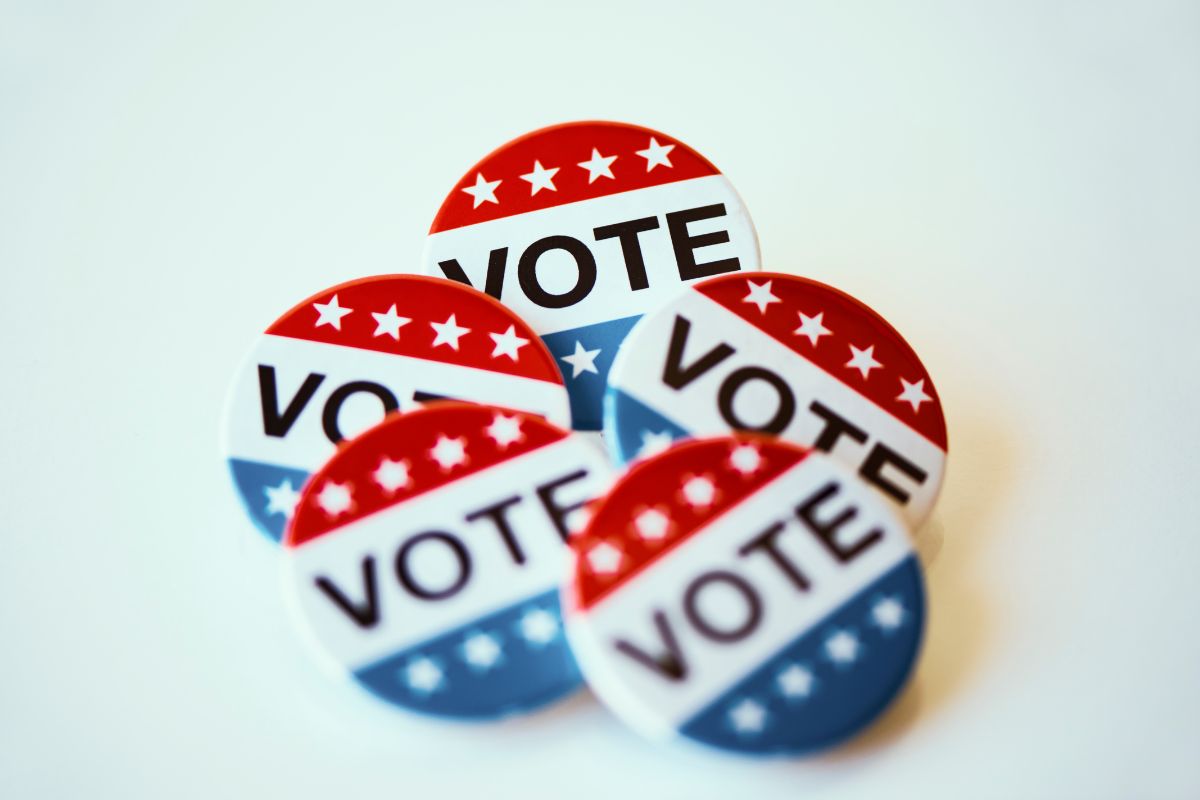
- Political Campaigns
- Rally identification
- Supporter recognition
- Campaign messaging
- Grassroots organizing
- Event Marketing
- Festival passes
- Concert merchandise
- Sports events
- Fan gatherings
Advantages
- Maximum security
- Traditional appeal
- Cost-effective
- Reliable hold
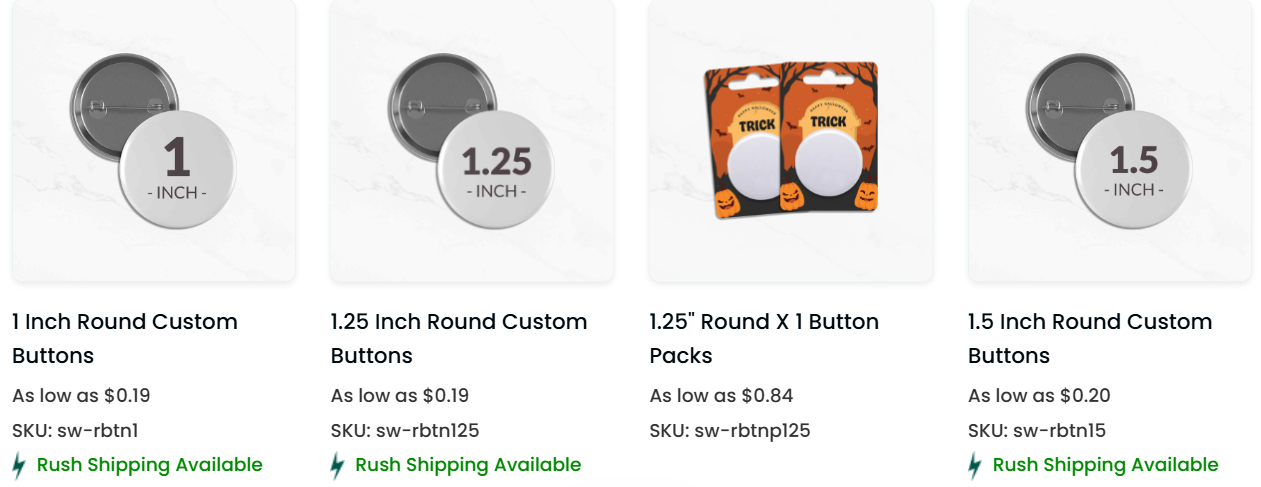
Comprehensive Size Guide
25mm (1 inch)
- Design Considerations
- Simple logos
- Single-word messages
- Minimal graphics
- Clean typography
- Best Applications
- Corporate branding
- Subtle messaging
- Professional settings
- Minimalist design needs
32mm (1.25 inch)
- Design Capabilities
- Extended text
- Small logos with text
- Basic illustrations
- Clear messaging
- Ideal Uses
- Business promotion
- Social messages
- Brand awareness
- Standard marketing
37mm (1.5 inches)
- Design Features
- Complex logos
- Multiple text lines
- Detailed artwork
- Combined elements
- Perfect For
- Marketing campaigns
- Event promotion
- Detailed messaging
- Brand storytelling
44mm (1.75 inches)
- Design Options
- Intricate artwork
- Multiple design elements
- Detailed illustrations
- Complex messaging
- Applications
- Artistic expression
- Detailed promotion
- Statement pieces
- Collector items
58mm (2.25 inches)
- Design Possibilities
- Full artwork display
- Photo reproduction
- Maximum detail
- Complex layouts
- Best Uses
- Statement pieces
- Photo buttons
- Art displays
- Collector editions
76mm (3 inches)
- Design Capacity
- Maximum visual impact
- Full photo display
- Multiple design elements
- Comprehensive messaging
- Special Applications
- Display pieces
- Showcase items
- Special events
- Premium promotions
Materials and Components
| Category | Component/Material | Description |
|---|---|---|
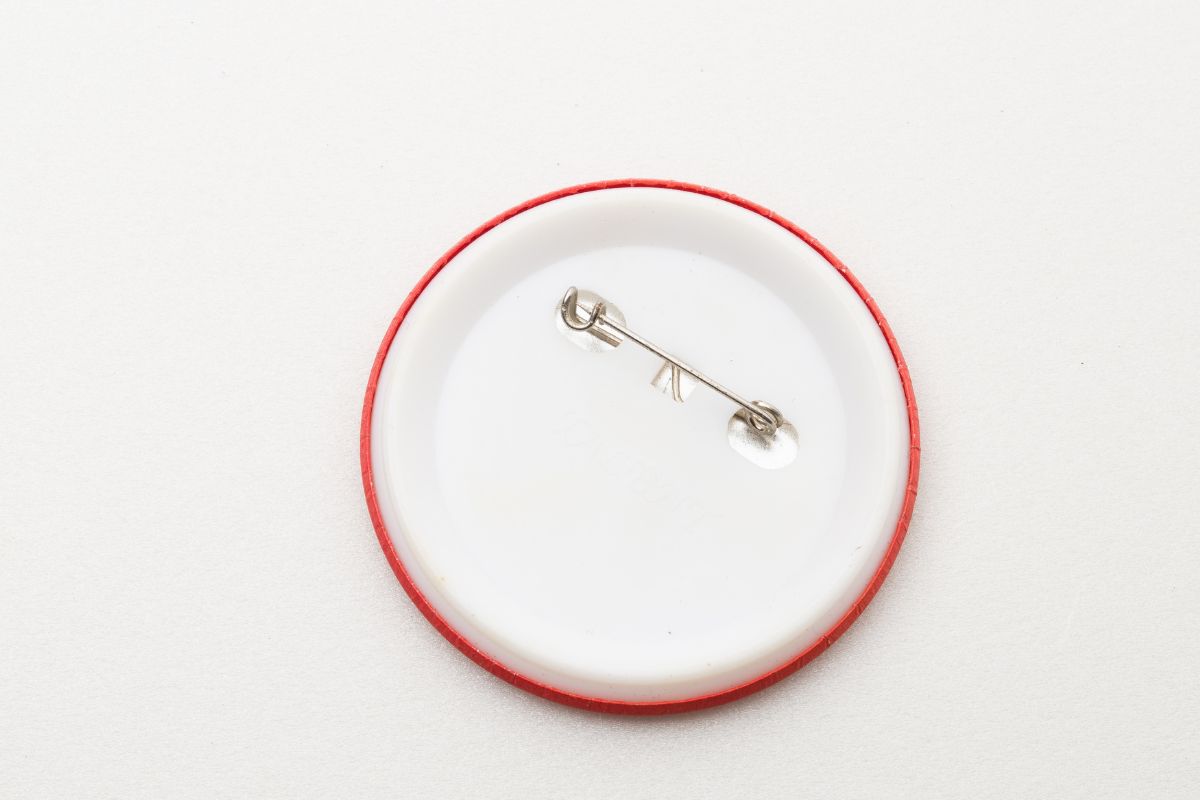
| Metal Components | Front Shell | The metallic disc forming the outer surface of the button, where the design is displayed. |
| Back Plate | Holds the safety pin or other attachments in place. | |
| Pin Attachment | The safety pin mechanism used to secure the button to clothing. | |
| Plastic Components | Mylar Covering | A clear plastic sheet that protects the design and adds a glossy finish. |
| Paper | Printed Design | High-quality paper used to display the artwork, logo, or message on the button. |
| Adhesives | Glue/Adhesive | Used to secure pin attachments to the back plate (if not pre-attached). |
| Tools | Button Maker Machine | A pressing tool that assembles all components together seamlessly. |
| Circular Cutter | Cuts the printed design to the exact size required for the button. | |
| Pressing Dies | Molds or dies that correspond to specific button sizes (e.g., 1-inch, 2-inch). | |
| Optional Features | Magnetic Backs | Enables the button to be used as a magnet instead of a pin. |
| Keychain Attachments | Converts the button into a multifunctional accessory. | |
| Custom Shapes | Non-standard die shapes like hearts, stars, or ovals for unique designs. |
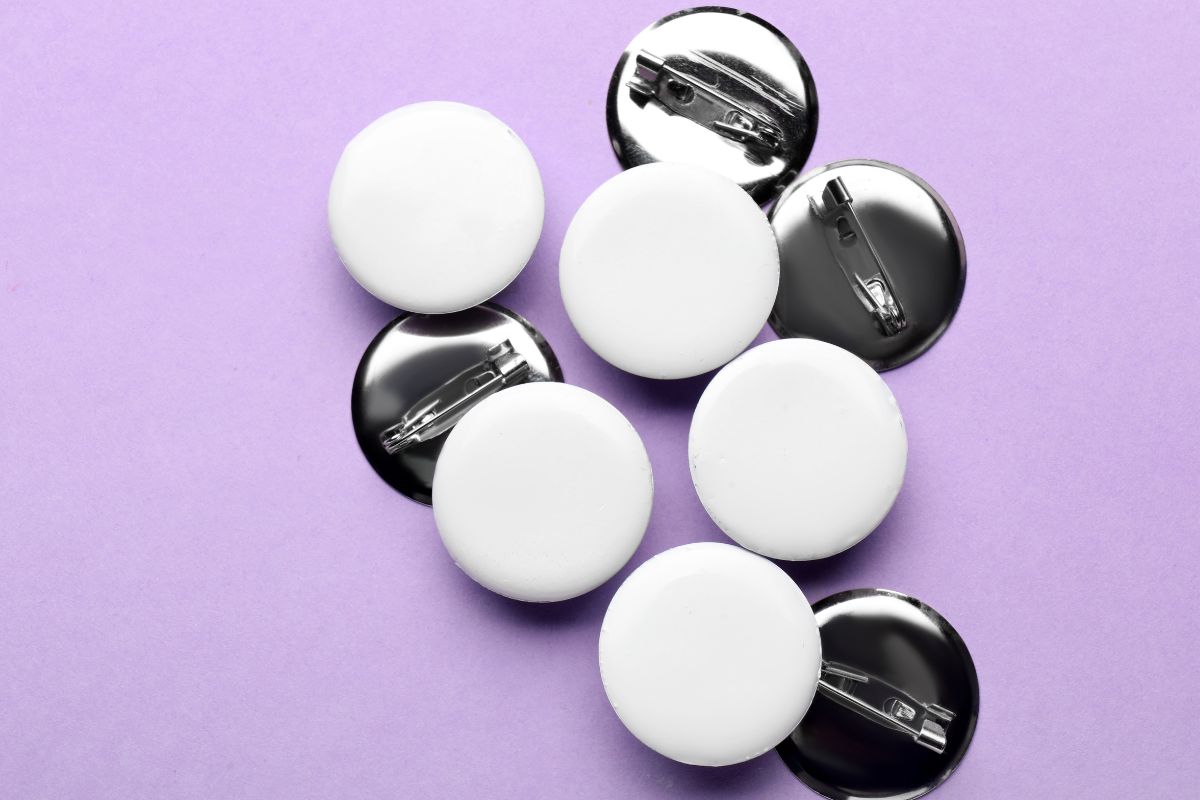
Metal Shell
The metal shell provides the base structure and durability for the button pin.
Mylar Covering
A clear, plastic-like covering that protects the design while giving it a glossy finish.
Pin Mechanisms
From safety pins to magnetic backs, the pin mechanism determines how the button attaches.
Printing Materials
High-quality printing materials are essential for vibrant, long-lasting designs.
Paper Options
The design is typically printed on lightweight, glossy paper for crisp and vivid results.
Design Elements
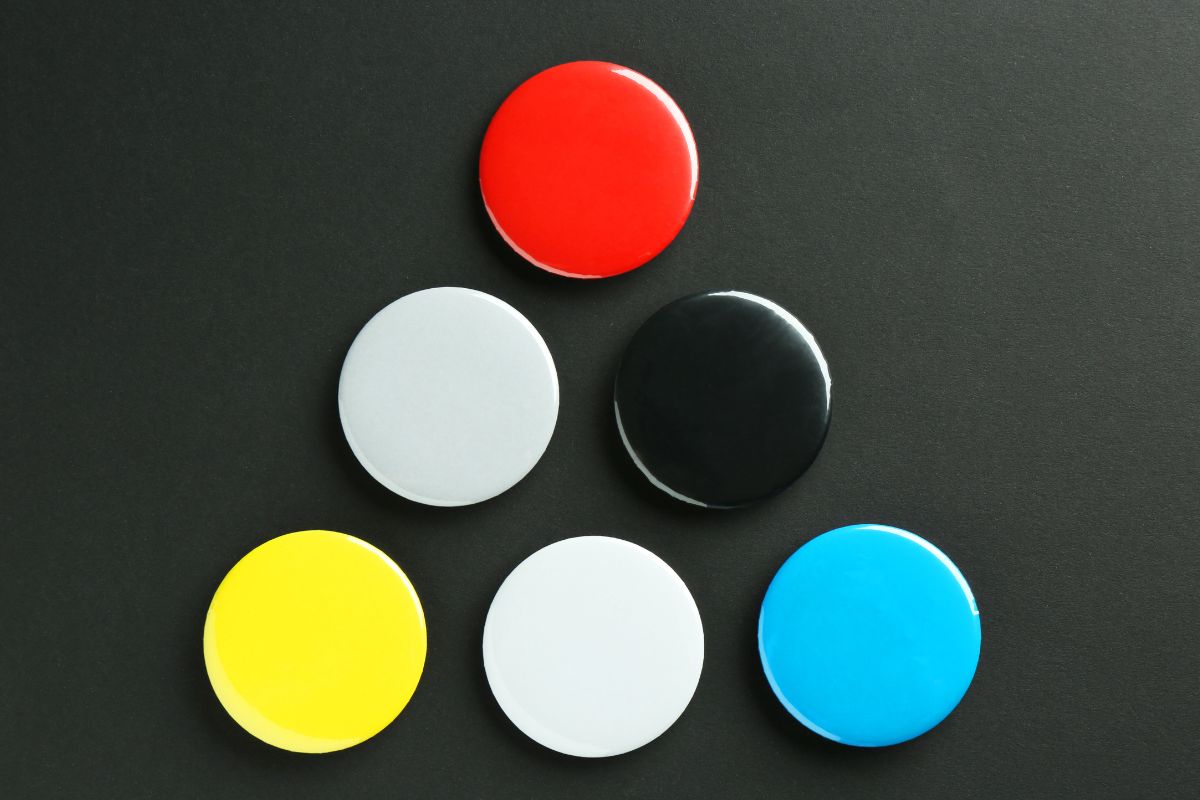
Color Theory
Understanding color theory can make your custom pins visually striking. Choose complementary colors for a balanced look.
Typography Choices
Bold, readable fonts are key for conveying messages effectively. Avoid overly intricate typefaces.
Image Resolution Requirements
High-resolution images (300 DPI or higher) ensure sharp, clear designs.
Layout Considerations
Keep designs simple and impactful. Crowded layouts can look unprofessional on smaller sizes.
Bleed and Safe Zones
When creating button designs, include a bleed area to avoid cutting off important elements. Maintain safe zones for text and key visuals.
Design Process
Software Tools
Tools like Adobe Illustrator, Canva, or free options like GIMP are excellent for creating designs.
Templates
Using pre-made templates ensures your design fits perfectly on the button pin.
File Preparation
Export your design in high-quality formats like PNG or PDF. Always double-check dimensions.
Common Design Mistakes
- Using low-resolution images
- Overcrowding elements
- Neglecting the bleed area
Professional Tips
Hire a designer or consult design guides to elevate your custom buttons’ aesthetic.
Popular Uses
Marketing and Promotion
Customized buttons are a cost-effective way to promote brands, events, or causes.
Political Campaigns
Button pins have a long-standing tradition in rallying support for political movements.
Band Merchandise
Bands often use personalized buttons to connect with fans and create affordable merchandise.
Corporate Events
At conferences and trade shows, custom pins serve as name tags or promotional giveaways.
Personal Expression
Showcase your personality or interests with unique designs.
Collectibles
Pin buttons are cherished by collectors for their nostalgic and artistic value.
Production Methods
| Type of Button Pin | Production Method | Description |
|---|---|---|
| Standard Pinback Buttons | Die-cutting and pressing | Metal base and clear plastic cover are pressed together with printed artwork using a button machine. |
| Magnetic Pins | Magnetic attachment | Similar to pinback buttons, but with a magnetic back for attachment instead of a sharp pin. |
| Clothing-Friendly Pins | Adhesive or clip attachment | Use of adhesive patches or fabric clips to avoid puncturing clothing. |
| Badge Reel Buttons | Mounted on retractable reels | Button pins are attached to retractable badge reels for use with ID cards or keys. |
| Mirror Buttons | Includes a mirror back | Incorporates a small mirror instead of a standard pin or magnet backing. |
| Bottle Opener Buttons | Incorporates bottle opener back | Features a bottle opener mechanism on the backside, often paired with a keyring attachment. |
| LED Light-Up Buttons | LED installation | Embedded with small LED lights that illuminate when pressed or via a switch. |
| 3D Embossed Buttons | Embossing and pressing | Adds a raised or textured design by using embossing techniques on the button’s surface. |
| Acrylic Pins | Laser cutting and UV printing | Made of acrylic material with designs directly printed or sandwiched between layers of clear acrylic. |
| Eco-Friendly Buttons | Biodegradable materials and pressing | Made using recycled paper, cardboard, or biodegradable plastics for sustainable use. |
| Soft Enamel Pins | Stamping and color filling | Metal base is stamped with a design and filled with colored enamel for a tactile feel. |
| Offset Printed Pins | High-resolution offset printing | Artwork is printed directly on the pin’s surface, often used for detailed or gradient designs. |
| Epoxy Dome Pins | Epoxy resin coating | Artwork is covered with a clear epoxy dome for added protection and a glossy finish. |
DIY Button Making
Perfect for small batches, DIY kits let you design and assemble button pins at home.
Professional Manufacturing
For larger quantities, professional manufacturers ensure consistent quality.
Equipment Needed
DIY kits typically include a button press machine, metal shells, and Mylar covers.
Cost Considerations
DIY methods are affordable for small runs, while bulk orders through manufacturers reduce per-unit costs.
Design Tips
Contrast and Readability
Ensure text and visuals stand out against the background.
Size-Appropriate Designs
Keep designs simple and scalable to smaller sizes.
Color Combinations
Use contrasting colors for maximum visual impact.
Text Placement
Place text centrally or along the edge for a balanced look.
Visual Hierarchy
Highlight key elements, such as logos or slogans, to guide the viewer’s focus.
Maintenance and Care
| Care Aspect | Best Practices |
|---|---|
| Cleaning | Wipe with a soft, damp cloth to remove dirt; avoid abrasive materials to prevent scratches. |
| Storage | Store in a cool, dry place; keep away from direct sunlight and moisture to avoid fading or rust. |
| Rust Prevention | Apply a thin layer of anti-rust spray to metal components if stored in humid environments. |
| Pin Mechanism | Check pinbacks for tightness; gently adjust if loose to maintain functionality. |
| Avoiding Damage | Avoid dropping or placing heavy objects on pins to prevent bending or cracking. |
| Polishing | Use a non-abrasive polish to maintain the shine of metal pins. |
| Material Care | Follow specific care instructions for pins made of soft enamel, acrylic, or fabric. |
| Long-Term Use | Rotate pin usage to minimize wear and tear, especially for frequently worn pins. |
| Adhesive Care | For adhesive-backed pins, ensure clean and dry surfaces before application. |
| Repairs | Replace or repair broken backs or damaged pins with repair kits available online. |
Daily Maintenance
- Use a soft, lint-free microfiber cloth to gently wipe away dust
- Remove fingerprints with a slightly damp cloth, then immediately dry
- Avoid applying direct pressure to the center of the design
- Clean the pin mechanism separately from the front surface
Deep Cleaning Techniques
- Safe Cleaning Solutions:
- Mild soap solution (1 drop of dish soap in 1 cup of water)
- Specialized plastic cleaner for Mylar surfaces
- Isopropyl alcohol for stubborn stains (test on a small area first)
- What to Avoid:
- Harsh chemical cleaners
- Abrasive materials
- Excessive moisture
- Direct water exposure
- Bleach or ammonia-based products
Proper Storage Solutions
Optimal Storage Conditions
- Temperature: Keep between 65-75°F (18-24°C)
- Humidity: Maintain 45-55% relative humidity
- Light exposure: Avoid direct sunlight
- Air circulation: Ensure adequate ventilation
Storage Methods
- Individual Storage:
- Use acid-free backing cards
- Store in individual plastic sleeves
- Keep pins separated to prevent scratching
- Use compartmentalized storage boxes
- Bulk Storage:
- Layer between acid-free tissue paper
- Use divided containers
- Store flat rather than stacked
- Keep away from heat sources
Durability Enhancement
Material Protection
- Surface Protection:
- Apply UV-resistant coating when available
- Use protective covers for transport
- Handle by edges rather than surface
- Keep away from sharp objects
- Pin Mechanism Care:
- Regular inspection of pin backs
- Gentle cleaning of moving parts
- Immediate replacement of damaged components
- Lubrication of clip mechanisms when needed
Environmental Considerations
- Avoid exposure to extreme temperatures
- Protect from high humidity
- Keep away from salt air in coastal areas
- Shield from industrial fumes or chemicals
Common Issues and Solutions
Physical Damage Prevention
- Scratches:
- Use protective sleeves during transport
- Store face-up
- Handle with clean, dry hands
- Avoid contact with jewelry or keys
- Color Fading:
- Store away from UV light
- Use UV-protective displays
- Rotate displayed pins regularly
- Consider UV-resistant coating
Mechanical Problems
- Loose Pin Backs:
- Regular tightening checks
- Professional repair when needed
- Replacement of worn components
- Use of locking pin backs for valuable pieces
- Bent or Damaged Pins:
- Gentle straightening with pliers
- Professional repair for valuable pieces
- Immediate replacement if severely damaged
- Use of pin locks for additional security
Long-Term Preservation
Collection Management
- Documentation:
- Inventory tracking
- Condition reports
- Cleaning schedule
- Maintenance records
- Regular Inspection:
- Monthly checks for damage
- Quarterly deep cleaning
- Bi-annual storage rotation
- Annual condition assessment
Professional Care
- When to Seek Professional Help:
- Significant damage
- Valuable or rare pins
- Historical pieces
- Complex mechanical issues
- Restoration Services:
- Surface restoration
- Mechanism repair
- Design touch-up
- Professional cleaning
Emergency Care
Immediate Response to Damage
- Water Damage:
- Immediate drying with soft cloth
- Use of dehumidifiers if needed
- Separation from other pins
- Professional assessment
- Chemical Exposure:
- Quick neutralization if possible
- Isolation from other pins
- Documentation of incident
- Professional cleaning
Preventive Measures
- Storage Safety:
- Waterproof containers
- Fire-resistant storage
- Security measures
- Climate control
- Transport Protection:
- Proper packaging
- Shock-absorbing materials
- Weather protection
- Secure fastening
Conclusion
Designing custom button pins is an exciting and rewarding process. Whether you’re creating promotional buttons for an event or personalized buttons for a special occasion, this guide provides all the tools you need. Use the checklist below to get started:
- Choose the Right custom button pins maker for your big event.
- Select quality materials and tools.
- Follow design principles like color theory and typography.
- Decide on DIY or professional manufacturing.
With these steps in mind, unleash your creativity and bring your ideas to life with custom buttons. For more resources and inspiration, explore online design templates and button-making communities. Start designing today and make a lasting impression with your button pins!
Frequently Asked Questions (FAQs)
What are the most popular sizes for custom buttons?
The most popular sizes are 25mm (1 inch) for subtle designs, 37mm (1.5 inches) for logos or messages, and 58mm (2.25 inches) for detailed artwork or bold statements.
Can I make custom buttons at home?
Yes, you can make custom buttons at home using DIY kits that include a button press machine, metal shells, and Mylar covers. These are great for small-scale projects.
What materials are best for durable button pins?
High-quality metal shells, glossy paper, and a Mylar covering ensure durability and a professional finish for button pins.
How much does it cost to produce custom buttons?
Costs vary depending on the production method. DIY button-making kits are affordable for small batches, while bulk orders from professional manufacturers typically reduce per-unit costs.
Are custom buttons suitable for marketing purposes?
Absolutely! Custom buttons are cost-effective promotional tools for events, brands, or causes. They’re eye-catching and leave a lasting impression.
How do I care for my button pins?
Wipe them with a damp cloth to clean, and store them in a dry, cool place to avoid rust or fading. Handle them carefully to prevent damage to the design or pin mechanism.
What file format should I use for my button designs?
Export your designs in high-quality formats like PNG or PDF. Ensure the resolution is at least 300 DPI for clear and crisp results.